
Your generator sits ready for emergencies, but when the power goes out, it won’t start. Nine times out of ten, the culprit is a dead battery. Unlike car batteries that get regular charging from driving, generator batteries often sit idle for months, slowly losing their charge until they’re too weak to crank the engine. Learning how to change your generator battery isn’t just about maintenance—it’s about ensuring your backup power works when you need it most.
This critical maintenance task guarantees reliable starting performance when an outage strikes. Proper battery maintenance involves keeping the battery charged and ensuring it remains clean—two fundamental practices that prevent the most common cause of generator starting failures. When your generator won’t start, troubleshooting guides consistently list battery connections as the first item to check, followed by fuel levels and engine priming.
This guide walks you through the essential steps to replace your generator battery safely and efficiently, even if you’ve never done it before. You’ll learn what to look for, how to choose the right replacement, and how to prevent future failures that could leave you without power during an emergency.
Safety First: Power Down Completely
Before touching anything, shut down your generator completely and let it cool for at least 30 minutes. Hot engines and electrical components create burn hazards that can cause serious injuries. Generator maintenance requires treating the unit as potentially dangerous even when it appears inactive.
Essential safety steps:
– Turn off the main breaker and fuel valve
– Disconnect any external power connections
– Remove the spark plug wire to prevent accidental starting
– Work in a well-ventilated area away from ignition sources
Protective gear checklist:
– Safety glasses to prevent acid splashes
– Chemical-resistant gloves for handling the battery
– Long sleeves to protect against accidental contact with corrosion
Skipping these safety precautions could lead to electrical shock, acid burns, or even an explosion from hydrogen gas buildup around batteries. Never underestimate the risks when working with generator electrical systems.
Required Tools for Battery Replacement
You’ll need surprisingly few tools to change a generator battery, but having the right ones makes the job much smoother. Most household toolboxes already contain what you need, but double-check before starting to avoid mid-job delays.
Basic tool requirements:
– 8mm or 10mm wrench (check your terminals first)
– Wire brush or battery terminal cleaner
– Baking soda and water solution for cleaning corrosion
– Shop rags or paper towels
Additional helpful items:
– Battery terminal protector spray
– Dielectric grease for connections
– Flashlight for dim generator compartments
– Small mirror to check tight spaces
Having these tools ready prevents frustration when you discover corrosion you can’t clean properly or struggle to see connections in tight generator compartments. Proper preparation makes the entire battery replacement process take less than 30 minutes.
Locate and Inspect Your Generator Battery

Generator batteries aren’t always in obvious locations. Check your owner’s manual for the exact placement, but common spots include:
- Side compartment: Most Generac models house batteries in a side-access panel
- Front enclosure: Some units place batteries behind the main control panel
- Base mounting: Larger generators may mount batteries underneath
Visual inspection checklist:
– Look for white, crusty buildup on terminals (corrosion)
– Check the battery case for cracks or bulging
– Note any loose or frayed cable connections
– Identify the battery type (usually 12V, but verify amp-hour rating)
This inspection reveals if your battery needs replacement or if simple cleaning might solve your starting problems. Many generator owners mistake a corroded connection for a dead battery, so thorough inspection prevents unnecessary replacements.
Remove Old Battery Safely
Negative terminal first—this prevents sparks that could ignite battery gases. Use your wrench to loosen the negative (-) cable clamp, then twist and pull it free. Repeat with the positive (+) terminal.
Battery removal technique:
– Lift straight up to avoid tipping (batteries weigh 30-50 pounds)
– Keep the battery level to prevent acid spills
– Place the old battery on a non-concrete surface (concrete can discharge it)
Pro tip: Take a photo of the cable routing before removal. This makes reinstallation foolproof, especially in cramped generator compartments where cables might cross or tangle.
Improper removal sequence (taking the positive terminal first) creates a risk of short-circuiting if your wrench touches any metal part of the generator frame. Always follow the negative-first rule for safety.
Choose the Right Replacement Battery
Size matters—your new battery must match the physical dimensions of the old one to fit properly in the generator compartment. Beyond size, focus on these specifications:
Key specifications to match:
– Voltage: Almost always 12V for residential generators
– Cold cranking amps (CCA): Match or exceed original rating
– Terminal position: Ensure positive and negative posts align correctly
– Reserve capacity: Higher ratings provide longer backup power
Battery type considerations:
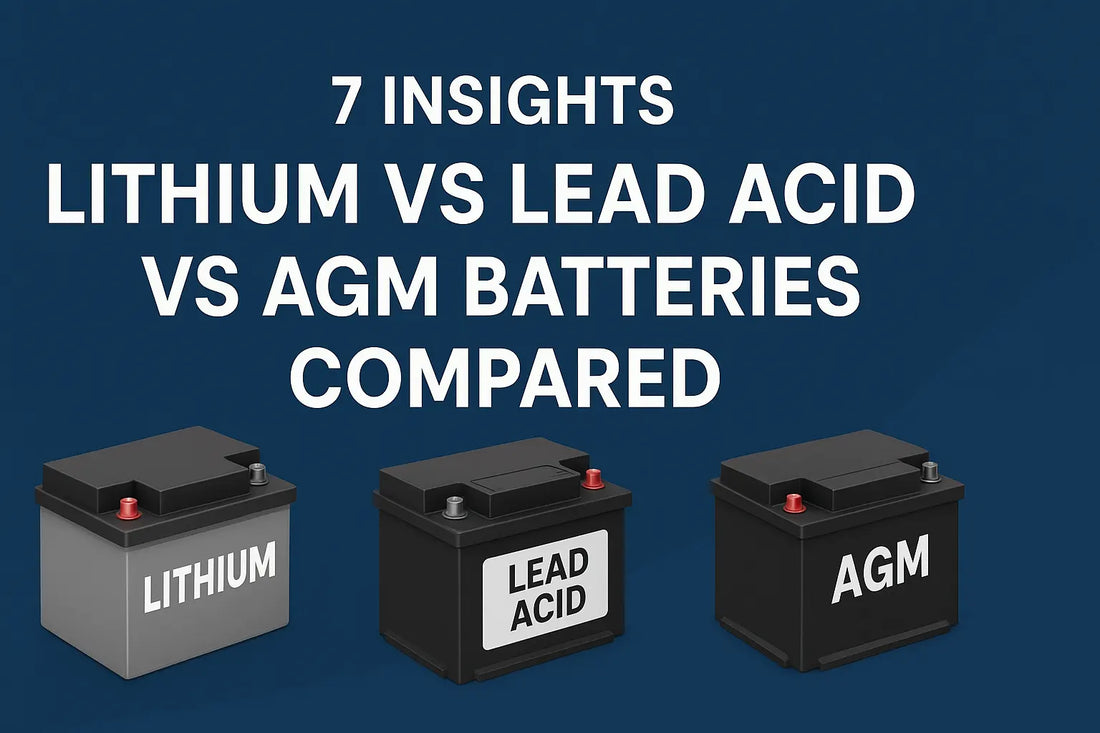
– Conventional lead-acid: Most common, requires maintenance
– AGM (Absorbed Glass Mat): Maintenance-free, longer life, higher cost
– Lithium: Lightweight, expensive, may void warranties
Consult your generator manual for the exact specifications, as using an undersized battery won’t provide enough cranking power, while an oversized one might not fit properly in the compartment.
Clean Battery Compartment Thoroughly
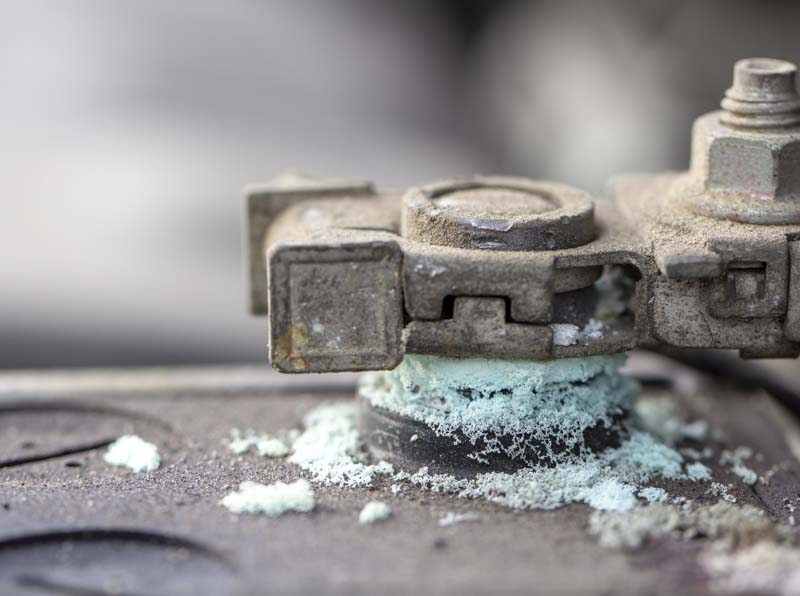
Corrosion spreads like cancer if not removed completely. Mix 2 tablespoons of baking soda with 1 cup of water to create a cleaning solution that neutralizes battery acid.
Cleaning process:
– Scrub terminals and cable ends with wire brush
– Clean the battery tray and surrounding area
– Rinse with clean water and dry completely
– Apply terminal protector spray to prevent future corrosion
Warning signs to watch for:
– Green or white powder on metal parts (corrosion)
– Swollen or melted cable insulation (overheating)
– Rust on mounting hardware (replace immediately)
Skipping this cleaning step guarantees repeat problems—the same corrosion that killed your old battery will quickly damage the new one if residue remains in the compartment.
Install New Battery Correctly
Positive terminal first when installing the new battery. This reverse order prevents accidental grounding while you work.
Installation sequence:
1. Lower battery into position carefully
2. Connect positive (+) cable and tighten securely
3. Connect negative (-) cable last
4. Ensure cables can’t contact moving parts
5. Replace any hold-down brackets or straps
Connection tightness test: Grasp each cable end and try to twist it. You shouldn’t be able to move it at all. Loose connections cause starting problems and can melt terminals.
Proper installation prevents the most common post-replacement issue: generators that still won’t start because of poor connections. Take your time with this step—it’s worth the extra few minutes.
Prevent Future Battery Failures
Monthly maintenance prevents 90% of battery-related starting failures. Set a calendar reminder for the first of each month.
Monthly battery care routine:
– Check terminal tightness with gentle wiggle test
– Clean any new corrosion with wire brush
– Test battery voltage (should read 12.4V or higher)
– Run generator for 10 minutes to maintain charge
Seasonal storage tips:
– Winter: Remove battery and store in cool, dry location
– Summer: Check water levels in conventional batteries monthly
– Extended storage: Use a battery maintainer to prevent discharge
Integrating battery checks into your regular maintenance schedule alongside oil changes and air filter replacements ensures your generator starts reliably when needed most.
Troubleshooting Post-Installation Issues
Generator won’t start after battery replacement? Don’t panic—check these common oversights:
Quick diagnostic steps:
– Verify cables are tight and corrosion-free
– Check that you didn’t reverse positive/negative connections
– Ensure spark plug wire is reconnected
– Confirm fuel valve is open and tank has fuel
When to call professionals:
– Repeated battery failures (possible charging system issues)
– Electrical smoke or burning smells
– Generator cranks but won’t start (fuel or ignition problem)
– Battery explodes or leaks excessively
Most post-installation problems stem from simple oversights rather than complex electrical issues. Methodically checking each connection saves time and prevents unnecessary service calls.
Extend Battery Life Significantly
Temperature control is the biggest factor in battery longevity. Extreme heat kills batteries faster than cold, so:
- Install battery blankets in hot climates
- Ensure adequate ventilation around the generator
- Avoid direct sunlight on the battery compartment
- Consider AGM batteries for extreme temperature areas
Charging best practices:
– Never let the battery discharge below 50%
– Use a battery maintainer during long storage periods
– Avoid short generator runs that don’t fully recharge
– Replace batteries every 3-4 years regardless of condition
Following these practices can double your battery’s lifespan, saving you both money and the frustration of emergency replacements during power outages.
Key takeaway: Your generator battery is your lifeline during power outages. By following these steps for how to change generator battery properly and maintaining it regularly, you’ll ensure reliable starting when you need it most. Remember, the best battery replacement is the one you never have to do in the dark—so maintain your new battery properly from day one.
Next steps: After installing your new battery, create a simple maintenance log. Note the installation date, battery specifications, and set monthly reminders for basic care. This small habit prevents the surprise of a dead battery when storms knock out your power. For model-specific guidance, consult your generator’s user manual or access Generac’s support resources for additional battery maintenance information.


