Your generator powers through blackouts, keeping lights on and refrigerators running when the grid fails. But without proper grounding, that reliable machine transforms into a hidden danger—capable of delivering lethal shocks or sparking electrical fires. Grounding creates a critical escape route for electricity, safely directing fault currents into the earth instead of through you or your appliances. This straightforward safety measure protects your family, preserves your equipment, and keeps you compliant with electrical regulations.
This guide delivers precise instructions for grounding any generator correctly. You’ll discover when grounding is mandatory versus optional, the exact tools needed, and step-by-step procedures that eliminate guesswork. Whether you’re preparing for storm season or setting up backup power for worksites, these techniques ensure maximum safety during generator operation.
When Generator Grounding Is Required
Extension Cord Use Only Requires No Grounding
Skip the grounding process entirely when powering devices solely through extension cords. These cords provide sufficient protection through their three-prong design, creating an adequate ground path back to your appliances. The National Electrical Code considers this temporary, cord-connected setup safe without additional grounding measures for portable generators.
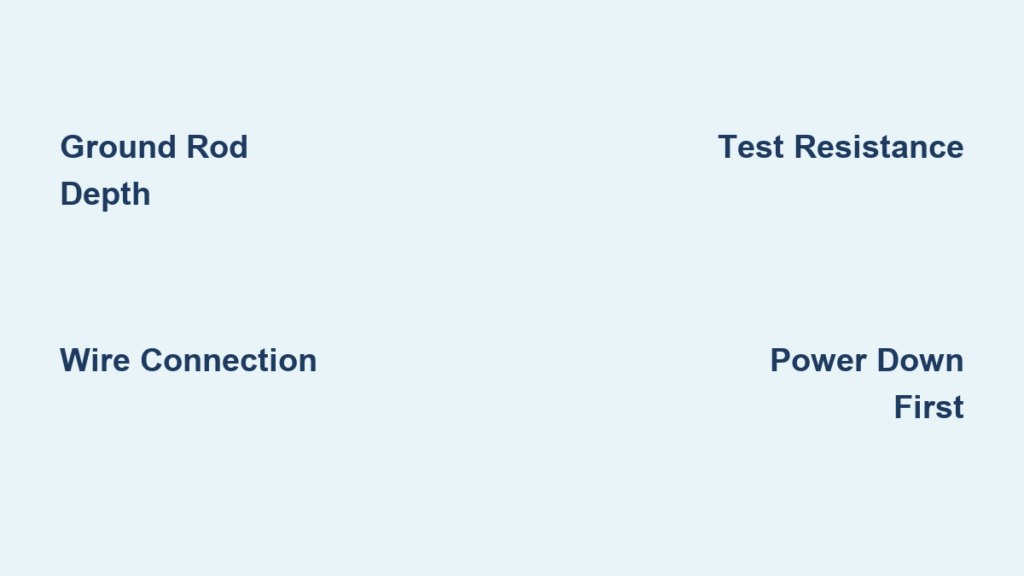
Panel Connections Mandate Immediate Grounding
Grounding becomes non-negotiable the moment you connect your generator to any electrical panel—whether it’s your home’s breaker box, RV electrical system, or transfer switch. The National Electrical Code strictly requires this safety measure for all permanent or semi-permanent installations. Failure to ground in these scenarios creates dangerous backfeed risks that endanger utility workers and violates electrical safety regulations.
Pre-Grounded Generator Models Eliminate External Grounding
Many modern generators, including Blue Diamond’s entire portable range, feature internal frame bonding that eliminates external grounding needs. These models have their neutral conductor connected directly to the metal frame at the factory. Check your manual for grounding symbols (⏚) or look for “pre-grounded” labeling on the frame. If your generator specifies internal bonding, additional grounding typically isn’t required for standard operation.
Dangers of Skipping Generator Grounding
Operating an ungrounded generator during panel connections creates multiple life-threatening hazards. Fault current seeks the path of least resistance—often traveling through anyone touching the generator or connected appliances. This leads to severe electrocution risks even from minor electrical faults. Ungrounded systems also cause electrical fires when overloaded circuits can’t safely dissipate excess current. Your expensive generator and connected appliances face permanent damage from voltage surges that proper grounding would redirect into the earth. Insurance companies may deny claims related to ungrounded generator incidents, leaving you financially exposed after an accident.
Essential Grounding Tools and Materials

Before starting, gather these specific items to ensure a successful grounding job:
– 8-foot copper ground rod (5/8-inch diameter minimum)
– Copper grounding wire matched to your generator’s amperage
– Wire strippers for clean, precise cuts
– Pliers for creating secure connections
– Correct wrench size for your generator’s grounding bolt
– Sledgehammer for driving the rod into soil
– Grounding clamp (recommended for professional-grade connections)
Drive the Ground Rod Correctly

Choose Optimal Location Away from Activity Zones
Position your ground rod at least 10 feet from your generator’s operating area to prevent accidental contact. Avoid high-traffic pathways where people might trip over the rod or wire connections. Seek out naturally moist soil areas whenever possible—dry earth increases electrical resistance and compromises grounding effectiveness. Mark the rod location clearly if it might become obscured by vegetation or weather conditions.
Drive Rod to Full 8-Foot Depth for Maximum Safety
Using your sledgehammer, drive the copper rod vertically into the ground until only 2-3 inches remain visible above soil level. This 8-foot depth ensures contact with consistently moist soil layers that provide the low-resistance path needed for safe current dissipation. In rocky terrain where vertical installation proves impossible, drive the rod at a 45-degree angle while maintaining full depth penetration for effective grounding.
Connect Copper Ground Wire Properly
Measure and Cut Wire with Strategic Slack
Calculate the distance from your generator to the ground rod location, adding 3-4 feet of extra length for proper routing and connection slack. Cut your copper wire to this precise measurement using wire strippers. Remember that longer wire increases electrical resistance, so position your generator as close as practical to the ground rod without compromising safety clearances.
Strip Wire Ends Without Damaging Copper Strands
Remove 6-12 inches of insulation from both wire ends using wire strippers, taking care not to nick the delicate copper strands underneath. Damaged conductors create dangerous hot spots and potential failure points in your grounding system. Leave just enough exposed wire for secure connections while minimizing unnecessary safety hazards from excessive exposed conductors.
Secure Rod Connection First for Reliable Contact
Wrap Wire Tightly Around Rod with Professional Technique
Using pliers, wrap the stripped wire end tightly around the ground rod’s exposed portion, making at least three complete turns to ensure solid mechanical and electrical contact. For superior reliability, use a dedicated grounding clamp instead of wrapping—these specialized connectors provide better contact pressure and corrosion resistance than hand-wrapped connections.
Verify Rod Connection Stability Before Proceeding
Gently tug the wire to confirm it won’t loosen over time from vibration or soil movement. The connection should feel completely solid with zero movement or slippage. If the wire shifts even slightly, unwrap and re-tighten the connection, or immediately switch to a grounding clamp for improved reliability and safety.
Connect Wire to Generator Safely
Power Down Completely Before Any Connections
Critical: Shut off your generator and allow it to cool completely before making any electrical connections. Hot engines and electrical components create serious burn and fire hazards during the grounding process. Never attempt grounding while the generator is running or still warm from recent operation.
Locate Grounding Bolt with Precision
Find your generator’s designated grounding bolt—typically marked with a grounding symbol (⏚) or labeled “GND” or “GROUND.” Clean any corrosion, paint, or debris from the connection point using a wire brush until bright metal shows through. This preparation ensures optimal electrical contact between the wire and generator frame.
Attach Wire Securely with Proper Technique
Loosen the grounding bolt with your wrench, wrap the stripped wire clockwise around the bolt threads (matching the tightening direction), then retighten firmly. The wire should wrap in the same direction the bolt tightens to prevent loosening from operational vibration. Ensure the connection is tight enough that the wire cannot rotate under firm finger pressure.
Test Your Grounding System Before Operation
Perform Continuity Test with Multimeter Verification
Using a multimeter set to resistance (ohms), test continuity between the generator frame and ground rod. Touch one probe to unpainted metal on the generator frame and the other to the ground rod. Properly grounded systems show less than 25 ohms resistance—higher readings indicate poor connections or inadequate soil conditions requiring immediate correction.
Address High Readings with Effective Solutions
If resistance exceeds 25 ohms, systematically check all connections for looseness or corrosion. In extremely dry soil conditions, install a second ground rod 6 feet from the first, connecting both with the same copper wire. Temporarily moistening the soil around the rod improves grounding effectiveness during testing.
Safety Checks Before Every Generator Use
Inspect All Connections for Damage or Looseness
Walk the entire grounding path before each use, checking for damaged wire insulation, loose connections, or potential trip hazards. Replace any compromised wire immediately—damaged insulation creates serious shock risks and system failures. Pay special attention to connection points where vibration might cause loosening over time.
Verify Clearance Requirements for Safe Operation
Maintain 3 feet of clearance around your generator on all sides for proper ventilation and maintenance access. Never operate in standing water or during precipitation. Position the generator on stable, level ground to prevent tipping or fuel spills that could create additional hazards during operation.
Maintain Your Grounding System for Long-Term Safety
Monthly Inspection Routine Prevents Problems
Check ground rod connections monthly for looseness caused by soil settling or freeze-thaw cycles. Tighten any loose connections immediately. Inspect copper wire for corrosion—green patina is normal copper oxidation, but white or red corrosion indicates serious problems requiring attention and possible component replacement.
Annual Resistance Testing Ensures Ongoing Protection
Test ground resistance annually using your multimeter, especially after electrical work or lightning storms. Replace corroded components promptly and consider upgrading to heavier copper wire if your generator load has increased significantly since initial installation.
Professional Installation Required for Permanent Setups
When to Call Licensed Electricians Immediately
Permanent generator installations, whole-house backup systems, or any connection to building electrical panels require professional electrician services. These experts ensure compliance with local codes, proper transfer switch installation, and adequate grounding for your specific soil conditions—safeguarding your investment and family.
Code Compliance Requirements Vary by Location
Local electrical codes may mandate deeper ground rods, additional grounding electrodes, or specific wire gauges beyond basic recommendations. Always verify local requirements before permanent installations—what works in sandy Florida soil may fail in rocky New England terrain. Licensed electricians know these regional variations and ensure your system meets all safety standards.
Operating Environment Safety Prevents Secondary Hazards
Ventilation and Positioning Save Lives
Never operate generators in garages, basements, or enclosed spaces—even with doors open. Carbon monoxide accumulates rapidly in these areas, causing fatalities within minutes. Position generators downwind from living areas, with exhaust pointing away from buildings and air intakes.
Refueling Protocol Prevents Catastrophic Fires
Allow the generator to cool completely before refueling—hot engine parts ignite spilled fuel instantly. Store fuel in approved containers at least 10 feet from the generator during operation. Check for fuel leaks around connections before each use and wipe up any spills immediately with absorbent material.


