Your generator’s kill switch refuses to shut off the engine, and the unit keeps running even when you flip the switch or press the button. This frustrating situation not only wastes fuel but also creates a serious safety hazard, especially during emergencies or maintenance. Understanding why this happens—and how to fix it—can save you from costly repairs and dangerous situations.
This guide walks you through the most common causes of kill switch failure, provides step-by-step diagnostic procedures, and offers practical solutions you can implement today. Whether you’re dealing with a portable generator or a standby unit, these troubleshooting techniques will help you restore proper shutdown functionality quickly. If your generator won’t stop running when you engage the kill switch, you’re not alone—this is one of the most frequent electrical issues generator owners face.
Why Your Generator Kill Switch Fails to Stop the Engine
Kill switches fail for specific reasons that follow predictable patterns. Most failures stem from electrical disconnections, mechanical wear, or grounding issues that prevent the switch from properly interrupting the ignition circuit. When any component in this circuit fails, your generator continues running despite your attempts to shut it down, creating both safety hazards and unnecessary fuel consumption.
Electrical Connection Problems
Loose or corroded wires represent the leading cause of kill switch malfunction. The switch relies on a complete electrical circuit to ground the ignition system when activated. When connections become loose due to vibration or corrosion builds up from moisture exposure, the circuit remains incomplete, and the engine continues running. You’ll often notice intermittent operation first—sometimes the switch works, sometimes it doesn’t—before complete failure occurs.
Mechanical Switch Wear
Physical components inside the switch can wear out over time. The internal contacts may become pitted or bent, preventing proper electrical contact when the switch is activated. This wear accelerates in dusty environments or when the switch experiences frequent use. If your kill switch feels loose, sticky, or requires excessive force to operate, mechanical wear is likely the culprit behind your generator kill switch not working properly.
Ground Wire Disconnection
The kill switch connects to the engine’s ignition coil through a ground wire. If this wire becomes disconnected, severed, or damaged, the switch loses its ability to ground the ignition system. This creates a situation where flipping the switch does nothing because the electrical path to ground is broken. Check for visible damage along the entire wire path, particularly near vibration points where wires are most likely to fatigue and break.
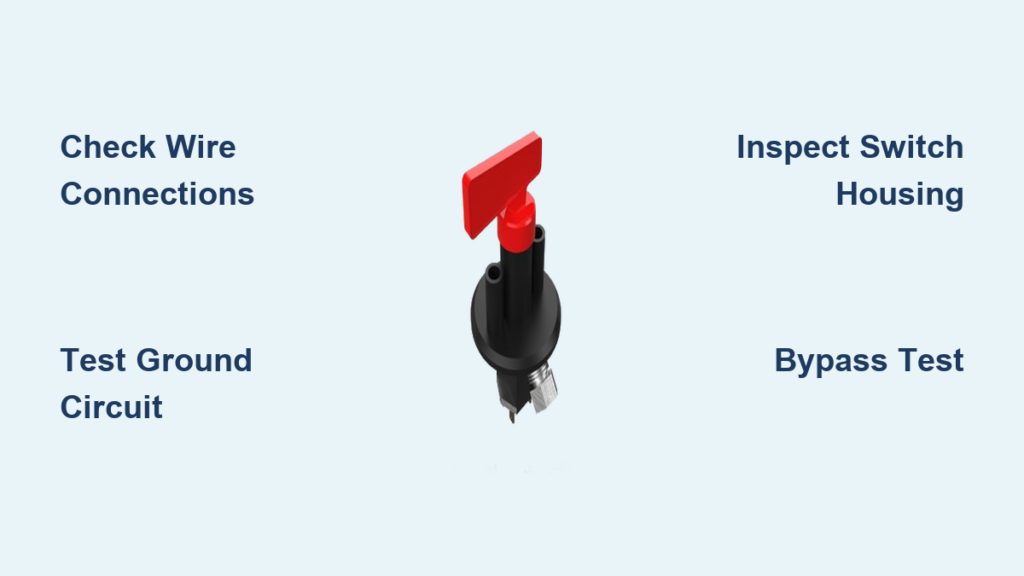
Immediate Visual Checks for Non-Working Kill Switches
Before diving into complex diagnostics, perform these visual checks that take less than five minutes and often reveal obvious problems. These quick inspections can save you significant time and prevent unnecessary component replacement.
Check Switch Position and Movement
Examine the kill switch’s physical position and range of motion. The switch should move smoothly between ON and OFF positions without sticking or feeling loose. Any grinding sensation or excessive play indicates internal mechanical damage that requires replacement. Pay attention to how the switch feels when you operate it—does it click positively into position, or does it feel vague and uncertain? Proper tactile feedback is essential for reliable operation.
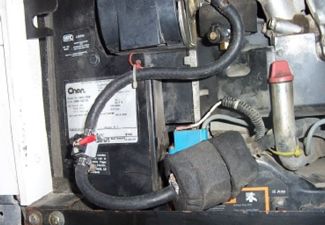
Inspect Wire Connections
Trace the wires from the kill switch back to the engine. Look for visible signs of trouble including loose terminal connections at the switch, frayed or damaged wire insulation, corroded or green-colored terminals, and broken wires near connection points. Corrosion often appears as a white, green, or blue powdery substance on metal connections. Make sure to check both ends of each wire—where it connects to the switch and where it terminates at the engine.
Test Switch Housing Integrity
Check the kill switch housing for cracks, moisture intrusion, or physical damage. Water entering the switch assembly can cause internal corrosion and electrical shorts that prevent proper operation. If your generator is stored outdoors or used in wet conditions, this is particularly important. Look for signs of water ingress such as rust inside the switch housing or mineral deposits on electrical contacts.
Diagnostic Testing Procedures for Faulty Kill Switches

Systematic testing helps isolate whether the problem lies with the switch itself, the wiring, or the ignition system components. These tests require only basic tools but provide definitive answers about where your kill switch failure originates.
Multimeter Continuity Test
Set your multimeter to continuity mode and test the kill switch by disconnecting the switch wires from the engine, placing probes on switch terminals, and toggling the switch ON/OFF while monitoring continuity. A properly functioning switch shows continuity in the OFF position (completing the ground circuit) and no continuity in the ON position. If your generator kill switch not working issue persists through this test, you’ve confirmed an electrical problem with the switch itself.
Ground Circuit Verification
Test the ground wire path from switch to engine by connecting one multimeter probe to the switch ground terminal and the other probe to a clean engine metal surface. Resistance should read near zero ohms. High resistance indicates a poor ground connection somewhere in the circuit. This test is critical because even with a perfect switch, a compromised ground path will prevent proper shutdown operation.
Bypass Test Method
Temporarily bypass the kill switch to confirm engine shutdown capability by locating the ignition coil ground wire and momentarily touching it to the engine block. The engine should immediately shut down. If the engine stops during this test, the problem definitely lies within the switch circuit rather than the ignition system itself. This is the most definitive test to determine if your kill switch is truly at fault.
Repairing Loose Wire Connections Causing Kill Switch Failure
Loose connections cause intermittent kill switch failures that worsen over time. Address these issues promptly to prevent complete switch failure and the dangerous situation of a generator that won’t shut down when needed.
Terminal Cleaning Process
Corroded terminals require thorough cleaning to restore electrical conductivity. Use a wire brush or emery cloth on terminal surfaces, apply dielectric grease after cleaning to prevent future corrosion, and ensure tight terminal connections without over-tightening. For stubborn corrosion, a mixture of baking soda and water can help neutralize acidic deposits before cleaning. Always disconnect the spark plug wire before working on electrical connections for safety.
Wire Repair Techniques
Damaged wires need proper repair to ensure reliable operation. Cut back damaged wire sections, use heat-shrink connectors for weatherproof splices, route wires away from hot engine components, and secure wires with proper clips to prevent vibration damage. Avoid using standard wire nuts or electrical tape for permanent repairs on generator wiring—they won’t withstand vibration and temperature extremes.
Emergency Shutdown Methods When Kill Switch Fails
When kill switch repairs aren’t immediately possible, knowing alternative shutdown methods prevents dangerous situations. These techniques should only be used temporarily until you can properly repair the kill switch circuit.
Fuel Shutoff Valve Technique
Most generators include a fuel shutoff valve that provides a reliable alternative shutdown method. Locate the fuel valve near the carburetor, turn it to the OFF position, let the engine run until fuel in the carburetor depletes, and the engine will sputter and stop naturally. This method prevents potential engine damage that might occur with more abrupt shutdown techniques.
Spark Plug Wire Disconnection
As a last resort, disconnect the spark plug wire using insulated pliers to avoid shock. Pull the wire straight off the spark plug, and the engine stops immediately. Reconnect carefully to prevent damage to the spark plug boot or terminal. This method should only be used in emergencies as repeated disconnection can damage the spark plug wire and connection.
Preventing Future Generator Kill Switch Failures
Proactive maintenance prevents most kill switch problems before they leave you stranded with a generator that won’t shut down when needed. These simple habits significantly extend the life of your kill switch system.
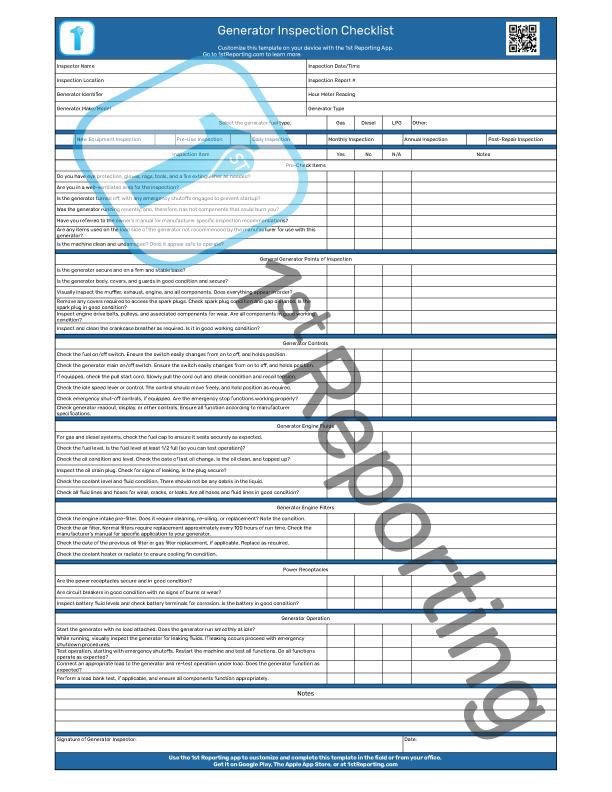
Monthly Inspection Routine
Perform these checks monthly during generator season: test kill switch operation with the engine running, conduct visual inspection of wire connections, clean switch housing with compressed air, and apply silicone spray to prevent moisture intrusion. Make this part of your regular generator maintenance schedule—just a few minutes of prevention can save hours of troubleshooting later.
Storage Best Practices
Proper storage extends switch life significantly. Store your generator in a dry, covered location, run the engine dry before long-term storage, disconnect the battery to prevent corrosion, and cover the switch assembly with a protective cap. Moisture is the enemy of electrical components, so keeping your generator dry during storage prevents many common kill switch failures.
Usage Habits That Protect
Develop these habits to minimize wear: use normal force when operating the switch (don’t slam it), avoid rapid or forceful switching, let the engine idle briefly before shutdown, and keep the switch area clean and dry. Gentle operation significantly extends the mechanical life of your kill switch.
A non-functioning generator kill switch creates unnecessary risks during critical situations. By following these diagnostic steps and repair procedures, you can restore reliable shutdown capability and prevent future failures. Remember that electrical safety remains paramount—always disconnect the spark plug before performing any electrical work, and don’t hesitate to consult a professional if problems persist after basic troubleshooting.
Regular testing and maintenance of your kill switch takes only minutes but provides peace of mind when you need your generator most. Make kill switch inspection part of your routine generator maintenance, and you’ll never face the frustration of an engine that won’t shut down when you need it to stop. When your generator kill switch not working issue is resolved, you’ll have confidence that your power source will operate safely and shut down reliably when needed.


