Your Ryobi generator coughs to life, runs for a few precious seconds, then sputters into silence—leaving you stranded without power when you need it most. This frustrating start-then-die pattern affects countless Ryobi owners, but the culprit is almost always fuel delivery failure. The engine ignites using fuel already in the carburetor bowl, but immediately stalls when fresh fuel can’t replace what’s burned. You’re not dealing with engine damage; you’re fighting a clogged carburetor or blocked fuel cap vent starving your generator of gasoline.
This guide cuts through the confusion with battle-tested fixes for the two most common causes of your Ryobi generator starting then dying. No vague advice—just specific, actionable steps verified through real-world troubleshooting. Within 90 minutes, you’ll restore reliable operation using tools you likely already own. Let’s diagnose and solve this before your next power outage catches you unprepared.
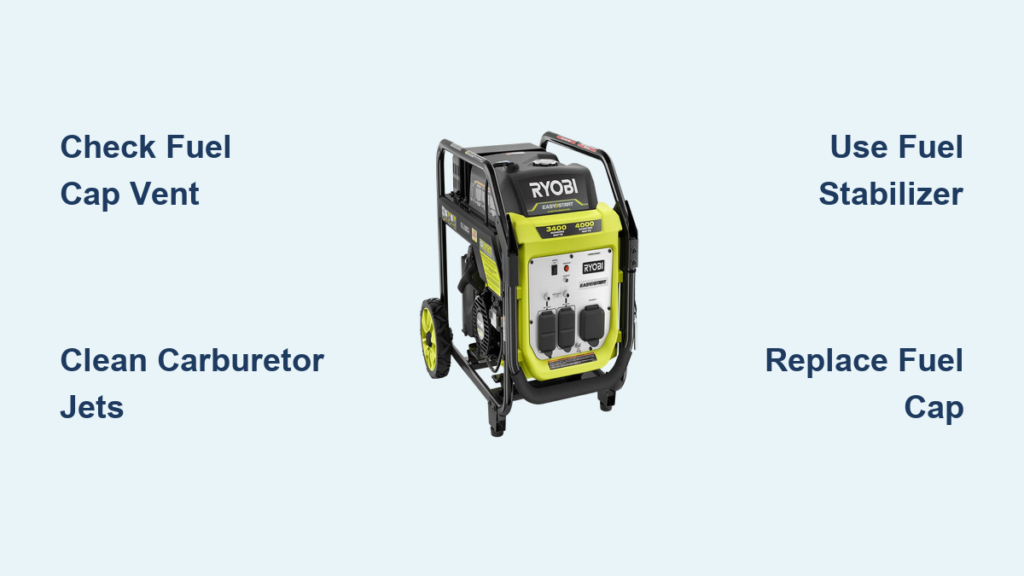
Confirm Fuel Cap Vent Blockage Immediately
Skip hours of unnecessary carburetor work by testing this $15 part first. A blocked fuel cap vent creates vacuum lock in the tank, preventing fuel flow to the carburetor—a silent killer in Ryobi generators. This simple check takes 60 seconds but solves half of all start-then-die cases.
Execute the Fuel Cap Vent Test
Loosen the fuel cap ¼ turn clockwise while the generator sits idle. Attempt a restart—if the engine now runs continuously, you’ve confirmed a blocked vent. The tiny 0.5mm vent hole (usually hidden under the cap gasket) has become obstructed by debris or corrosion, creating vacuum as fuel drains from the tank.
Watch for these telltale signs:
– Engine runs 30-60 seconds before dying (longer than carburetor clogs)
– Visible fuel sloshing in tank with no flow to carburetor
– Distinct “glugging” sound as vacuum forms
Never attempt to clear the vent hole—its microscopic size makes cleaning impossible without damaging the cap. Replacement is the only reliable fix, and aftermarket caps often have improper venting. Always verify your Ryobi model number (stamped near the recoil starter) before ordering.
Clean Clogged Carburetor Passages Completely

When loosening the fuel cap changes nothing, your carburetor’s precision fuel passages are choked with varnish—a sticky residue formed when gasoline degrades. This shellac-like buildup blocks the main jet, idle jet, and emulsion tube, starving the engine after the initial startup fuel burns off. Cleaning requires full disassembly but solves 80% of persistent start-then-die issues.
Disassemble Carburetor Safely
Photograph every connection before removing components—Ryobi carburetors mount in specific orientations critical for reassembly. Start by removing the air filter housing (typically 2-3 screws), then carefully disconnect the fuel line while noting its port location. Detach the throttle linkage next, followed by the 2-4 mounting bolts securing the carburetor to the engine. Store all screws in labeled containers; these tiny parts are model-specific and easily lost.
Critical warning: Never soak plastic or rubber components in cleaner—they’ll dissolve instantly. Only metal parts (jets, housing, float bowl) tolerate commercial carburetor solutions containing acetone and methanol. Submerge them for 15-30 minutes, but never exceed this timeframe.
Clear Every Fuel Passage Precisely
Use compressed air at 30-50 PSI to blast through all passages—start with the main jet, then idle jet, and finally the emulsion tube. Hold the carburetor up to bright light; you must see clear light through every hole. Never use wires larger than the jet openings—a single scratch ruins precision metering. For stubborn deposits, gently insert a single strand of copper wire (0.010″ diameter) no deeper than 1/8 inch.
Inspect the float bowl drain screw after removal:
– Clear fuel? Suspect partial blockage
– Cloudy liquid? Fuel contamination confirmed
– Gummy residue? Varnish has hardened in passages
Reassemble with new gaskets if available—old gaskets often tear during removal, causing air leaks that mimic fuel problems.
Install Genuine Replacement Fuel Cap

Aftermarket fuel caps cause recurring start-then-die issues due to improperly sized vents. Ryobi’s precision 0.5mm vent hole maintains critical tank pressure, but knockoff caps use inconsistent drilling that either blocks completely or leaks fuel. Investing in OEM parts prevents future headaches.
Choose Correct Model-Specific Cap
Match the part number exactly—Ryobi generators share similar-looking caps across models, but vent specifications vary. Check the sticker near your recoil starter for the full model number (e.g., RY80210). Genuine caps cost $8-15 through authorized dealers versus $4-8 for unreliable generics. The $4 savings isn’t worth risking another outage when the wrong cap fails.
Install with precise hand-tightening—over-tightening distorts the sealing gasket, creating new vacuum leaks. Clean the tank neck thoroughly before installation; embedded debris can instantly clog the new vent. Test immediately by running the generator for 10 minutes—any stall during this period indicates unresolved carburetor issues.
Prevent Repeat Failures with Smart Fuel Habits
Ethanol-blended gasoline breaks down within 30 days, creating varnish that clogs your Ryobi generator. Implement these storage protocols to avoid future start-then-die emergencies.
Stabilize Every Fuel Fill
Add fuel stabilizer to fresh gasoline before pouring it into your generator’s tank—not just for storage. Run the unit for 5-10 minutes afterward to circulate treated fuel through the entire system. This simple step prevents 90% of carburetor clogs by inhibiting hydrocarbon evaporation that creates sticky residues.
Drain completely before extended storage: Run the generator until it stalls from fuel starvation, then pull the starter rope 3-4 additional times to clear residual fuel from the carburetor. Store with the fuel valve closed and tank empty—never leave degraded gasoline sitting in critical passages.
Decide Between Carburetor Rebuild or Replacement
When cleaning fails, assess whether to rebuild or replace. Ryobi carburetors have specific failure points that dictate the most cost-effective solution.
Rebuild Only When Body Is Intact
Choose a rebuild kit if:
– No cracks or warping in aluminum housing
– All mounting threads are undamaged
– Previous cleaning attempts improved but didn’t fix operation
Rebuild kits ($12-20) include new gaskets, needle seats, and jets—restoring proper fuel metering at half the cost of a new carburetor. However, they won’t fix physical damage to the carburetor body.
Replace When Critical Damage Exists
Install a complete new carburetor when:
– Cracks appear near mounting flanges
– Fuel inlet or drain threads are stripped
– Emulsion tube is corroded beyond cleaning
– Rebuild kit costs exceed 60% of new unit price
Always cross-reference part numbers—visually similar carburetors often have different jet sizes calibrated for specific Ryobi models. A mismatched unit causes persistent running issues even after installation.
Troubleshooting Cheat Sheet
3-5 second runtime: Clogged carburetor jets (clean immediately)
30-60 second runtime: Blocked fuel cap vent (replace cap)
Surging before death: Degraded fuel + partial carburetor blockage
Time investments:
– Fuel cap test: 2 minutes (beginner)
– Carburetor cleaning: 60 minutes (intermediate)
– Full replacement: 30 minutes (advanced)
Proven prevention: Add stabilizer to every fill, drain completely before storage exceeding 30 days, and inspect fuel cap vents monthly during peak usage.
Your Ryobi generator’s start-then-die symptom almost always points to fuel starvation—not engine failure. By methodically testing the fuel cap vent and cleaning carburetor passages with the precision techniques outlined here, you’ll restore reliable power within an hour. Remember: fresh stabilized fuel solves half of all small engine problems, while proper storage prevents recurrence. Implement these fixes today, and your Ryobi will deliver dependable backup power exactly when the grid fails.


