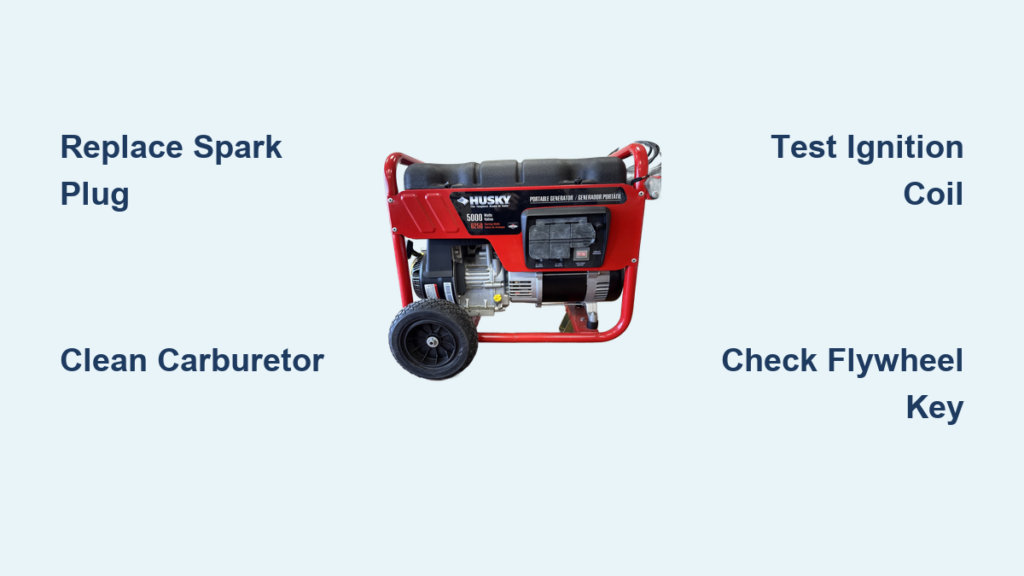
Your basement floods during a storm while your Husky generator refuses to fire. That silent machine isn’t just inconvenient—it’s dangerous when you’re relying on power for medical devices or sump pumps. Most owners waste hours replacing parts randomly, but 9 out of 10 Husky no-start issues stem from these eight specific failures. This guide delivers the exact diagnostic sequence technicians use, starting with the $5 fix that solves 40% of cases. Skip the guesswork and get power back in under 60 minutes.
Replace Faulty Spark Plug Immediately
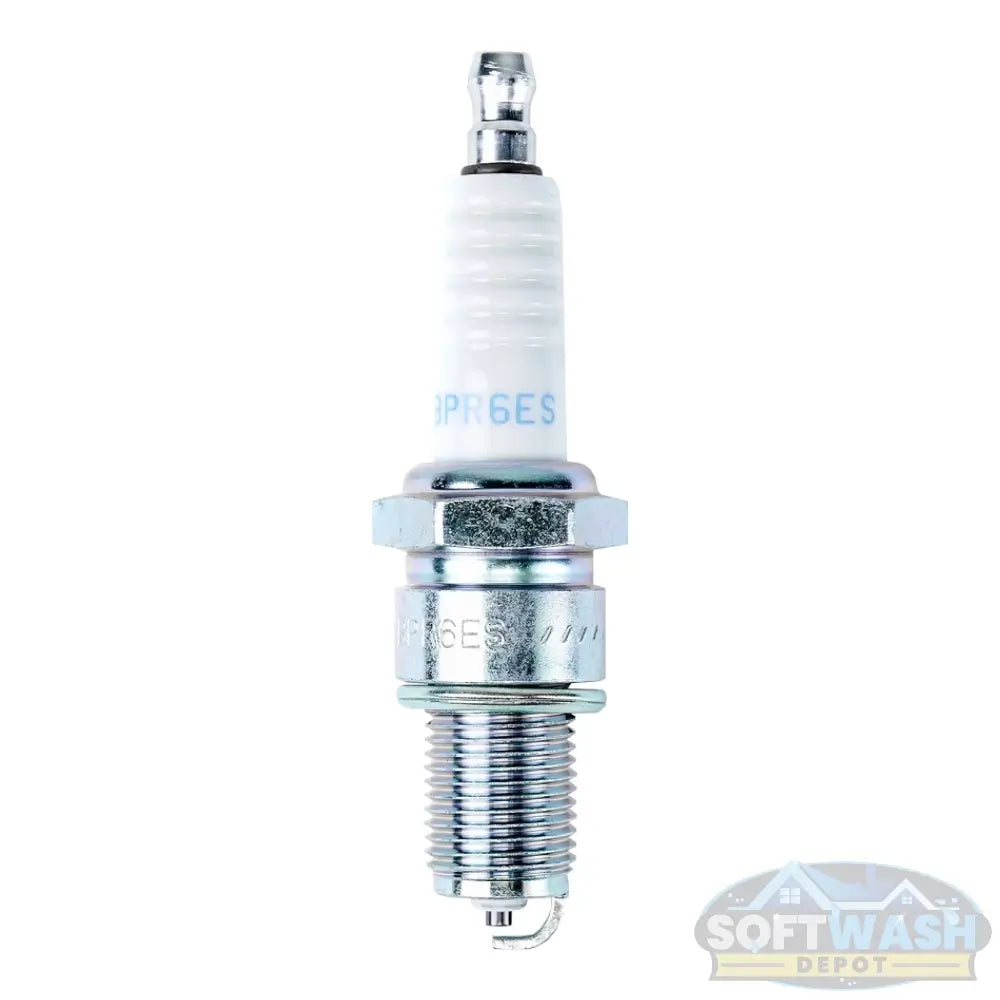
Identify Damaged Spark Plug in 60 Seconds
Grab your 13/16″ socket wrench and pull the spark plug wire. Inspect the plug under bright light for three critical failure signs:
– Cracked porcelain insulator (visible hairline fractures in the white ceramic)
– Eroded electrodes (rounded or missing center/side electrode tips)
– Carbon bridging (thick black deposits connecting the electrodes)
Don’t assume it’s functional just because it looks clean. A plug with perfect electrodes can still fail internally. Husky generators typically require NGK BPR6ES plugs, but always verify your model number on the data plate before buying replacements.
Confirm Spark Strength with Tester
Attach a spark plug tester between the plug and wire. Pull the starter rope while watching the tester window:
– ✅ Strong blue-white spark = plug is functional
– ❌ Weak orange spark or no spark = replace immediately
This $5 component causes nearly half of all Husky no-start cases. Never reinstall a questionable plug—even if it sparks outside the engine, compression can reveal hidden weaknesses.
Clean Carburetor Clogged with Fuel Varnish
Diagnose Stale Fuel Damage in 2 Minutes
Untreated fuel left sitting longer than 30 days turns into sticky varnish that chokes critical passages. Confirm carburetor failure if your Husky:
– Cranks but won’t catch even with choke engaged
– Starts briefly then dies immediately
– Produces black smoke before stalling
These symptoms mean varnish is blocking the main jet or idle circuit—common in Huskys stored with old gasoline.
Execute Quick External Cleaning Fix
Remove the air filter and spray carburetor cleaner directly into the throttle throat while manually working the throttle lever. Pull the starter rope 3-5 times. If the engine fires momentarily, you’ve confirmed internal clogging. This temporary fix buys time for proper repair but isn’t a permanent solution.
Perform Complete Carburetor Overhaul
- Shut fuel valve and drain the carburetor bowl
- Remove carburetor (typically 2-4 mounting bolts)
- Disassemble carefully—take photos before removing float bowl, main jet, and emulsion tube
- Soak metal parts in carburetor dip for 30 minutes—never use vinegar or household cleaners
- Blow compressed air through every passage until fluid flows cleanly
Pro Tip: If cleaning fails twice, install a rebuild kit ($18). Repeated cleanings waste time when worn gaskets or diaphragms are the real issue.
Test Ignition Coil Output Before Replacing

Recognize Critical Coil Failure Signs
Suspect the ignition coil only after verifying spark plug functionality. Key indicators include:
– Zero spark during plug testing
– Intermittent starting that worsens when the engine heats up
– Complete failure after the generator has been running
This component converts magneto voltage into the 15,000+ volts needed for ignition—failure means no spark regardless of plug condition.
Measure Resistance with Multimeter
Set your multimeter to ohms mode:
– Primary winding test (small terminals): Should read 0.2-1.0 Ω
– Secondary winding test (plug wire terminal to ground): Must show 2.5-5.0 kΩ
Readings outside these ranges confirm coil failure. Replacement coils cost $35-50 and install in 10 minutes with two screws. Never skip this test—replacing a good coil wastes money and time.
Inspect Recoil Starter Pawls for Damage
Spot Starter Mechanism Failures Visually
Remove the starter housing (3-4 bolts) and pull the rope slowly while watching the pawls (cams):
– ✅ Working properly: Pawls extend outward to engage the crankshaft hub
– ❌ Failure signs: Broken pawls, frayed rope, or weak rewind spring
A damaged recoil mechanism prevents full crankshaft rotation during startup—common after forceful pulls.
Replace Critical Components Correctly
- Worn pawls: Replace individual pawls ($7) if available for your model
- Frayed rope: Install new rope using the original spring tension—never tie knots
- Weak spring: Replace the entire recoil assembly ($22); integrated springs can’t be serviced alone
Pro Tip: Lubricate pawl pivots with dry graphite spray before reassembly—oil attracts debris and causes premature failure.
Bypass Low-Oil Safety Switch Temporarily
Execute Emergency Start Test in 30 Seconds
Locate the oil sensor (usually near the crankcase) and disconnect its single wire (typically yellow or black). Attempt to start:
– ✅ Engine fires: Oil level is low or switch is faulty
– ❌ Still no start: Problem lies elsewhere
Critical Warning: Never operate long-term with this bypassed—it risks catastrophic engine failure from oil starvation.
Verify Switch Function with Multimeter
Test the disconnected switch:
– Float down (low oil): Should show continuity to ground
– Float up (proper oil): Must read open circuit
Replace faulty switches immediately—they cost under $15 and prevent engine destruction during operation.
Check Flywheel Key for Shear Damage
Identify Timing Destruction Symptoms
A sheared flywheel key causes violent symptoms:
– Backfire through air intake during cranking
– Pull cord jerking backward unexpectedly
– Complete no-start despite good spark
This small metal key aligns ignition timing—when it snaps (often from blade strikes), your Husky loses critical spark timing.
Remove Flywheel Safely Without Damage
- Remove recoil starter assembly
- Loosen flywheel nut with impact driver (don’t fully remove)
- Install flywheel puller—never hammer directly on flywheel
- Inspect key slot for twisted or broken key fragments
Replace with an exact-spec key ($4.50). Misaligned timing from a poor replacement causes immediate re-shearing.
Prevent Future Husky Generator Failures
Implement Fuel Storage Protocol
- Add stabilizer (STA-BIL 360) to fresh fuel before storage
- Run engine dry for 5 minutes after each use
- Drain carburetor bowl via bottom screw before long-term storage
Untreated fuel causes 70% of repeat no-start issues—this 2-minute routine eliminates varnish formation.
Follow Critical Maintenance Schedule
| Task | Frequency | Critical Reason |
|---|---|---|
| Spark plug replacement | Every 100 hours or annually | Fouling causes hard starting |
| Oil change | First 20 hours, then every 50 hours | Prevents low-oil switch activation |
| Air filter cleaning | Monthly during heavy use | Restriction starves combustion |
Pro Tip: Tape this pre-start checklist inside your generator cover:
1. ✅ Oil level at full mark
2. ✅ Fuel valve open with stabilized gas
3. ✅ Spark plug wire fully seated
4. ✅ Choke engaged for cold starts
Your immediate action plan: Start with the spark plug test—it takes five minutes and fixes most Husky generators. If that fails, move to carburetor cleaning before testing electrical components. 85% of no-start cases resolve with these first two fixes. Still stuck? The flywheel key or ignition coil needs replacement, but these account for under 10% of failures. Never ignore safety switches—they’re cheap insurance against destroying your $500 generator. With this sequence, you’ll beat 9 out of 10 Husky generator won’t start emergencies before the storm passes.


