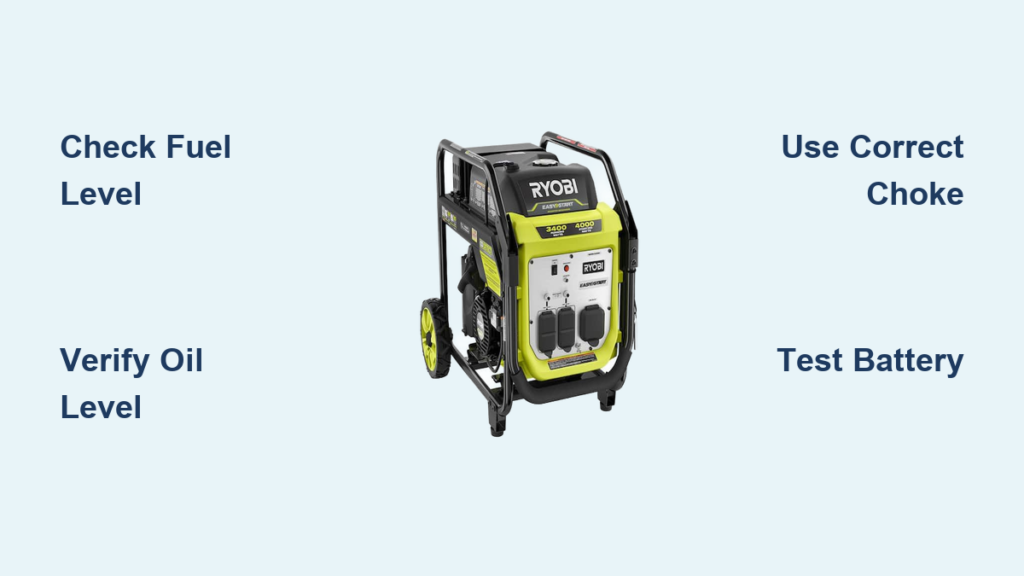
Your Ryobi generator sits ready in the garage, but the starting procedure feels more complex than it should. Whether you’re facing a power outage or heading to a job site, getting your generator running quickly matters. This guide walks you through the exact steps to start any Ryobi generator model safely and efficiently.
You’ll learn the critical safety checks, the difference between manual and electric start procedures, and how to troubleshoot common starting problems. By following these proven steps, you’ll avoid damaging your investment and ensure reliable power when you need it most. Knowing how to turn on Ryobi generator properly means the difference between immediate power and frustrating delays when electricity matters most.
Position Your Ryobi Generator for Safe Operation
Choose the Right Location Before Starting
Place your Ryobi generator on firm, level ground at least 3 feet from any structure. This prevents carbon monoxide buildup and allows proper airflow around cooling fins. Check the surface—concrete pads work best, but packed gravel or asphalt also work. Never operate on grass that could block air intakes.
Look up and around. Avoid overhanging branches, awnings, or carports. Your generator needs clear space on all sides for ventilation and maintenance access. If it’s raining, create a temporary shelter that covers the unit while maintaining 3-foot clearance on every side. Never operate your Ryobi generator in enclosed spaces, basements, or near open windows where deadly carbon monoxide could enter your home.
Fuel Safety Essentials for Starting Success
Use fresh 87-octane unleaded gasoline only. Check the manufacture date—gas older than 30 days can cause starting problems. For long-term storage fuel, add stabilizer following the ratio on the bottle (typically 1 ounce per 2.5 gallons).
Never refuel while hot. Allow 2 minutes of cooling time after shutdown. Wipe any spills immediately and wait for vapors to dissipate before starting. Store extra fuel in approved containers, never in your vehicle or living spaces. Proper fuel handling prevents dangerous situations and ensures your Ryobi generator starts reliably when you need it.
Critical Pre-Start Checks Before Attempting to Start
Verify Fuel and Oil Levels First
Fuel check: Locate the sight gauge on your fuel tank—maintain between 1/4 and full capacity. If low, fill carefully using a clean funnel. Verify the fuel shut-off valve (vertical position = ON, horizontal = OFF) is open. A common reason for failure when trying to turn on Ryobi generator is simply an empty fuel tank or closed fuel valve.
Oil check: With your generator on level ground, remove the dipstick and wipe clean. Reinsert without threading, then check the level. Add SAE 10W-30 oil to reach the upper mark. Most Ryobi models hold 12-20 ounces. Change oil after first 20 hours, then every 50 hours or 6 months. Low oil levels will trigger automatic shutdown even if you successfully start the generator.
Inspect Critical Components for Smooth Starting
Air filter check: Remove the cover using thumb screws or clips. The foam pre-filter should be clean and slightly oily. Wash dirty filters in warm soapy water, dry completely, then re-oil with clean engine oil. Replace torn paper elements immediately. A clogged air filter prevents proper combustion and makes starting difficult.
Electrical connections: Ensure all outlets are clean and dry. Test GFCI units by pressing “TEST” then “RESET.” Check power cords for cuts or frays. Clean battery terminals on electric start models using a wire brush if corrosion appears. Proper electrical connections ensure your generator delivers clean, stable power once running.
Starting Manual Recoil Start Ryobi Generators

Cold Engine Startup Procedure
Step 1: Turn the fuel valve to “ON” (vertical alignment with the fuel line)
Step 2: Move the choke lever fully to “CLOSED” position (fully toward you)
Step 3: Set the engine switch to “ON” position (usually marked with “I”)
Step 4: Pull the starter grip slowly until you feel resistance, then pull briskly with a full arm motion. Don’t yank—smooth, consistent pulls work better.
Step 5: Let the engine run 30-60 seconds with the choke partially engaged (move it halfway back)
Step 6: Gradually move the choke to “OPEN” as the engine smooths out
Pro tip: If it doesn’t start within 5 pulls, treat it as a cold start and use the choke. Many users fail to turn on Ryobi generator because they don’t give enough choke for cold engines.
Warm Engine Quick Start Method
When your generator ran recently, the process simplifies:
- Leave the fuel valve “ON”
- Keep the choke in “OPEN” position
- Set engine switch to “ON”
- Pull the starter grip normally
- Engine should fire within 2-3 pulls
Warning: If you’ve been running the generator recently, don’t use choke—this floods the engine. Many first-time users struggle with how to turn on Ryobi generator because they mistakenly use choke when the engine is already warm.
Starting Electric Start Ryobi Generator Models
Battery Preparation Check Before Starting
Battery voltage test: Use a multimeter—should read 12.6V minimum. Below 12.4V requires charging. Connect positive (+) terminal first, then negative (-). Clean white or green corrosion with a wire brush and baking soda solution.
Fluid levels: For non-sealed batteries, remove caps and check electrolyte covers plates. Add distilled water if low, but don’t overfill. A weak battery is the #1 reason electric start models fail to turn on Ryobi generator properly.
Electric Start Sequence for Reliable Ignition
Step 1: Confirm fuel valve is “ON”
Step 2: For cold starts: engage choke 50-75% closed
Step 3: Turn engine switch to “START” and hold maximum 5 seconds
Step 4: If unsuccessful, wait 10 seconds before retrying
Step 5: Once running, gradually open the choke over 30-60 seconds
Step 6: After 3 failed attempts, troubleshoot per the manual
Critical warning: Extended cranking can overheat the starter motor. Always allow cooling periods between attempts. Never crank continuously for more than 5 seconds at a time.
Troubleshoot Common Starting Problems Immediately

Engine Cranks But Won’t Start
No fuel flow symptoms: Engine cranks normally but never fires
– Fix: Check fuel level, ensure valve is open, replace clogged fuel filter
Flooded engine signs: Strong fuel smell, wet spark plug
– Fix: Close choke completely, hold throttle wide open, pull starter 3-4 times to clear excess fuel
Old fuel issues: Generator sat unused for months
– Fix: Drain tank and carburetor, refill with fresh gasoline (minimum 87 octane)
Spark plug problems: Black, wet, or damaged plug
– Fix: Remove plug, clean with wire brush, regap to 0.028-0.031″ (0.7-0.8mm)
Engine Starts Then Immediately Dies
Choke left engaged: Engine starts then stalls within seconds
– Fix: Gradually open choke as engine warms—this is normal for cold starts
Low oil shutdown: Engine starts, runs 5-10 seconds, then stops
– Fix: Check oil level immediately—add oil to upper mark on dipstick
Overloading symptoms: Engine strains and dies when connecting loads
– Fix: Disconnect everything, restart generator, then add loads one at a time
Connect and Manage Your Electrical Load Properly
Safe Load Connection Sequence After Starting
Step 1: Start generator and let it warm up 2-3 minutes
Step 2: Connect your largest load first (like a refrigerator)
Step 3: Wait 30 seconds for engine to stabilize
Step 4: Add remaining loads one at a time
Step 5: Monitor voltage on panel meter—should read 120V ±5%
Pro tip: Never connect loads while starting your Ryobi generator. Wait until it’s running smoothly before plugging anything in. Many users think they can’t turn on Ryobi generator when the real problem is trying to start under load.
Proper Shutdown Procedures After Use

Normal Cool-Down Process Before Storage
Step 1: Disconnect all electrical loads—unplug everything
Step 2: Let the engine run unloaded for 3-5 minutes to cool
Step 3: Turn engine switch to “OFF” position
Step 4: Close fuel valve (optional for short-term storage)
Step 5: Allow complete cooling before moving or covering
Emergency Shutdown Triggers
Immediately kill the engine if you notice:
– Oil pressure warning light
– Engine overspeeding (racing uncontrollably)
– Visible smoke or flames
– Severe vibrations or loud mechanical noises
Emergency stop: Simply turn the engine switch to “OFF”—this cuts ignition immediately. Never ignore warning signs when operating your generator.
Maintenance for Reliable Starts Every Time
Daily Pre-Start Checks (2 minutes)
- Fuel level: Visual check via sight gauge
- Oil level: Quick dipstick inspection
- Air filter: Look for obvious dirt accumulation
- Leaks: Scan for fuel or oil drips
- GFCI test: Press test/reset buttons on equipped models
Weekly Exercise Routine
Run your generator under 50% load for 30 minutes weekly. This prevents fuel system clogs, lubricates engine parts, and charges electric start batteries. Use a space heater or shop vac as a test load. Regular exercise ensures your Ryobi generator starts when you need it most.
Storage Preparation Steps for Long-Term Reliability
Fuel options: Either run the tank completely dry or add fuel stabilizer following the 1:2.5 gallon ratio. Stabilized fuel lasts up to 12 months.
Oil service: Change oil before storage—old oil contains contaminants that can damage internal parts.
Battery care: Remove electric start batteries and store in a cool, dry place. Use a trickle charger monthly to maintain charge.
Final steps: Clean all surfaces, apply light oil to metal parts, and cover with a breathable generator cover. Store in a dry location away from temperature extremes.
Key Takeaway: Your Ryobi generator starts reliably when you follow the correct sequence—safety checks first, proper choke use for temperature conditions, and allowing adequate warm-up time. Master these steps once, and you’ll confidently provide power whenever and wherever you need it. Knowing exactly how to turn on Ryobi generator means never being caught without power when it matters most.


