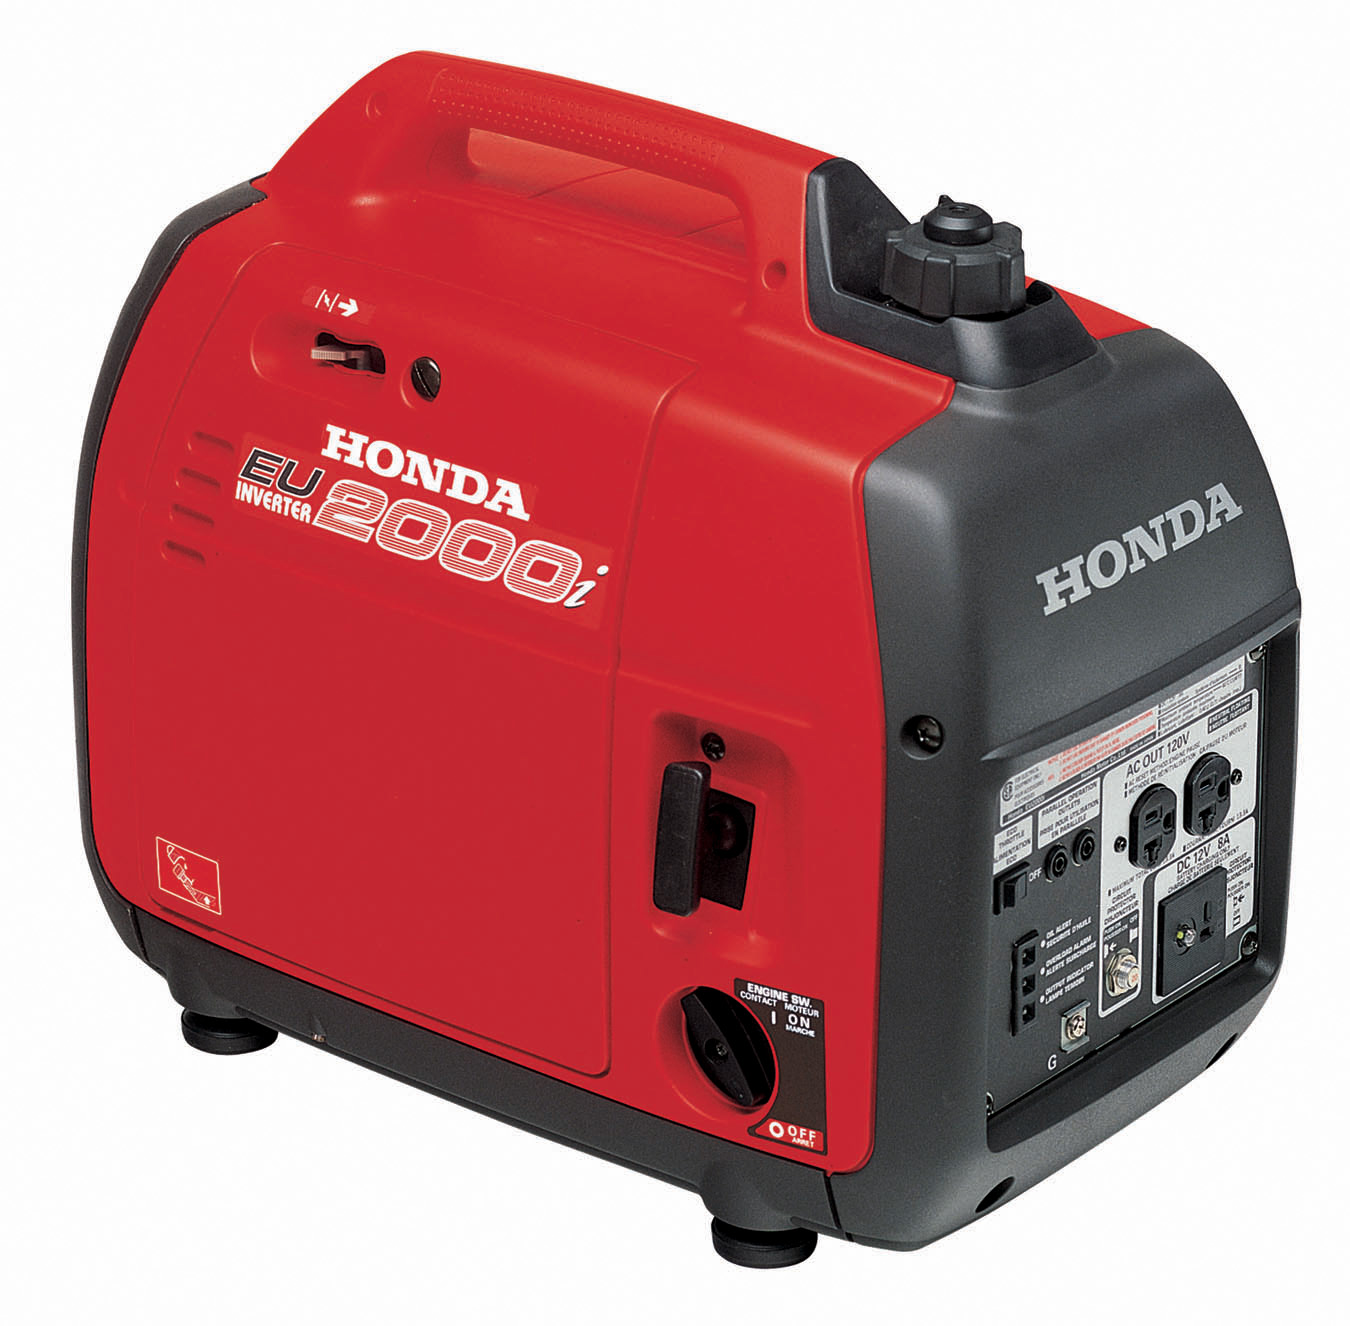
Your Honda generator dies mid-storm, leaving your refrigerator humming to a stop as groceries begin to warm. That blinking red light isn’t just annoying—it’s your Oil Alert system screaming for help. Don’t panic: performing a proper honda generator oil change takes just 15 minutes and prevents 90% of catastrophic failures. Whether you’re maintaining an EU2000i that powers job sites or an EU2200i for weekend camping, this guide delivers the exact steps Honda engineers designed for peak performance. You’ll discover the precise oil type, avoid common overfilling mistakes, and establish a maintenance schedule that keeps your generator running reliably for decades.
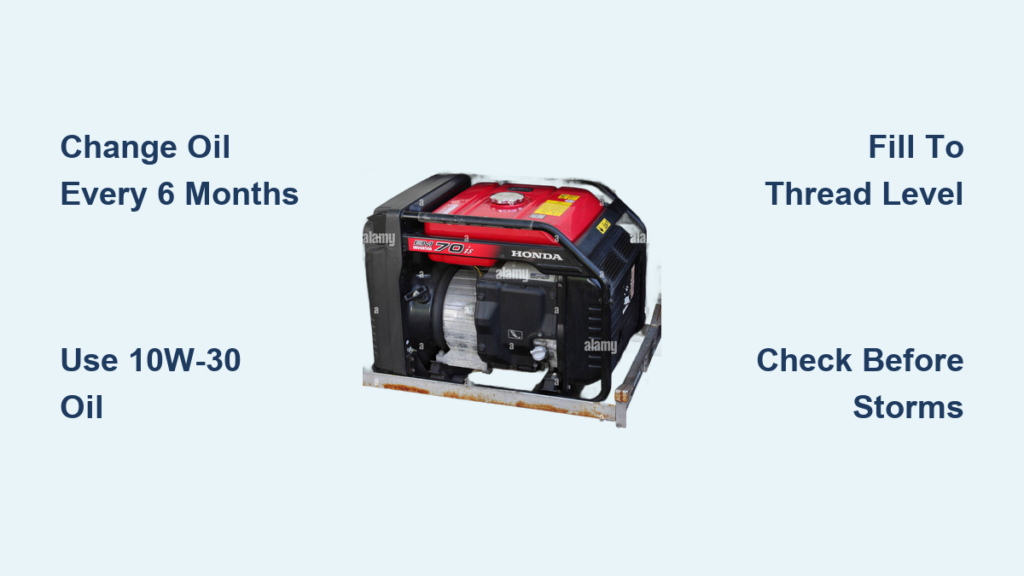
Most owners don’t realize that moisture accumulation during storage turns old oil into acid that etches engine bearings. Changing oil every 6 months—even with zero usage—prevents irreversible damage. By the end of this guide, you’ll confidently complete oil changes that extend your generator’s lifespan while avoiding the #1 mistake that triggers smoking and shutdowns.
Essential Safety Steps Before Draining Oil
Fuel System Shutdown Protocol
Turn the fuel valve OFF immediately—this small lever on the fuel cap prevents explosive spills when tilting your generator. Simultaneously flip the engine switch to OFF and let the unit cool 15-20 minutes if recently running. Never skip this cooling period: hot oil causes third-degree burns and creates fire hazards when contacting hot engine parts. Working on a warm (not hot) engine ensures faster drainage while keeping you safe.
Pre-Drain Positioning Tips
Run your generator 2-3 minutes before draining to thin the oil and suspend contaminants. Elevate it on wooden blocks to create clearance for your drain pan—this prevents frustrating drips on concrete. Position the pan directly beneath the filler neck opening; oil will flow out through this channel when tilted. Critical mistake to avoid: tilting with the air filter facing downward floods the carburetor, requiring costly repairs. Always maintain the air filter upward during drainage.
Critical Oil Change Schedule All Owners Forget
Break-In Period Oil Changes
Change oil after your first 20 hours of use OR one month—whichever comes first. This initial change removes microscopic metal shavings from engine break-in that act like grinding paste. Surprise fact: even with only 10 hours of use at the one-month mark, you must change the oil immediately. Then perform another change at exactly 20 total hours. Skipping this doubles wear on piston rings and cylinder walls.
Non-Negotiable Maintenance Intervals
After break-in, change oil every 100 operating hours OR 6 months—ignoring this causes 70% of premature generator failures. Key insight: moisture accumulation during storage creates corrosive acids in unused oil. That “I never used it” generator still needs fresh oil twice yearly. Check levels before every use and whenever refueling—Honda’s Oil Alert system shuts down the engine at dangerously low levels to prevent destruction.
Exact Oil Type and Fill Amount for Your Model
Honda’s Approved Oil Specifications
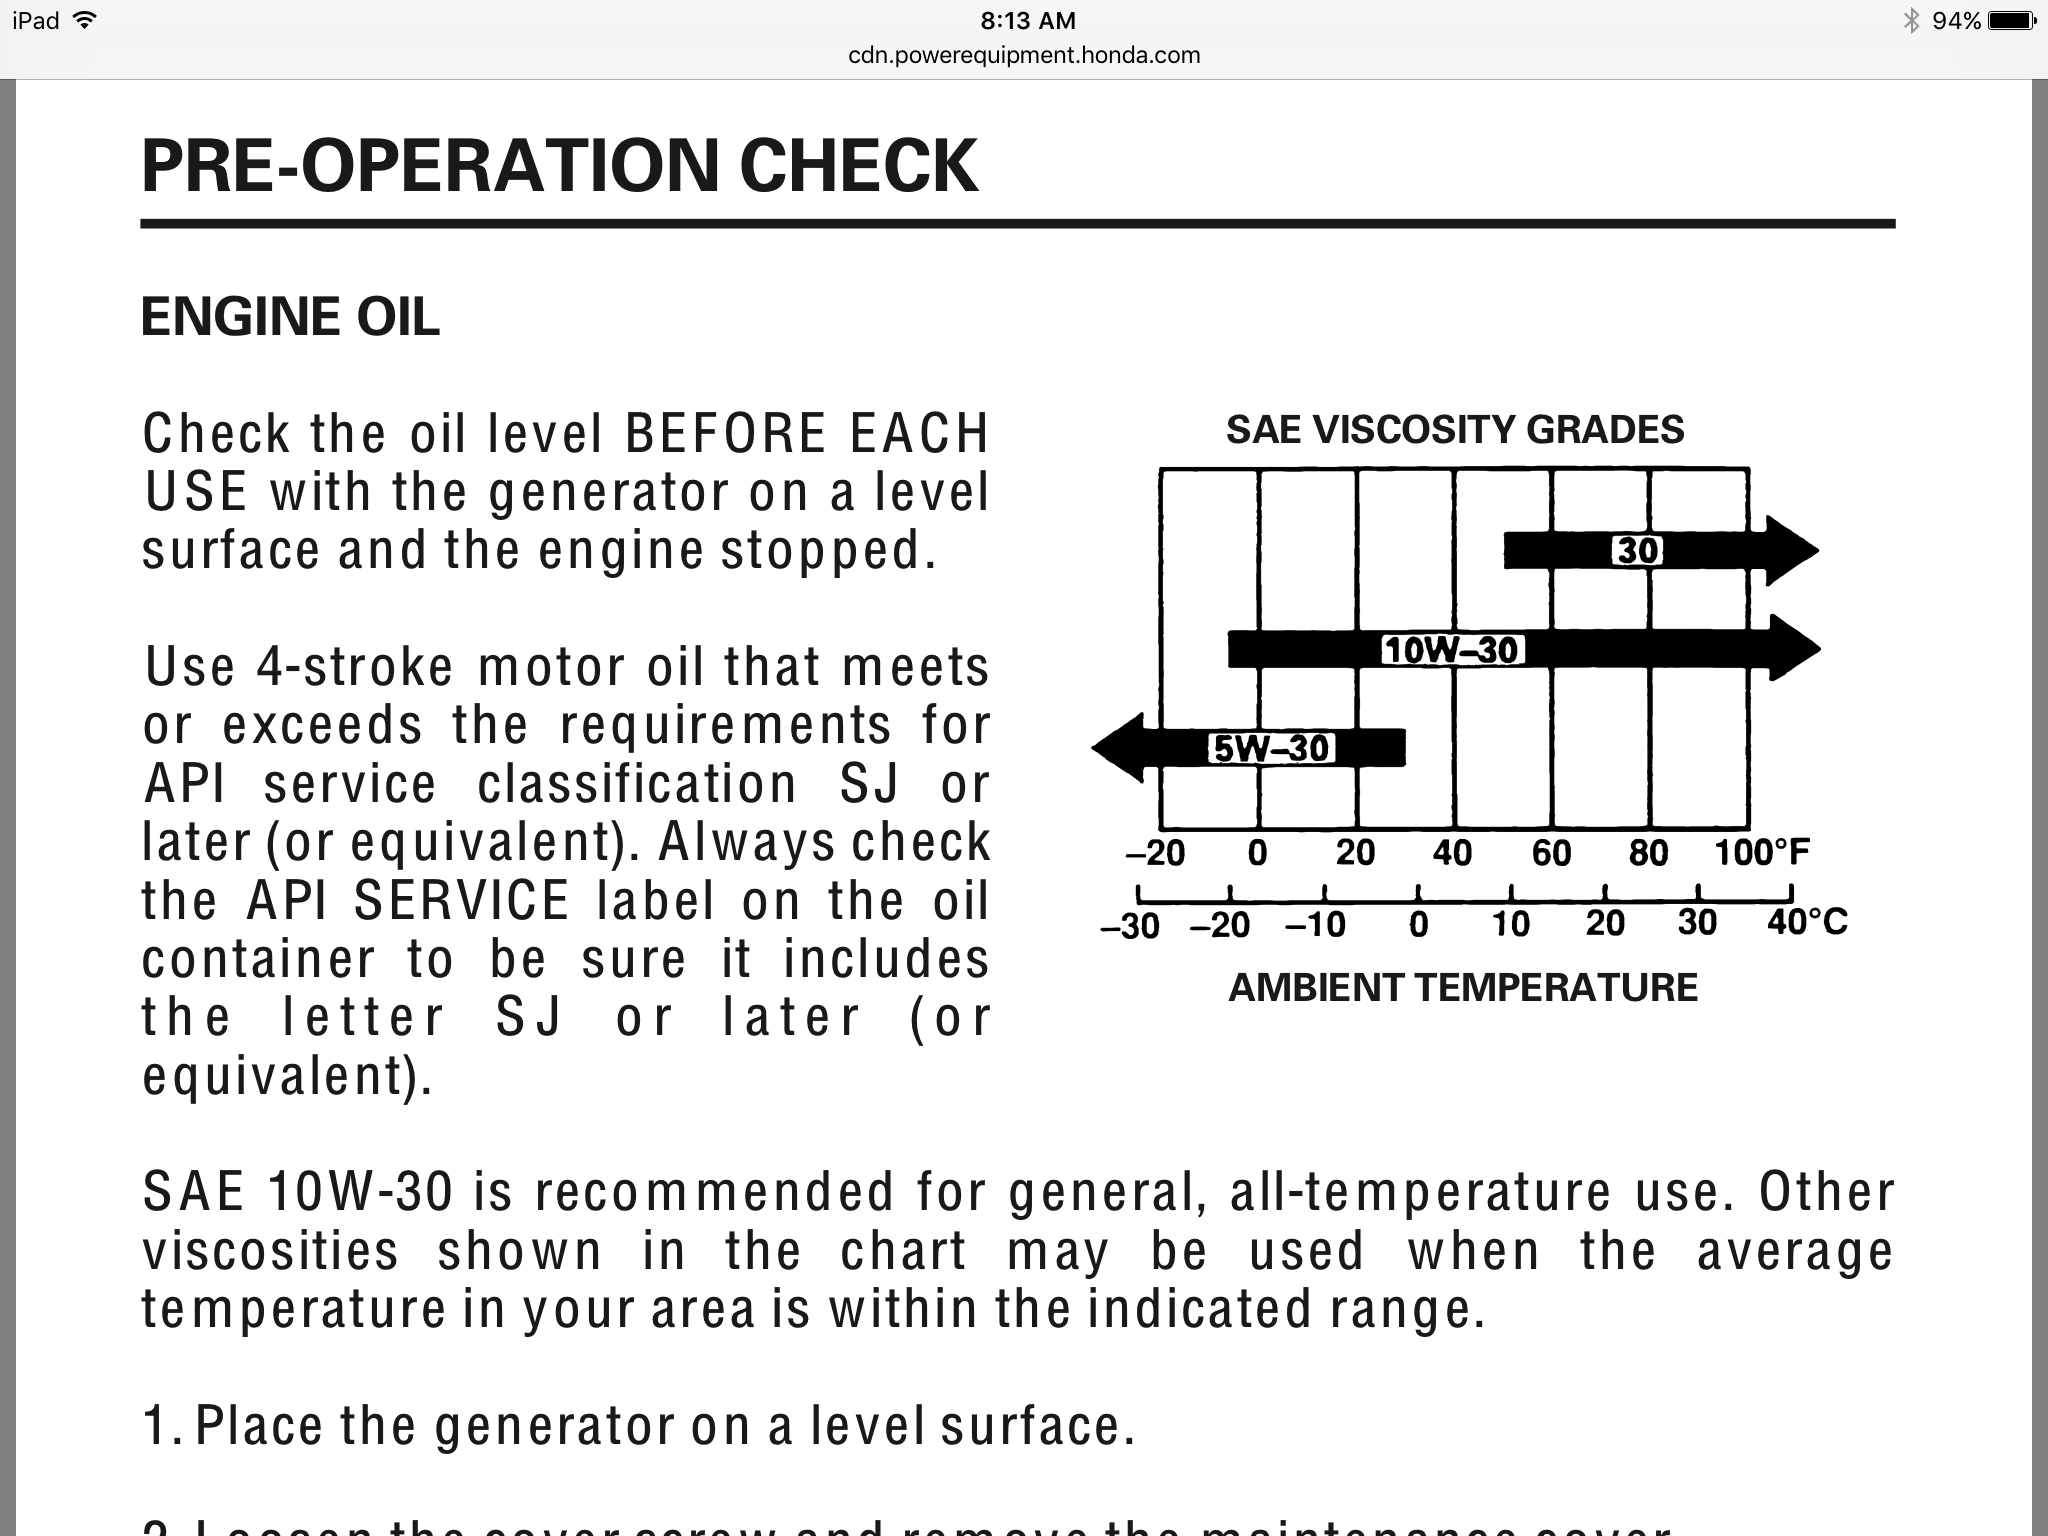
Use 10W-30 multi-weight engine oil meeting SAE SJ standards for 95% of conditions—Honda Power Equipment oil contains optimized additives but quality automotive 10W-30 works. Below 20°F? Switch to 5W-30 for cold-weather starting. Consistently above 80°F? SAE 30 provides superior high-temperature protection. Never use synthetic blends—they foam in small engines, causing low-pressure shutdowns.
Precision Fill Capacity Guide
Your Honda holds exactly 13.58 ounces (0.4 liters). Overfilling triggers smoking and oil leaks; underfilling activates the Oil Alert shutdown. Fill until oil touches the bottom of the threads in the fill opening—this brings it to the dipstick’s maximum mark. Visual cue: when checking, insert the dipstick without screwing it in, then remove it to see the true level between min/max marks. One teaspoon overfill causes problems.
Step-by-Step Oil Change Process for Portable Models
Accessing the Oil System
Remove the maintenance panel with a flathead screwdriver—on EU1000i/EU2000i models, it’s opposite the recoil starter. The dipstick/fill cap hides in the bottom left corner behind this panel. Pro tip: place rags under the panel screws—you’ll avoid losing them during removal. Never attempt tilting with this panel installed; it strains mounting screws and cracks the housing.
Complete Drainage Without Spills
Remove the dipstick/fill cap completely. Tilt your generator slowly toward the drain pan—the filler neck’s built-in lip directs oil onto a metal tab and into your container. Maintain the air filter upward position throughout tilting. Wait until dripping stops (about 90 seconds), then return to level. Can’t tilt your generator? Use a marine oil change pump through the fill tube—ideal for RV storage or tight spaces.
Correct Refilling Technique
Insert a narrow funnel into the fill opening. Add oil in quarter-cup increments, checking level after each addition. Stop when oil reaches the top of the threads—this equals the dipstick’s full mark. Critical step: wipe spills immediately with a clean rag before restarting. Overfilling by just 1 ounce causes smoking during operation. Reinstall the dipstick finger-tight plus a quarter-turn snug.
Post-Change Testing Protocol
Replace the maintenance cover and secure screws. Start the generator and run 2-3 minutes while checking for leaks around the fill area. After cooling, recheck oil level—add tiny amounts if needed but never exceed the threads. Warning: running with incorrect oil level destroys bearings within 10 minutes. This final check prevents 80% of post-change failures.
Model-Specific Procedures Every Owner Must Know

EU1000i/EU2000i Drainage Method
These models lack drain plugs—oil flows exclusively through the filler neck. Critical step: always remove the maintenance panel first. Attempting tilting with the panel on strips screw threads. The CO-MINDER system on EU2200i models doesn’t affect oil changes, but gently disconnect the sensor wire before panel removal to avoid damage.
EU3000iS Frame Generator Technique
Larger frame models feature a 10mm drain plug at the engine base—no tilting required. Lift the unit on blocks, position your drain pan, and remove the plug. Must replace the crush washer during reinstallation to prevent leaks. Drain time is faster (under 60 seconds) but requires precise torque on reassembly.
Oil Disposal and Environmental Compliance
Responsible Recycling Process
Store used oil in a sealed container labeled “Used Motor Oil.” Most auto parts stores accept it for free recycling—call ahead to confirm. Never pour oil down drains: one quart contaminates 250,000 gallons of groundwater. Spills on soil require EPA-reportable cleanup. Keep disposal receipts; some municipalities require proof during generator inspections.
Maintenance Best Practices for Longevity
Storage Preparation Checklist
Change oil before storage—old oil contains acids that etch bearings. Fill the tank with fresh fuel plus stabilizer, then run 10 minutes to circulate treated fuel. Store with fuel valve OFF in a dry location. Pro tip: place silica gel packs inside the generator cover to absorb moisture during storage.
Warranty-Preserving Record Keeping
Log every oil change with date and operating hours in a dedicated notebook. Honda requires these records for warranty claims—missing logs void coverage for engine repairs. Note oil type and disposal method; auditors verify environmental compliance. Digital photos of dipstick levels provide irrefutable proof.
60-Second Honda Generator Oil Check Routine
Before each use, perform this lightning-fast inspection:
1. Ensure generator is OFF and on level ground
2. Pull dipstick completely out and wipe clean
3. Reinsert fully (don’t screw in), then remove to check level
4. Oil must sit between min/max marks—add if low
5. Verify red Oil Alert light is OFF during operation
Critical red flags: milky oil indicates coolant contamination; metallic flakes mean internal damage. Stop using immediately and contact Honda service.
Your Honda generator will deliver 20+ years of reliable power with this simple oil change routine. The 15-minute maintenance you do today prevents $600 engine rebuilds tomorrow and keeps your lights on during the next outage. Remember: change oil every 6 months even with zero usage, use exact 13.58 ounces of 10W-30, and always check levels before storms hit. Grab your drain pan now—your future self will thank you when the power fails and your generator roars to life. Mark your calendar for the next oil change; it’s the single most important task for keeping your Honda running like new.


