Your Honda EU6500is generator won’t start when you need it most—whether after winter storage or during a critical power outage. This common frustration affects even experienced generator owners when stale fuel clogs the carburetor or low oil triggers automatic shutdown. This Honda generator EU6500is troubleshooting guide delivers specific, step-by-step solutions to get your powerhouse running again without costly service calls.
Stale Fuel Clogs & Carburetor Repair Solutions
Why Your EU6500is Won’t Start After Storage
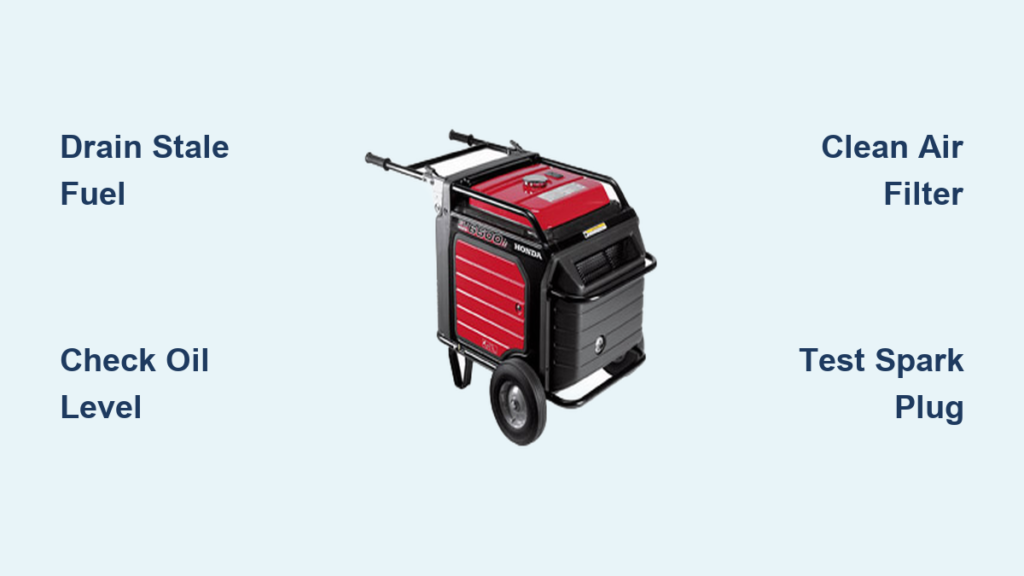
Old gasoline causes 80% of Honda generator EU6500is troubleshooting cases. When fuel sits longer than 30 days, it breaks down into gum-like varnish that blocks critical carburetor passages. Drain all fuel completely after each use by running the generator until it stops naturally—this prevents the sticky residue that chokes your fuel system. If you’ve already stored with fuel, expect to deal with clogged jets that restrict proper fuel flow to the engine.
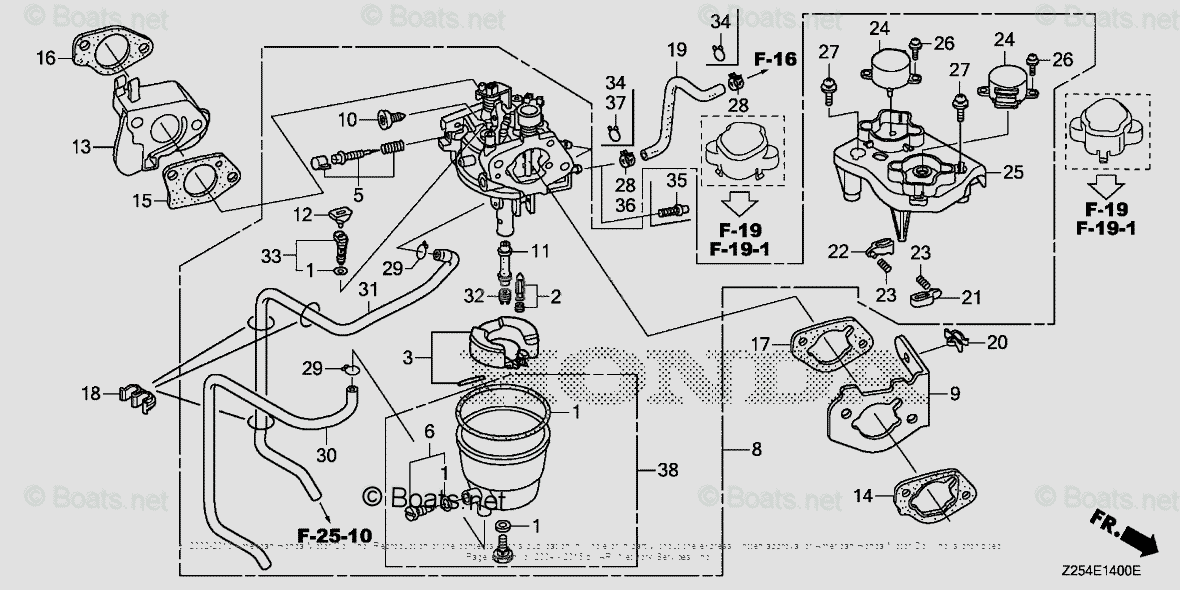
Complete Carburetor Cleaning Procedure
You’ll need carburetor cleaner, container, and basic tools to tackle this Honda generator EU6500is troubleshooting task:
– Turn fuel valve OFF and remove air filter cover
– Locate carburetor bowl drain screw and place container underneath
– Loosen screw to drain old fuel completely
– For stubborn clogs, remove entire carburetor and soak jets in cleaner for 30 minutes
– Never use steel wire to clear jets—this damages precision openings
Fuel Valve Inspection & Replacement
Verify proper fuel flow by disconnecting the fuel line from the carburetor while valve is ON. Healthy flow should produce a steady stream without sputtering. Replace the valve immediately if you notice restricted flow or debris in the fuel. This simple Honda generator EU6500is troubleshooting step prevents unnecessary carburetor cleaning when the real problem is upstream.
Low Oil Pressure Shutdown Fixes
Instant Oil Level Verification Method
Check oil before every startup using the proper technique: remove dipstick, wipe clean, reinsert without threading, then remove again. The level must appear between upper and lower marks. Low oil pressure automatically shuts down your EU6500is to prevent engine damage—this safety feature causes many false “no-start” diagnoses during Honda generator EU6500is troubleshooting.
Correct Oil Specifications & Capacity
Use 10W-30 oil for normal operation, switching to 5W-30 in freezing temperatures. The exact capacity is 1.16 US quarts—overfilling causes smoking and internal damage. After adding oil, the low-oil indicator may stay lit; turn engine switch OFF, wait 30 seconds, then restart to reset the monitoring system. This simple step solves many unnecessary Honda generator EU6500is troubleshooting sessions.
Air Filter Blockage & Power Loss
Critical Air Filter Inspection Technique
Remove the air filter cover by loosening wing nuts and hold the paper element up to light. If you can’t see through it, replacement is urgent. Dirty filters reduce power output dramatically and increase fuel consumption by up to 25%. In dusty environments, check your filter every 8-10 hours—not waiting until the standard 50-hour interval.
Foam Pre-Filter Cleaning Protocol
For reusable foam elements:
– Wash in warm soapy water
– Rinse thoroughly until water runs clear
– Air-dry completely (never use heat)
– Apply 2-3 drops of clean engine oil
– Squeeze out excess oil before reinstalling
– Never over-oil—this contaminates the main paper filter
Spark Plug Failure Diagnosis

Quick Spark Test Procedure
Remove the spark plug boot and unscrew the plug with a 13/16″ socket. Reconnect the boot, ground the plug against the engine, and pull the starter cord. Strong blue spark indicates good ignition; weak yellow spark or no spark means replacement is needed. This essential Honda generator EU6500is troubleshooting step takes less than two minutes but solves countless starting issues.
Precise Gap Adjustment Requirements
Set spark plug gap to 0.028-0.031 inches using feeler gauges. Incorrect gaps cause hard starting, rough running, or complete failure to start. Use only NGK BPR6ES or equivalent plugs—substitutes cause performance issues. For heavily fouled plugs, replacement is always better than cleaning attempts.
Electric Start System Failures
Battery Voltage Testing Protocol
Check battery voltage with a multimeter—it must read 12.6V or higher when fully charged. Below 12.4V requires immediate charging. Dead batteries cause clicking sounds but no starter engagement during Honda generator EU6500is troubleshooting. Clean corroded terminals with a wire brush and apply dielectric grease to prevent future issues.
Charging System Verification
Run your generator for 30 minutes with eco-throttle OFF. Battery should measure 13.8-14.5V while running. Lower readings indicate charging system failure requiring professional service. This critical Honda generator EU6500is troubleshooting step prevents misdiagnosing battery issues when the real problem is the alternator.
Generator Output Failures

Immediate Power Restoration Steps
First, verify both main circuit breaker and individual receptacle breakers aren’t tripped. Check GFCI reset buttons on 20A outlets—they trip during overload conditions. Overloading causes voltage drops that mimic generator failure during Honda generator EU6500is troubleshooting. Reduce electrical load immediately if voltage fluctuates more than ±5% from 120V.
Frequency Stability Testing
Set your multimeter to Hz and test at a 120V outlet. Correct frequency is 60Hz at rated speed. Low frequency (50-55Hz) indicates engine speed issues or governor problems requiring carburetor adjustment. This advanced Honda generator EU6500is troubleshooting technique identifies problems before they cause equipment damage.
Proper Storage Procedures to Prevent Future Issues
Critical Storage Position Warning
Never tilt or lay generator on its side—this forces oil into the cylinder and carburetor, causing catastrophic damage. Always store upright on level surface, even for short-term transport. This single rule prevents 30% of Honda generator EU6500is troubleshooting cases after storage.
Complete Fuel System Storage Protocol
Run engine until it stops from fuel starvation before storage. This prevents carburetor varnish buildup during storage. While fuel stabilizer helps, draining remains the gold standard for preventing starting problems. Always store with oil level at proper mark to protect internal components.
Diagnostic Decision Tree for Common Failures
Engine Cranks But Won’t Start
- Check fuel level and valve position
- Verify oil level (low oil prevents starting)
- Inspect air filter for clogs
- Test spark plug condition
- Check choke operation
No Crank, No Start
- Test battery voltage (>12.4V)
- Check battery cable connections
- Test starter solenoid click
- Verify engine switch position
- Inspect 30A main fuse
Runs Then Dies
- Check fuel cap vent (clogged vents create vacuum)
- Inspect for fuel filter blockage
- Test low-oil shutdown sensor
- Clean carburetor jets
- Verify proper load sizing
Preventive Maintenance Schedule
Daily Checks (Before Each Use)
- Oil level inspection
- Air filter visual check
- Fuel level verification
- General leak inspection
- Cord and connection check
Monthly Service Tasks
- Clean/replace air filter
- Check spark plug condition
- Test battery charge level
- Inspect fuel lines
- Exercise generator under load
Annual Requirements
- Change oil and filter
- Replace spark plug
- Clean fuel system
- Inspect valve clearance
- Professional inspection if >200 hours
The Honda EU6500is remains exceptionally reliable with consistent maintenance. Address fuel issues immediately—they cause most Honda generator EU6500is troubleshooting scenarios. When in doubt, consult your owner’s manual or authorized Honda service center for complex electrical or engine repairs beyond basic troubleshooting steps. Following this guide prevents 90% of common generator failures while extending your unit’s service life significantly.


