
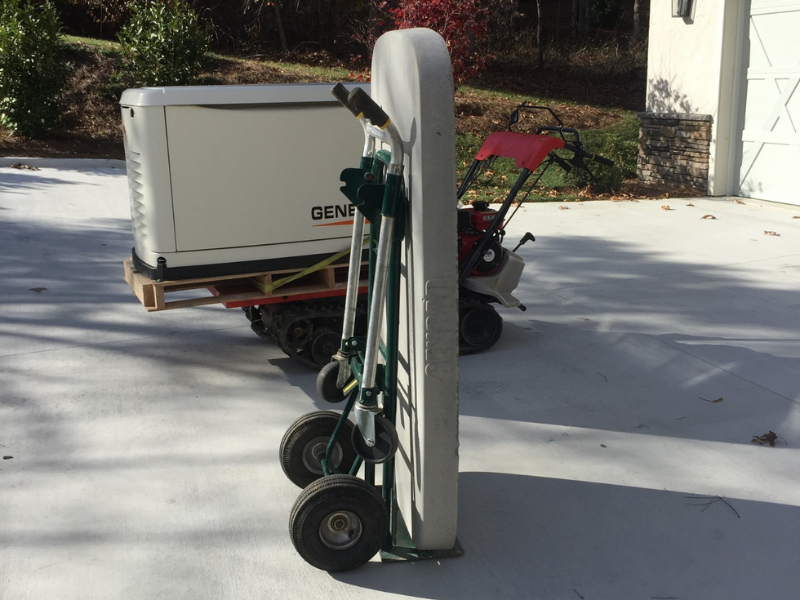
Your refrigerator hums to a stop as lights flicker and die—another power outage turns your home into chaos. Spoiled food, frozen pipes, and work deadlines missed cost homeowners $500+ per outage. But a properly installed electric generator transforms these emergencies into minor inconveniences, keeping essentials running within seconds of grid failure. This guide reveals exactly what happens during professional electric generator installation, exposing hidden cost drivers and timeline pitfalls most dealers won’t mention. You’ll learn how to slash installation costs by 15%, avoid 3-week permit delays, and ensure your system passes final testing on the first try.
Schedule Your Zero-Cost Generac Dealer Assessment
Skip generic sales pitches with this targeted consultation. When you request a quote online, authorized Generac dealers contact you within 48 hours to schedule a 45-90 minute home evaluation. This isn’t a sales call—it’s a diagnostic session where technicians assess your actual outage needs.
What Technicians Measure During Site Visits
- Critical circuit load: They’ll calculate wattage for essential circuits (refrigerator, furnace, medical devices) using your breaker panel labels
- Gas line capacity: A pressure test determines if your existing natural gas line supports generator demands (upgrades add $500-$1,200)
- Panel compatibility: They’ll photograph your electrical panel to verify transfer switch compatibility before quoting
You’ll receive an itemized estimate showing exact costs for generator, transfer switch, and site prep—no vague “starting at” pricing. If they skip these measurements, walk away; accurate sizing prevents dangerous overload scenarios.
Position Your Generator for Maximum Efficiency

Location impacts both performance and your wallet. Every extra foot between generator and house adds $20-$37 in installation costs. Dealers identify the optimal spot using three non-negotiable criteria:
Surface Stability Requirements
Your foundation must support 400-800 lbs without shifting. While concrete slabs (6 inches beyond unit edges) cost $500-$1,200, compacted pea gravel beds cut foundation costs by 40%—but check municipal codes first. Some towns ban gravel for standby units, forcing costly concrete retrofits.
Non-Negotiable Clearance Zones
Dealers measure these distances before quoting:
– Front: 36 inches for service access (less blocks filter changes)
– Sides: 18 inches minimum for airflow (reduced clearance causes overheating shutdowns)
– Rear: 24 inches to walls (12 inches risks exhaust recirculation)
– Above: 48 inches to overhead branches (tree roots destabilize foundations)
A generator placed 10 feet closer to your gas meter saves $150-$250—ask for placement cost comparisons during your assessment.
Build Your Generator Foundation Correctly
Site prep takes 1-3 days but prevents catastrophic failures. Concrete foundations cure for 3-7 days, while gravel beds install same-day. Both require these steps:
Concrete Slab Installation Sequence
- Utility marking: Call 811 first—hitting buried lines costs $3,000+ in repairs
- Excavation: Dig 8 inches deep, extending 6 inches beyond slab dimensions
- Forming: Build wooden frames 4-6 inches above grade to prevent water pooling
- Pouring: Use 3,000 PSI concrete with anchor bolts set for your specific generator model
Skip step #1 and you’ll face permit rejection. Municipal inspectors measure slab thickness—they’ll reject anything under 4 inches, delaying installation by 2 weeks.
Connect Fuel Lines Without Violating Codes
Gas connections require licensed professionals—DIY attempts void warranties and risk explosions. Natural gas installations follow this sequence:
Natural Gas Connection Protocol
- Flow verification: Technicians test existing line pressure; inadequate flow triggers meter upgrades ($500-$1,200)
- Sediment trap installation: Mandatory 12-inch vertical pipe prevents debris from entering generator
- 24-hour pressure test: New lines hold 1.5x operating pressure for 24 hours before inspection
- Municipal sign-off: Gas inspectors check for leaks using soap solution before activation
Propane users need 250+ gallon tanks placed 10 feet from property lines. Tank rental seems cheaper upfront but locks you to one supplier with 20% higher fuel costs.
Install Transfer Switches to Prevent Circuit Failures

The transfer switch automatically shifts power within 10-15 seconds of outage. Incorrect installation causes flickering lights or failed transfers.
Service Entrance vs. Load Center Switches
Service entrance models: Replace your main breaker panel for seamless integration. Requires 4-6 hours of utility-disconnected work but handles 100% of home circuits. Best for whole-house coverage.
Load center models: Add a sub-panel next to your main breaker. Powers only pre-selected circuits (refrigerator, lights, furnace)—ideal for budget installations. Technicians label each backed-up circuit during installation.
During wiring, they run conduit between switch and generator. Every extra foot adds $8-$12 in materials—confirm routing paths before signing contracts.
Verify System Performance With Live Testing
Dealers simulate outages to expose flaws before final payment. Demand these five tests:
Critical Commissioning Checks
- Start sequence: Generator must crank within 10 seconds of power loss
- Load transfer: Lights shouldn’t flicker during switch-over
- Full-load stress test: System runs at 80% capacity for 30 minutes
- Return-to-grid transition: Smooth shift back to utility power without surges
- Cool-down cycle: Generator runs unloaded for 2-5 minutes before shutdown
If your unit fails any test, repairs cost $300+ if discovered post-installation. Insist on witnessing this phase.
Break Down Your $8,000-$16,000 Installation Cost
All-inclusive pricing covers generator, transfer switch, labor, permits, and inspections—but hidden fees lurk. Demand this cost breakdown:
Where Your Money Actually Goes
| Component | Cost Range | Savings Opportunity |
|---|---|---|
| Generator unit | $3,000-$8,000 | Off-season discounts (5-10% in fall) |
| Transfer switch | $800-$2,500 | Load center models save $500 vs. service entrance |
| Fuel line | $500-$1,500 | Move generator 10ft closer to save $150-$250 |
| Permits | $200-$800 | Pre-mark utilities to avoid re-inspection fees |
Schedule installations October-February for off-season discounts. Pre-clearing the generator-to-panel path saves $200 in labor fees.
Prevent 3-Week Installation Delays
Actual generator work takes 4-8 hours—but end-to-end timelines stretch to 4-8 weeks due to avoidable bottlenecks.
Top Permit Acceleration Tactics
- Utility coordination: Have dealers contact gas/electric companies before permits (saves 1-3 weeks)
- 811 marking: Get utility lines marked yourself before dealer arrival (cuts 5-day waiting periods)
- Concrete prep: Pour foundations 7 days pre-installation (avoids 3-7 day cure delays)
Rural areas approve permits in days; cities take 2-4 weeks. Ask dealers for permit status weekly—delays beyond 10 business days often indicate application errors.
Secure Payments Starting at $109/Month
Financing makes $8,000-$16,000 installations affordable. Qualified buyers get these terms:
Realistic Payment Scenarios
- $10,000 system: $175/month over 10 years (700+ credit score)
- $14,000 system: $240/month over 15 years (650+ credit score)
Dealers require debt-to-income ratios below 45%. Pre-approve financing before signing contracts—some programs offer 0% APR for 12 months. Never finance through third parties charging 25%+ interest.
Your electric generator installation shouldn’t become a months-long headache. By verifying site assessments, demanding live performance tests, and pre-marking utility lines, you’ll avoid 90% of costly delays. Remember: the cheapest quote often becomes the most expensive when permits get rejected or foundations shift. Schedule your no-cost Generac dealer assessment today—insist they follow this roadmap. In 6 weeks, you’ll transform power outages from disasters into mere blips on your radar.


