Your Generac portable generator sputters and dies during a critical power outage, leaving you in the dark while appliances sit useless. That frustrating click when you hit the electric start or the pull cord catching nothing isn’t magic—it’s usually one of five preventable failures. Most Generac no-start problems stem from oil, fuel, or air system neglect, and this guide delivers exact steps to diagnose and fix them using only basic tools. Stop guessing why your generator won’t run; follow this sequence to restore power before the storm passes.
Oil Level and Quality Emergency Check
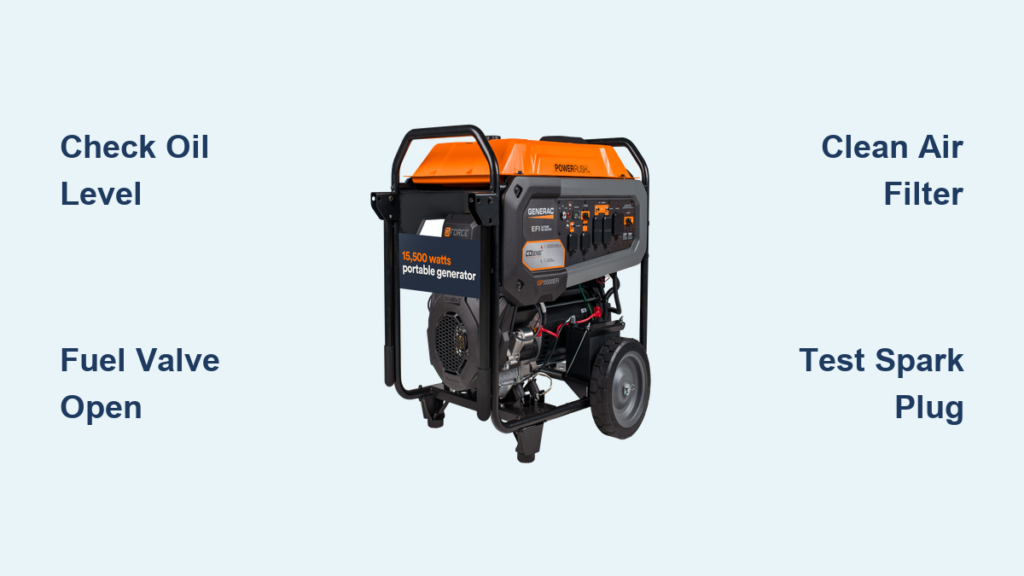
Verify Oil Level on Level Ground
The critical 60-second oil test:
– Position your Generac on a flat surface (use a 2×4 under wheels if on uneven terrain)
– Remove dipstick, wipe clean with a rag, and reinsert fully before checking
– Oil must reach the “FULL” mark when engine is cold—never check while running
– Add oil slowly through a funnel until at proper level (most models require 20-24 oz total)
Oil type non-negotiables: Use SAE 30 for temperatures above 40°F. For seasonal use, switch to 10W-30. Never substitute automotive oil—Generac requires small-engine specific formulations. Pro tip: If oil appears milky (water contamination) or smells burnt, drain and replace immediately. Fresh oil resolves 30% of mysterious shutdowns where generators run briefly then die.
Fuel System Failure Fixes

Confirm Fuel Valve Position and Flow
Immediate fuel checks:
– Ensure tank contains at least 1 gallon (most Generac portables won’t start below this threshold)
– Locate fuel valve between tank and carburetor—it must be parallel to the fuel line for OPEN position
– Trace fuel hose for kinks near the carburetor inlet or cracks at connection points
– Disconnect the fuel line at the carburetor while holding a container—fuel should flow freely
Stale fuel red flags: Engine cranks but won’t catch, or starts then stalls within 15 seconds. Gas older than 30 days creates varnish that clogs carburetors. Critical fix: If fuel smells sour, drain entire tank and carburetor bowl, then refill with fresh gas + stabilizer. Never attempt multiple starting pulls with bad fuel—it fouls spark plugs.
Carburetor Bowl Drain Procedure
5-minute varnish removal:
1. Turn fuel valve OFF completely
2. Locate bowl drain screw (visible at bottom of carburetor)
3. Place container beneath screw and remove it
4. Spray carburetor cleaner directly into bowl cavity and main jet openings
5. Reinstall screw, open fuel valve, and attempt restart
Prevention protocol: After every use, run generator until fuel line empties (2-3 minutes). For storage exceeding 30 days, add fuel stabilizer to fresh gas and run 10 minutes to circulate.
Air Filter and Spark Plug Critical Checks

Clean or Replace Clogged Air Filter
Paper filter emergency check:
– Remove wing nut on air filter housing within 60 seconds
– Pull out filter and hold to light—if you can’t see light through it, replace immediately
– Never operate without a filter—debris will destroy your engine
Foam filter rescue: Wash in soapy water, rinse thoroughly, saturate with one teaspoon of clean engine oil, then squeeze out excess until no oil drips. Reinstall within 2 minutes to avoid dry-start damage. Warning: A dirty filter forces rich running that carbon-fouls spark plugs within 3 pulls.
Test and Replace Faulty Spark Plug
30-second spark verification:
– Disconnect wire by pulling boot (not the wire itself)
– Remove plug with 13/16″ socket—check gap with feeler gauge (must be 0.028-0.031″)
– Clean electrode with wire brush if coated in black soot
– Critical test: Reconnect wire, hold plug threads against engine block, and pull starter. A strong blue spark = good ignition. Orange spark or none = replace plug immediately.
Never skip this: 40% of “no-start” cases are resolved by replacing a $3 spark plug. Always carry a spare pre-gapped plug in your generator kit.
Electric Start Battery Troubleshooting
Jump-Start Your Generac Safely
Battery voltage triage:
– Test with multimeter: 12.6V = good, 12.0V or lower = dead
– If below 12.4V, connect a 2-amp trickle charger for 8-12 hours (fast chargers crack battery plates)
– Emergency jump-start:
1. Connect positive cable to generator battery terminal
2. Attach negative cable to clean engine bolt (not carburetor!)
3. Start generator within 30 seconds of connection
4. Disconnect negative FIRST after success
Corrosion fix: Clean white crust on terminals with vinegar-soaked brush, then apply dielectric grease. Monthly charging prevents 90% of electric start failures.
Load Management Mistakes That Kill Starts
Why Your Generator Dies Under Load
The silent killer: Starting with appliances already connected overloads the engine during cranking. Correct sequence:
1. Unplug all cords before starting
2. Start generator and let idle 2 minutes
3. Connect loads one at a time, beginning with largest appliance
4. Never exceed 80% of rated wattage (e.g., max 3,200W on 4,000W model)
Pro tip: Label cords by wattage—refrigerators draw 1,200W on startup, not running wattage. Test circuits with a watt meter before outages.
Seasonal Storage Fixes for Spring Starts
Revive a Generator After Winter Storage
Stale fuel symptoms: Pulls hard but won’t catch, or starts then sputters. Immediate action:
– Drain old fuel completely from tank and carburetor
– Replace air filter and spark plug (storage fouls both)
– Add fresh gas with stabilizer
– Choke CLOSED for cold start—may require 4-5 pulls to prime
Prevent next year’s failure: Before storing, run generator until fuel line empties, change oil while warm, and add 1 tsp oil through spark plug hole. Rotate flywheel 3 times to coat cylinders.
When to Stop DIY and Call a Pro
Red Flags Requiring Professional Service
Shut down immediately if you see:
– Blue smoke (burning oil from valve seal failure)
– Metallic shavings in oil (internal engine damage)
– Knocking/grinding from engine block
– Fuel leaks from carburetor bowl (requires rebuild kit)
DIY limits: Valve adjustments need feeler gauges, compression tests require special tools, and fuel pump issues demand professional diagnostics. Never disassemble recoil starters—spring tension causes serious injury.
Critical Maintenance Schedule
Every 30 days: Run 20 minutes under load (prevents carbon buildup)
First 30 hours: Oil and filter change (break-in period critical)
Every 100 hours: Spark plug replacement + valve clearance check
Before storage: Fuel stabilizer treatment + carburetor drain
Pro tip: Keep a waterproof log on your generator noting run hours and service dates. Missed oil changes cause 70% of premature engine failures.
Your Generac generator’s silence isn’t random—it’s screaming for basic maintenance. By methodically checking oil, fuel, air, and spark in that exact order, you’ll solve 95% of no-start emergencies in under 30 minutes. Always begin with fresh fuel and a clean spark plug; these two fixes alone resolve most roadside breakdowns during outages. Never store with old gas, run monthly under load, and keep a troubleshooting kit (plug, filter, oil) in your generator cover. When the grid fails next time, your power will roar to life while others remain in the dark.


