You hear that familiar click when trying to start your generator during a power outage, but the engine won’t turn over. The battery indicator shows low voltage despite being plugged in for weeks. This frustrating scenario affects generators across all brands, from Generac to Kohler, and usually stems from preventable issues that you can diagnose and fix yourself. When your generator battery not charging becomes a recurring problem, it leaves you vulnerable during critical power outages.
This guide walks you through proven troubleshooting steps to identify why your generator battery won’t charge and provides specific solutions for each cause. Whether you have a 3-year-old Generac with error code E202 or a Cummins system showing mysterious symptoms, you’ll learn exactly what to check, how to test components, and when to replace parts. Don’t let a dead battery compromise your backup power system—these actionable steps will get you back to reliable operation.
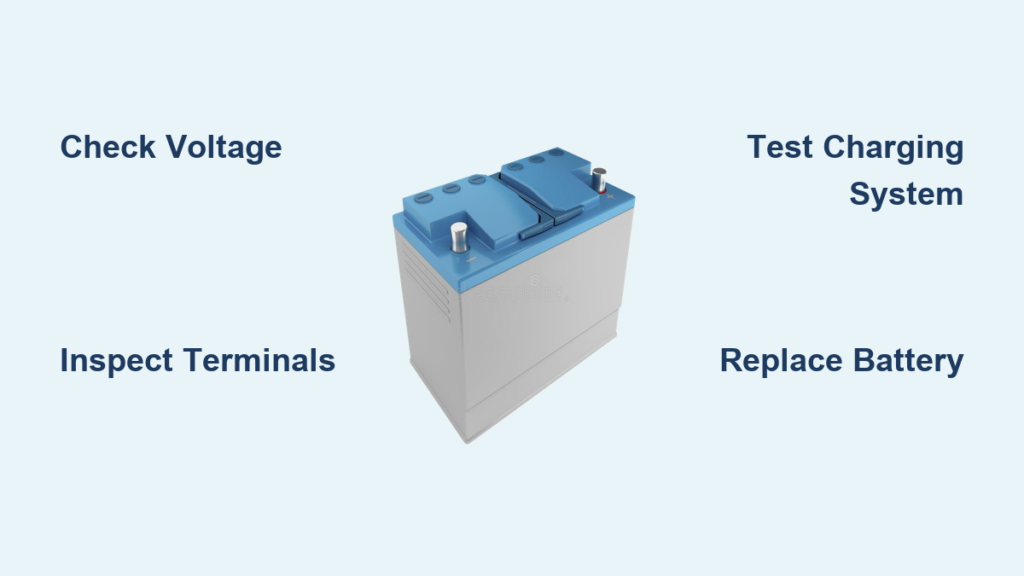
Immediate Signs Your Generator Battery Isn’t Charging Properly
Slow cranking represents the most obvious sign your generator battery isn’t charging properly. The starter motor turns sluggishly, taking longer than usual to fire the engine. In severe cases, you’ll hear rapid clicking sounds instead of the engine turning over—this indicates your battery has enough residual charge to activate the solenoid but not enough to engage the starter.
Dashboard warnings provide critical clues that your generator battery not charging issue needs attention. Modern generators display specific codes like Generac’s E202 (battery voltage too low) or Kohler’s voltage-related fault indicators. Even older units without digital displays show dim lights or flickering indicators when the battery lacks sufficient charge. These warnings often appear before complete failure, giving you time to address the problem.
Physical symptoms tell their own story. Corroded terminals with white or blue deposits prevent proper electrical flow between the battery and charging system. Loose cables that rotate by hand indicate poor connections that disrupt the charging circuit. A bulging battery case or visible electrolyte leakage signals immediate replacement needs—these physical defects mean your battery cannot hold a charge regardless of the charging system’s condition.
Quick Diagnostic Tests You Can Perform Today

Start with the most accessible components first. Battery voltage measurement establishes your baseline condition. With the generator off and cool, measure voltage directly at the terminals using a digital multimeter:
- 12.6V or higher: Battery holds acceptable charge
- 12.4V: 75% charged—monitor closely
- 12.2V: 50% charged—needs immediate attention
- Below 12.0V: Discharged or defective battery
Terminal inspection takes just minutes but reveals obvious problems. Look for corrosion appearing as white, crusty deposits around the posts and cable ends. Clean these with a wire brush and baking soda solution, then apply dielectric grease to prevent future buildup. Test cable tightness by attempting to rotate each terminal—proper connections won’t budge. Loose connections are responsible for 30% of generator battery not charging issues.
Engine running test confirms charging system functionality. Start your generator and measure battery voltage within 30 seconds. A properly functioning charging system delivers 13.5-14.5 volts at idle. Rev the engine slightly and watch for stable voltage readings. Fluctuating or low readings indicate charging system problems requiring further investigation.
Critical Component Failures Causing Charging Problems
Voltage regulator failure often masquerades as battery problems. This component maintains steady charging voltage between 13.5-14.5 volts for 12V systems. Solid-state regulators fail gradually, causing inconsistent charging that confuses diagnostics. When testing, increase engine RPM gradually and watch for voltage exceeding 15V (dangerous overcharging) or dropping below 13V (inadequate charging). Failed regulators require exact replacement matching your generator model.
Alternator and stator issues prevent proper electricity generation. Measure AC voltage at the alternator output terminals while the generator runs—typical readings range 20-40 volts AC depending on engine speed. Zero readings indicate stator winding problems, while excessive AC voltage at the battery (instead of DC) points to rectifier diode failure. Use your multimeter’s diode test function to check each diode—proper diodes show continuity in one direction only.
Wiring faults create hidden resistance that prevents proper charging. Trace the entire charging circuit, checking for chafed insulation at wire bends or contact points. Measure voltage drop between alternator output and battery positive—total drop should remain under 0.5 volts. Higher readings indicate corroded connections, damaged wires, or poor grounds that sabotage your charging system. Marine-grade wire and proper soldering techniques solve most wiring issues.
Brand-Specific Fixes for Generator Battery Not Charging

Generac Error Code E202 Solutions
Error code E202 specifically indicates low battery voltage in Generac systems. Check the automatic transfer switch (ATS) battery charging circuit, as many Generac systems charge the battery through the ATS. Verify 13.5 volts continuous from the battery charger output. Cold weather often causes built-in charger failures, requiring replacement or reset procedures.
Critical Generac checks:
– Locate and test 5-10 amp fuses in charging circuits
– Reset smart chargers by disconnecting power for 30 seconds
– Some models use separate 120V AC battery chargers—verify operation
– Confirm 12V supply from generator to ATS control board
Kohler and Cummins Troubleshooting
Kohler generators utilize electronic voltage regulators with built-in diagnostics. Check the controller display for specific fault codes related to charging system components. Loose connections at voltage regulator terminals represent a frequent issue across these brands—tighten all connections to manufacturer specifications.
Cummins/Onan systems often rely on external battery chargers powered by utility electricity. Verify the transfer switch operates the charging circuit correctly. Some models include battery warmers for cold weather operation—ensure these function during winter months when your generator battery not charging issues become more prevalent.
Essential Maintenance to Prevent Future Charging Failures

Monthly maintenance takes 15 minutes but prevents 90% of charging failures:
– Clean terminals with wire brush and baking soda solution
– Verify cable tightness at all connections
– Check electrolyte levels in non-sealed batteries
– Test and record battery voltage (should be 12.6V+)
Proactive battery replacement avoids emergency failures. Lead-acid batteries degrade approximately 20% per year in standby applications. Replace batteries approaching 3-4 years service regardless of current condition—this small investment prevents failures during actual power outages when professional service may be unavailable. Consider AGM batteries for vibration resistance and longer life in critical applications.
Cold weather considerations are crucial for reliable operation. Battery capacity decreases 1% per degree below 80°F—below freezing, your battery operates at half capacity. Install battery warmers for temperatures below 32°F and allow longer charging time after cold starts. Use synthetic oil for easier cold cranking that reduces battery strain.
Cost-Saving Repair Strategies and Safety Essentials
DIY repairs save significant money compared to professional service:
– Battery replacement: $50-200 vs $100-300 professional
– Voltage regulator: $25-100 vs $200-400 installed
– Basic wiring repairs: $10-50 in materials vs $150-300 labor
Critical safety practices prevent injuries during repairs:
– Always disconnect the negative battery cable first
– Wear safety glasses around batteries—acid splashes cause permanent damage
– Remove all jewelry that could cause dangerous shorts
– Use insulated tools near terminals to prevent sparks
– Never smoke or create sparks near batteries—hydrogen gas is explosive
When your generator battery not charging becomes a recurring problem, systematic testing reveals most issues stem from loose connections, aging batteries, or simple component failures you can fix yourself. Start with visual inspection and voltage testing, then progress through the diagnostic steps outlined here. Regular maintenance prevents these failures, ensuring your generator starts reliably when you need it most—especially during critical power outages when backup power matters most. Remember that proactive battery replacement every 3-4 years represents the single most effective strategy for avoiding emergency failures when you need your generator most.


