
Power outages don’t wait for convenient moments—they strike during winter storms, summer heatwaves, or critical family moments. While your portable generator provides immediate relief, improperly connecting it risks electrocuting utility workers and frying your home’s electronics. A generator interlock installation solves this by creating a mechanical barrier that physically prevents backfeed, the dangerous reverse flow of electricity into utility lines. This $200 solution delivers transfer-switch-level safety at a fraction of the cost, but only when installed correctly. In this guide, you’ll learn exactly how to perform a code-compliant generator interlock installation that protects your family, complies with NEC 702.5(C), and keeps lights on during the next blackout.
Most homeowners don’t realize that extension cords alone can’t safely power essential circuits like refrigerators or medical equipment. Backfeed incidents cause 300+ utility worker injuries annually according to OSHA data, and void homeowner insurance when DIY connections bypass safety protocols. The generator interlock installation process we detail eliminates these risks through a simple sliding-plate mechanism that locks your main and generator breakers in opposition. Forget confusing transfer switches—you’ll gain confidence through our step-by-step approach that even first-time DIYers complete in one weekend.
How Generator Interlocks Prevent Deadly Backfeed to Utility Lines
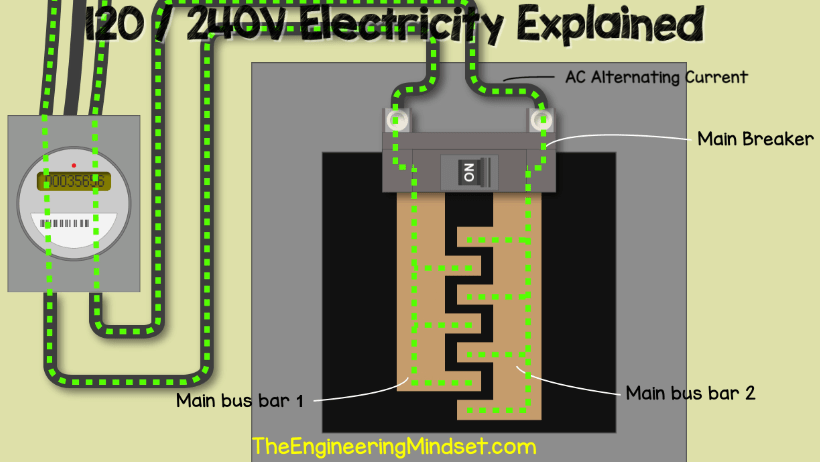
Your electrical panel becomes a potential death trap during generator use without proper safeguards. A generator interlock device creates an unbreakable mechanical link between breakers: when your main utility breaker is ON, the interlock plate physically blocks the generator breaker slot. Only after switching the main breaker OFF can you slide the plate to engage generator power. This eliminates backfeed—the #1 hazard where generator electricity flows into downed power lines, electrocuting repair crews miles away.
Unlike electronic transfer switches prone to failure, this purely mechanical system has no moving parts beyond the sliding plate. UL-listed kits for common panels like Square D HOM or Siemens PL series cost under $120 and last decades. Crucially, they maintain your panel’s original listing—no voided warranties or insurance complications. When utility power returns, the interlock forces you to shut off the generator breaker first, preventing explosive reconnection surges that destroy sensitive electronics.
Verify Your Electrical Panel Model Before Buying an Interlock Kit
Panel compatibility isn’t optional—it’s a life-or-death requirement. Interlock kits are engineered for specific panel models, and mismatched installations violate NEC 110.3(B) while creating shock hazards. Start by removing your panel’s exterior cover (power OFF first!) and photographing the interior label showing manufacturer, model number, and series. Common compatible panels include:
– Square D Homeline (HOM series)
– Siemens PL, QP, or QPF series
– Eaton CH or BR series
Check for critical red flags:
– Main breaker position: Top-fed panels (common in newer homes) require different kits than bottom-fed
– Available slots: You need two adjacent empty spaces next to the main breaker
– Breaker type: Must accept UL-listed generator breakers (e.g., Square D HOM230 for 30A)
Pro tip: Bring panel photos to electrical supply houses—they’ll cross-reference kits faster than online searches. Never force a universal kit; if your panel isn’t listed, hire an electrician for a custom solution.
Must-Have Tools for a Safe Generator Interlock Installation
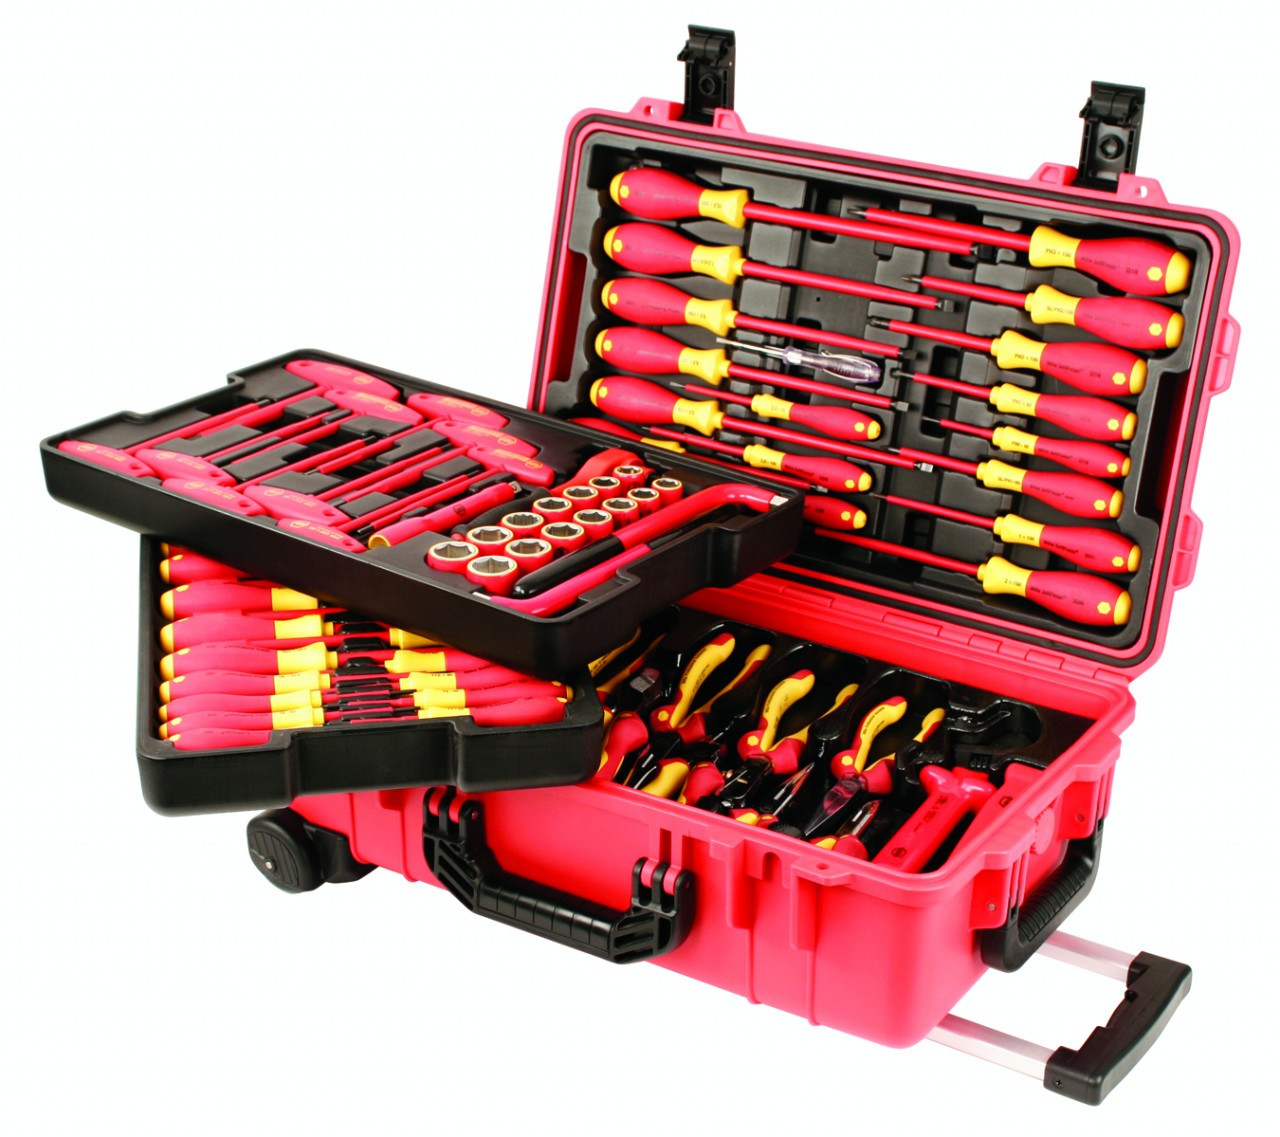
Skipping proper tools risks arc flashes or loose connections that cause fires. Before touching your panel, gather these non-negotiable items:
Safety Essentials
– ANSI Z87.1 safety glasses (not sunglasses!)
– Class 00 rubber-insulated gloves (rated 500V)
– Lockout/tagout device ($15 on Amazon)
Critical Installation Gear
– Inch-pound torque screwdriver (20-25 in-lb for 30A breakers)
– Non-contact voltage tester (verify dead with TWO hands behind back)
– 10 AWG THHN wire (red/black/white for 30A systems)
– UL-listed interlock kit matching your panel EXACTLY
Time-saver: Pre-cut wires to length using your panel’s bus bar spacing as a template. Most installations take 3-5 hours—rushing leads to forgotten torque checks that cause overheating.
Critical Safety Steps: Shutting Off Power Before Panel Work
This is where 90% of DIY electrical injuries happen. Never assume turning off the main breaker de-energizes the entire panel. Follow this sequence:
1. Switch OFF all branch circuit breakers
2. Flip main breaker to OFF position
3. TEST: Hold voltage tester near main lugs—no beep = safe
4. Apply lockout/tagout device to main breaker handle
Critical warning: The service entrance cables (thick wires entering top/bottom of panel) remain LIVE at 240V even with main OFF. Maintain 12+ inches clearance at all times—these kill more electricians than any other component. If you hear buzzing or smell ozone, stop immediately and call a pro.
Correct Interlock Plate Positioning for Your Specific Panel
Mounting errors cause 70% of interlock failures. After removing the panel cover:
1. Identify main breaker orientation (top or bottom feed)
2. Slide interlock plate into position—it must block generator breaker when main is ON
3. Secure with provided screws into pre-punched holes (never drill new holes!)
Troubleshooting tip: If plate binds, loosen screws 50% and wiggle plate while sliding. Test movement with main breaker both ON and OFF positions. For Siemens panels, ensure the plate’s L-shaped tab engages the main breaker’s side notch. Never force misaligned parts—repositioning takes 2 minutes but prevents dangerous jamming during emergencies.
Installing Your Generator Breaker Without Damaging Bus Bars
One wrong move here destroys your panel. Follow these precision steps:
1. Select empty slot LEFT of main breaker (95% of panels)
2. Align breaker with bus bar tabs—never force it
3. Press firmly until you hear/feel dual “clicks”
Wire connection protocol:
– Black & red wires to breaker terminals (torque to 22 in-lb)
– White wire to neutral bar (for floating neutral generators)
– Green wire to ground bar
– Critical: Route wires away from interlock plate path
Mistake to avoid: Using aluminum wire without antioxidant compound causes fires. Stick with copper 10 AWG for 30A systems—it’s worth the $5 extra.
Step-by-Step Test: Ensuring Your Interlock Blocks Backfeed
Never skip functional testing—it’s your final safety net. Perform this sequence:
1. Main breaker ON → Generator breaker MUST be physically blocked
2. Main breaker OFF → Slide plate → Generator breaker ON
3. Attempt main breaker ON → Should remain blocked
Load test under real conditions:
– Connect generator via L14-30 inlet cord
– Start generator, wait 3 minutes for stable voltage
– Switch to generator power: Main OFF → Plate slide → Gen breaker ON
– Verify fridge/freezer circuits activate
– Switch back: Gen breaker OFF → Main ON → Confirm utility restoration
If circuits don’t power up, check wire connections with multimeter—loose lugs cause most “no power” issues.
Fixing Obstructed Wiring and Broken Panel Knockouts
When existing wiring blocks the interlock plate:
– Solution 1: Re-route conductors using cable ties (never cut wires)
– Solution 2: Install low-profile lug adapters ($8/pair)
– Solution 3: Replace standard breakers with slim-tandem types
For cracked plastic knockouts:
1. Remove broken pieces with needle-nose pliers
2. Install metal backing washer under interlock screw
3. Apply epoxy to reinforce area (allow 24h cure before use)
Never use duct tape or zip ties as structural supports—these fail catastrophically during outages.
Passing Electrical Inspection: NEC Code Requirements for Interlocks
Most jurisdictions require permits for generator interlock installation. Prepare for inspection by:
– Affixing “Generator Backfeed – Turn OFF Main Before Engaging” label near main breaker
– Providing before/after photos showing kit compatibility
– Keeping interlock receipt and breaker specifications on-site
Red flags inspectors reject:
– Generic/unlisted kits (must show UL mark for YOUR panel)
– Missing torque specifications on connections
– Wires interfering with interlock movement
Schedule inspection BEFORE your first storm—rework costs double during emergencies.
Quarterly Interlock Maintenance to Prevent Emergency Failures
Your life depends on this mechanism during blackouts. Perform these checks:
– Monthly: Slide plate 5x to prevent sticking
– Quarterly: Blow dust from mechanism with compressed air (never use water)
– Annually: Check breaker lug torque and look for heat discoloration
Critical post-storm check: After major weather, inspect for moisture inside panel. If you find condensation, run a dehumidifier for 24 hours before using the interlock.
When to Call an Electrician for Your Interlock Installation
Stop immediately if you encounter:
– Aluminum service entrance cables (requires special breakers)
– Panel shows scorch marks or melted components
– Your insurance policy voids coverage for DIY electrical work
Worth the $500 pro fee:
– Older Federal Pacific or Zinsco panels (fire hazards)
– Multi-panel setups requiring load calculations
– Local codes requiring permit-only installations
For compatible modern panels, DIY generator interlock installation saves $600+ while giving you intimate system knowledge—just never compromise on safety steps.
A properly executed generator interlock installation transforms your portable generator from a temporary fix into a reliable lifeline during outages. By blocking deadly backfeed through simple mechanical means, this $200 solution meets NEC safety standards while costing less than professional transfer switch installations. Remember the critical sequence: main OFF → plate slide → generator ON → reverse to restore utility power. Perform quarterly maintenance checks, document your installation for inspectors, and never skip voltage verification before panel work. When the next storm hits, you’ll flip that interlock plate with confidence knowing your family stays powered safely—and utility workers return home to their families. Keep this guide in your emergency binder, and you’ll never face darkness unprepared.


