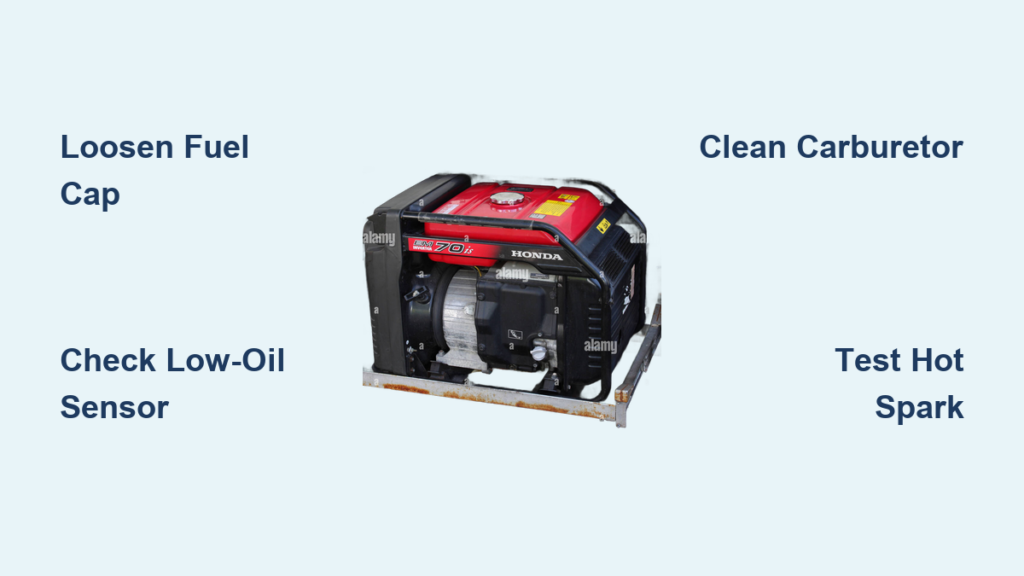
Your Honda generator roars to life, powers your tools or RV essentials for a few precious minutes, then abruptly shuts down like someone yanked the kill switch. That sinking feeling hits when you’re mid-job or during a power outage—especially when your EU2000 stalls after exactly four minutes or your EM5000SX dies the moment you plug in a refrigerator. This Honda generator will not stay running issue plagues every model from compact portables to heavy-duty workhorses, and 80% of cases trace back to three easily fixable systems. The good news? You can diagnose and resolve most causes using basic tools in under half an hour without professional help.
Whether your unit sputters after 20 seconds or runs perfectly for the first four minutes before quitting, this guide delivers the exact diagnostic sequence mechanics use. We’ll cut through confusing symptoms to pinpoint fuel starvation, ignition failures, and vacuum system glitches specific to auto-choke models. Skip the guesswork—you’ll learn why loosening your fuel cap might solve everything, how to catch heat-sensitive coil failures, and why your EU2000 only runs with partial choke.
Fuel Cap Vent Test That Solves Half of Stalling Cases
Before touching tools, perform this 60-second check. A clogged fuel cap vent creates vacuum lock that starves your engine—mimicking complex carburetor issues. With your Honda generator running, loosen the fuel cap one full turn as it begins to sputter. If the engine instantly smooths out and continues running, replace the $12 cap immediately. Never ignore this simple fix: forcing the generator to run with a sealed tank risks damaging the carburetor diaphragm or fuel pump. For EU2000 owners, inspect the vent hole (a pin-sized opening in the cap’s seal) with a needle—ethanol-blended fuel leaves invisible gummy deposits here.
Low-Oil Sensor False Trigger Diagnosis
Disconnect the single wire attached to your oil sensor (typically near the dipstick) while the generator is off. Start the unit—if it now runs continuously, the sensor falsely detects low oil when the lubricant thins at operating temperature. This commonly occurs in older models after 200+ hours of use. Critical: Never operate without verifying oil level first. Run a temporary test only to confirm the fault, then replace the $22 sensor before regular use. Ignoring this risks engine seizure from actual low oil.
Choke Dependency Test for EU2000 Models
Start your generator with the choke fully engaged. As it warms up, gradually move the choke toward the “RUN” position. If the engine dies the moment you reduce choke, you’re running lean due to clogged pilot jets. This confirms carburetor cleaning is your next step—don’t waste time checking ignition. EU2000 owners note: This symptom rarely indicates fuel pump failure since these models use gravity-fed fuel systems.
Carburetor Cleaning Protocol That Actually Works

Stale fuel is the #1 killer of Honda generators. Ethanol-blended gasoline evaporates within 30 days, leaving shellac-like deposits that choke microscopic jets. When your generator dies after 2-4 minutes of running, these clogs are almost always the culprit. Skip quick fixes like Seafoam—professional shops confirm complete disassembly is the only reliable solution.
Required tools: Carburetor cleaner, compressed air (canned air won’t cut it), Phillips screwdriver, 10mm socket, new gasket kit ($15)
- Remove the carburetor: Turn fuel valve OFF, disconnect fuel line (place rags underneath), unbolt air filter housing, and detach carburetor from intake manifold.
- Disassemble completely: Remove float bowl, main jet (brass screw-in component), pilot jet, needle valve, and emulsion tube. Pro tip: Take photos at each step—Honda uses nearly identical-looking jets with different hole sizes.
- Soak and blast: Submerge metal parts in carb cleaner for 20 minutes. Use compressed air to clear every passage until you see light through each jet. A single obstructed pilot circuit will cause stalling.
- Reassemble with fresh gaskets: Install new O-rings and bowl gasket—old rubber hardens and leaks.
When to replace instead of clean: If you’ve cleaned twice with no improvement, or if brass jets show pitting (common with ethanol damage), install a new carburetor ($106 for EU2000). The gasket kit cost approaches rebuild value after multiple attempts.
Ignition System Failures That Mimic Fuel Problems
When your Honda generator shuts off “like the key was turned off” with no sputtering, suspect ignition collapse. Heat-sensitive coils fail as temperatures rise—perfect when cold but dead after 4 minutes of operation. This is especially common in EM5000SX models during summer use.
Hot Spark Test You Must Perform
Step 1: Remove the spark plug, reconnect the wire, and ground the metal threads against the engine block. Pull the starter cord while watching for spark. A healthy blue spark is good; weak yellow/orange indicates trouble.
Step 2 (Critical): Run the generator until it stalls, then immediately test spark. If spark disappears only when hot, replace the ignition coil. Never skip this step—cold testing fools 70% of DIYers into misdiagnosing fuel issues.
Precision Coil Replacement Guide
Aftermarket coils ($35 vs. $90 OEM) work perfectly if installed correctly. The key is air gap adjustment:
1. Loosen coil mounting screws just enough to slide a business card between the coil laminations and flywheel magnets.
2. Tighten screws while holding the card in place.
3. Rotate the flywheel to remove the card—this sets the 0.010-0.012 inch gap perfectly.
Warning: Incorrect gaps cause intermittent shutdowns. Verify with a feeler gauge if business cards vary in thickness.
Auto-Choke Vacuum System Fixes for EM5000SX

Auto-choke models like the EM5000SX add vacuum system complexity. When vacuum lines crack or motors fail, the choke plate won’t close properly after warm-up—causing lean stalls under load. If your generator dies when switching from “AUTO” to “RUN,” follow this:
- Remove the six screws around the control panel perimeter.
- Locate the vacuum T-connector behind the panel (two lines: one to choke plate, one to motor).
- Manually pull the choke lever as the engine starts to die. If RPM recovers, vacuum system failure is confirmed.
- Inspect lines for cracks—replace for $5 if brittle. Test the vacuum motor by sucking on its line; if it holds suction, the motor is functional.
Emergency field fix: Tape the choke plate partially closed to maintain richer mixture until repairs.
30-Minute Troubleshooting Workflow That Never Fails
Follow this exact sequence—deviating wastes hours:
-
External checks (5 min)
– ✅ Fresh fuel (less than 30 days old)
– ✅ Loosen fuel cap during stall attempt
– ✅ Disconnect low-oil sensor wire -
Fuel flow verification (7 min)
– Open float bowl drain—fuel must gush out freely
– Remove inline filter; back-flush with fresh gas
– Check petcock screen for debris (requires valve removal) -
Carburetor service (12 min)
– Full disassembly and compressed air cleaning
– Replace gaskets with kit
– Verify float height (critical for EU2000) -
Ignition verification (6 min)
– Hot spark test as described
– Replace spark plug (CR6HSA, 0.028-0.031″ gap) if fouled
Prevention Strategies That Stop Stalling Before It Starts
Fuel treatment non-negotiables:
– Add StarTron Enzyme every fill-up (not just storage)—it neutralizes ethanol damage daily.
– Use non-ethanol premium when possible; $0.20/gal extra prevents $106 carb rebuilds.
Shutdown ritual:
1. Turn fuel valve OFF while generator runs
2. Let engine stall from fuel starvation
3. Drain float bowl via drain screw (if equipped)
Storage protocol:
– For short-term: Fill tank to the brim with stabilized fuel (no air space for condensation)
– For long-term: Run dry per shutdown ritual, then store with desiccant packs inside air filter housing
Monthly maintenance:
Run generator under 50% load for 15 minutes every 30 days—idling doesn’t circulate oil properly.
When your Honda generator will not stay running, methodical diagnosis beats guesswork every time. Start with the fuel cap vent test—it solves more stalling cases than any other single step. If that fails, move systematically through carburetor cleaning and hot ignition testing before tackling model-specific systems like auto-choke vacuum lines. Remember: 90% of repairs cost under $25 in parts and take less than 45 minutes. The key is verifying each component before replacing it—never assume a clogged jet when a $12 fuel cap could be the villain. Implement the storage protocols outlined here, and you’ll transform your generator from a frustration into the reliable power source Honda designed it to be.


