That shiny new Champion generator sits in your garage, ready to power your next camping trip or emergency backup. But before you plug in your fridge and walk away, there’s one crucial step that’ll determine whether it runs strong for years or develops costly problems: proper break-in. Most Champion manuals offer vague advice like “change oil after first use,” but this barely scratches the surface. The real break-in process requires specific steps, loads, and timeframes that transform your generator from a collection of new parts into a finely-tuned power plant.
Skipping the proper break-in procedure for your Champion generator can lead to premature engine wear, carbon buildup, and reduced power output—issues that often appear just outside warranty coverage. Here’s exactly how to break in your Champion generator properly, whether you have a 2000-watt inverter or a 7500-watt beast. Following these steps ensures your investment delivers maximum reliability and longevity when you need it most.
Why Skipping Champion Generator Break-in Causes Permanent Engine Damage
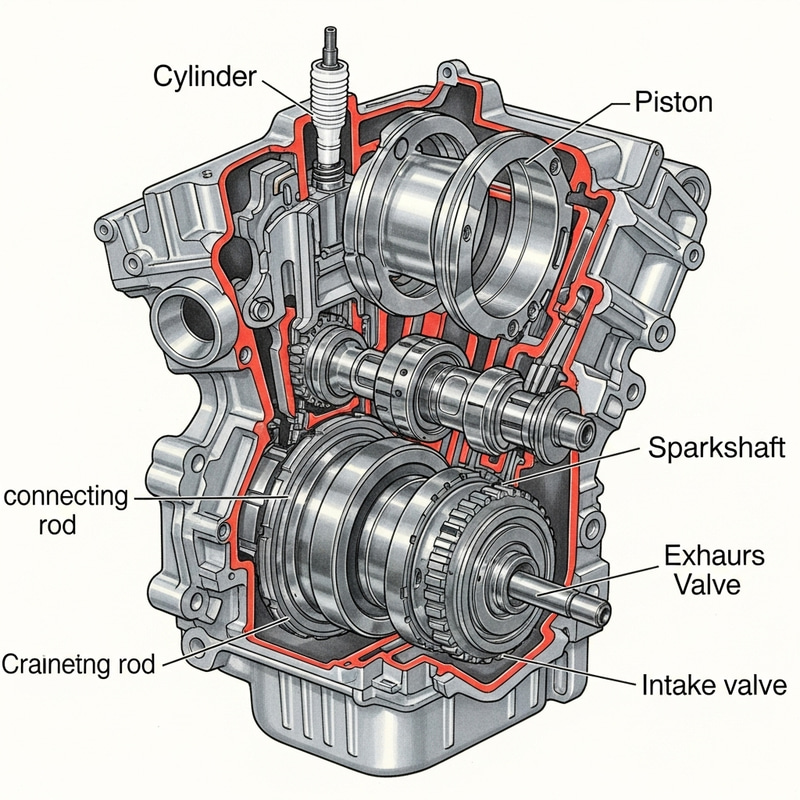
Your Champion generator’s engine isn’t smooth inside—it’s deliberately rough. The cylinder walls feature a cross-hatch pattern with microscopic peaks and valleys, created during manufacturing. These peaks need controlled wear to achieve proper seating, while valleys retain oil for lubrication. Without proper break-in, metal particles circulate freely, scratching surfaces and causing permanent damage.
Immediate risks you’ll face by skipping break-in:
– Dry starts from inadequate lubrication during first operation
– Metal contamination damaging internal components within hours
– Poor piston ring seating leading to compression loss and reduced power
Long-term consequences you’ll regret later:
– Carbon buildup reducing power output over time
– Blow-by causing excessive oil consumption and blue exhaust smoke
– Premature engine failure requiring expensive rebuilds or replacement
10 Must-Have Tools for Proper Champion Generator Break-in
Before touching your generator, gather these essential items—don’t start without them:
Required materials checklist:
– Engine oil conditioner (specifically formulated for small engines)
– Fresh engine oil (check your manual for 10W-30 or 5W-30 specification)
– Clean fuel (87 octane minimum, ethanol-free preferred)
– Oil drain pan (1-quart capacity minimum)
– Funnel with narrow spout for precise pouring
– Clean microfiber rags (lint-free)
– Spark plug socket (typically 13/16″ size)
– Basic socket set for maintenance access
– Oil filter wrench (if applicable to your model)
– Safety glasses and work gloves
Pro tip: Buy extra oil—you’ll change it multiple times during break-in. Most Champion generators hold 0.6-1.1 quarts, so grab at least 3 quarts to avoid mid-process store runs. Keep your receipt for warranty documentation.
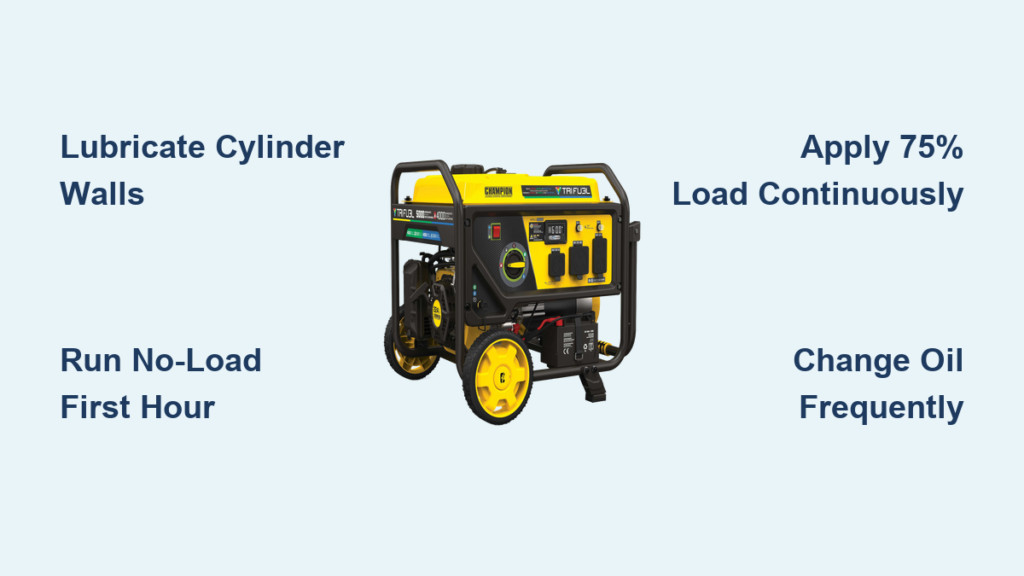
Step 1: Critical Cylinder Wall Lubrication Before First Startup
Start by removing the spark plug using a spark plug socket. Add 5-6 drops of oil conditioner directly into the spark plug hole. If your conditioner bottle has an awkward spout, use a funnel to avoid spills.
Slowly pull the starter cord 5-10 times without starting the engine. This distributes conditioner across cylinder walls, providing critical lubrication for first startup. You’ll feel slight resistance—this is normal. Replace the spark plug and hand-tighten snugly before proceeding. Warning: Skipping this step risks immediate cylinder wall scoring during first startup.
Step 2: Oil System Preparation for Maximum Protection
Add oil conditioner to the crankcase first, then fill with fresh oil to maximum capacity. Even though you’ll change oil soon, maintaining full levels ensures adequate lubrication during initial operation. Never exceed the maximum fill line—overfilling causes foaming and reduced lubrication.
Check oil level with dipstick, wipe clean, reinsert without screwing in, then check again. Add oil gradually, checking frequently to avoid overfilling. Your Champion generator needs this precise oil level for proper break-in—too little causes damage, too much creates foam that doesn’t lubricate properly.
First Hour: No-Load Operation Protocol
Start your Champion generator and let it run for exactly one hour with no electrical devices connected. Set a timer—don’t guess. This period allows:
– Initial component seating without stress
– Complete oil circulation throughout all passages
– Temperature stabilization before adding load
During this hour, listen for unusual noises—light ticking is normal, but loud knocking requires immediate shutdown. After one hour, shut down and drain all oil while warm. The drained oil will appear surprisingly dirty; this metal contamination is exactly why early oil changes matter. Refill with fresh oil to maximum capacity immediately.
Critical Loaded Operation: Champion Generator’s Make-or-Break Phase

Here’s where Champion generator break-in differs from lawn mowers or other small engines. You need sustained, substantial load—not gentle treatment.
Exact load requirements for proper break-in:
– Minimum 75% of rated capacity for 50-100 hours
– For a 3500-watt generator: run at least 2600 watts continuously
– For a 7500-watt unit: maintain 5600 watts minimum
Finding appropriate loads:
– Use multiple 1500-watt space heaters (for 2000-3500 watt generators)
– Run power tools plus shop lights simultaneously (mid-size generators)
– Power an air compressor plus refrigerator (larger units)
Oil change schedule during loaded operation:
– Change oil every 8-10 hours for first 50 hours
– Then every 20 hours until break-in complete
– Use standard intervals afterward (50-100 hours depending on model)
Monitor oil level daily during break-in—new engines consume slightly more oil initially. Top off as needed, never letting it drop below minimum.
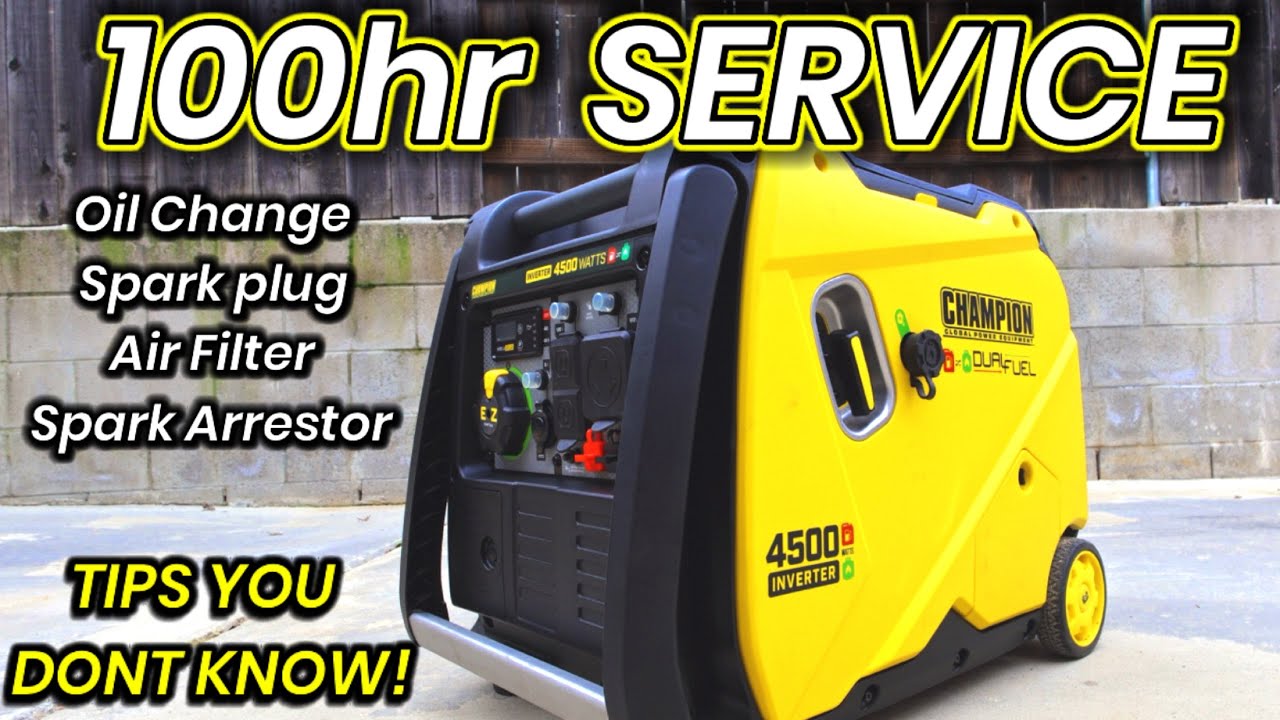
Post Break-in Completion Checklist
After 50-100 hours of loaded operation:
- Perform final oil change with premium synthetic blend oil
- Inspect air filter—replace if dirty from break-in debris
- Check spark plug condition—should show tan/gray color, no oil fouling
- Verify all connections—ensure bolts remain tight after initial operation
- Document completion—record break-in completion date and total hours
Your Champion generator now operates at peak efficiency and reliability. The difference between properly broken-in and neglected units becomes evident within 200-300 hours of operation.
Load Management Best Practices After Break-in
Optimal operation practices to extend generator life:
– Maintain minimum 50% load during regular use
– Avoid prolonged light-load operation (under 25%)
– Run monthly 30-minute cycles even when not needed
– Store with fuel stabilizer and full tank when not in use
Warning signs of poor break-in:
– Excessive oil consumption requiring frequent top-offs
– Blue smoke from exhaust under normal operation
– Reduced power output when running essential appliances
– Hard starting when engine is warm
Why Modern Champion Generators Still Need Proper Break-in
Despite claims that “modern engines don’t need break-in,” this applies only to automotive engines with advanced manufacturing. Your Champion generator’s small engine benefits enormously from proper break-in. The time investment of 50-100 hours prevents thousands in premature replacement costs.
Remember: underuse damages small engines more than proper loaded operation. Your Champion generator wants to work—give it meaningful loads and regular exercise, and it’ll provide decades of reliable power when you need it most. A properly broken-in Champion generator becomes your most dependable power source through storms, outages, and adventures.


