
Your generator sputters to life only to die minutes later, or your car battery warning light glows persistently despite a new battery. These frustrating issues often trace back to worn generator brushes—the critical but overlooked components that transfer power between stationary and rotating parts. As these carbon or metal contacts gradually wear down through friction, electrical performance deteriorates until your generator fails completely. The good news? Learning how to change brushes in a generator takes just 30-60 minutes with basic tools and prevents costly repairs or unexpected power failures when you need it most. This guide delivers field-tested procedures for both portable generators and automotive applications, ensuring reliable electrical output after replacement.
Spot Signs of Worn Generator Brushes Before Failure
Ignoring brush wear guarantees generator breakdowns during critical moments. Recognize these urgent warning signs that demand immediate brush replacement:
Visible Wear Indicators on Carbon Brushes
Examine carbon brushes through your generator’s access port—they should measure at least 3/4 of their original length. Worn units appear significantly shorter with uneven edges, while healthy brushes maintain clean rectangular profiles. Check for excessive sparking around the commutator during operation, a sure sign of poor contact. In portable generators, this often manifests as fluctuating voltage output or failure to maintain rated wattage under load.
Electrical Symptoms Pointing to Brush Failure
Your generator might crank but won’t hold a charge, or voltage readings drop below 12.4V when tested with a multimeter. Automotive generators exhibit dimming headlights under acceleration or battery drain despite engine running. Crucially, these symptoms persist even after checking belts and connections—confirming brushes as the culprit. Never ignore a burning smell near the generator housing; this indicates arcing from severely worn contacts that could melt components.
Essential Safety Steps Before Changing Generator Brushes

Power Down and Cool Critical Components
Always turn off the generator completely and set the fuel valve to OFF position. Allow the unit to cool for at least 30 minutes—hot components cause severe burns during brush access. Disconnect all electrical loads and remove the spark plug wire for portable generators to prevent accidental starts. For automotive applications, disconnect the negative battery terminal first to eliminate shock risks.
Workspace Preparation Protocol
Work in a well-lit, dry area free of flammable materials. Lay down a clean mat to organize screws and small parts—dropped hardware inside generator housings causes catastrophic damage. Keep a magnetized tray nearby for metal components. Consult your operator’s manual for model-specific lockout/tagout procedures; some industrial generators require capacitor discharge before brush access.
Gather the Right Tools to Change Generator Brushes
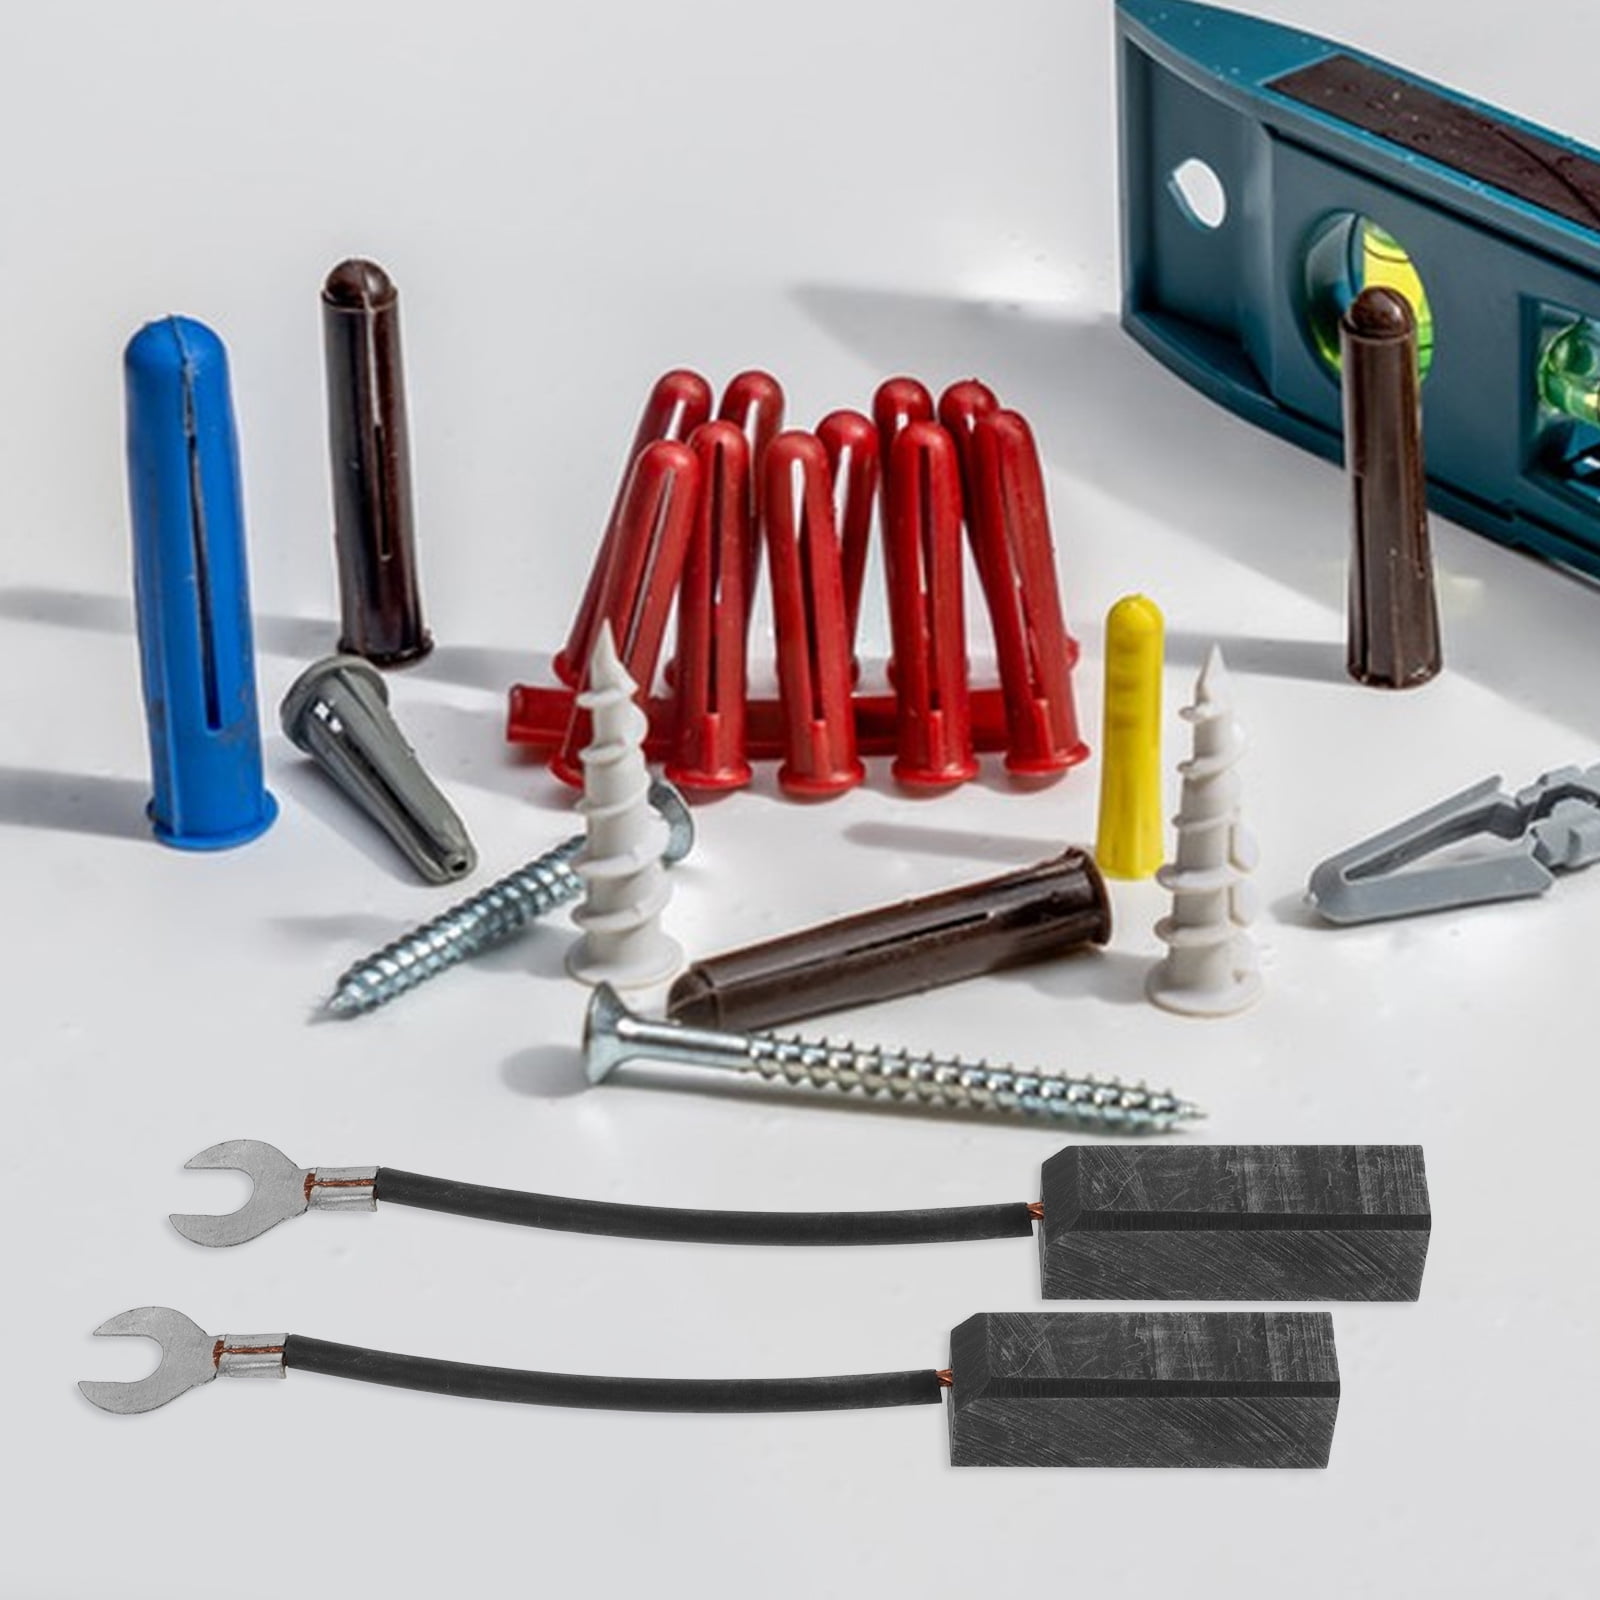
Carbon Brush Replacement Kit Essentials
For portable generators, you’ll need a complete replacement carbon brush holder assembly specific to your model (never mix brands), Phillips-head screwdriver, and electrical contact cleaner. A small mirror helps inspect hard-to-see areas. Verify brush dimensions match original specs—using undersized units causes arcing, while oversized brushes jam in holders.
Automotive Metal Brush Toolkit
Prepare two new metal brushes (always replace as a pair), needle-nosed pliers, fine-grit sandpaper, and a wood block for contact cleaning. Include a 1/4-inch drive ratchet with extension for tight spaces—many bottom brushes require 5-6 inches of reach. Keep electrical contact cleaner and dielectric grease on hand; WD-40 contaminates contacts and attracts dust.
Replace Carbon Brushes in Portable Generators in 6 Steps
Locate and Access the Brush Compartment
Find the rectangular brush holder assembly at the top center of the generator head compartment on the right-hand side. Remove the head cover using your screwdriver—most models use four Phillips-head screws stored in a dedicated tray to prevent loss. Set screws aside in a labeled container; mixing screw types during reassembly cracks plastic housings.
Disconnect Wires and Remove Old Assembly
Identify the positive (+) wire by its marked ring terminal and disconnect both wires carefully. Remove the single securing screw holding the brush holder. Extract the entire assembly using gentle rocking motion—never force it, as brittle plastic holders crack easily. Inspect the commutator surface for deep grooves; light scoring is normal, but severe damage requires professional servicing.
Install New Brushes and Reconnect Properly
Seat the new brush holder assembly fully before tightening the securing screw—hand-tighten only to avoid stripping plastic threads. Reconnect the negative wire to the right post and positive to the left post, ensuring the “+” symbol remains visible. A single reversed connection here can fry your generator’s voltage regulator. Double-check wire routing doesn’t pinch against moving parts before replacing the head cover.
Swap Automotive Metal Brushes Without Removing the Generator
Access and Replace the Top Brush Efficiently
Work over a magnetic tray to catch dropped hardware. Remove the screw securing the brush wire using a Phillips screwdriver with a rubber grip—this prevents slips that strip screw heads. Use needle-nosed pliers to compress the spring clip while sliding the old brush out. Clean contact surfaces with sandpaper on a wood block using circular motions, then spray with contact cleaner. Insert the new brush with wire facing outward, release the clip, and reattach the wire screw.
Navigate Tight Spaces for Bottom Brush Replacement
Position yourself for optimal access—often requiring lying under the vehicle with a creeper. The bottom brush screw typically drops into your palm rather than the engine bay, but keep a magnet nearby as backup. Use pliers with insulated handles to avoid short circuits. If the spring clip resists, apply dielectric grease to the new brush edges before insertion; this eases installation in confined spaces without compromising electrical contact.
Test Generator Performance After Brush Replacement

Critical Voltage Output Verification
Start your generator and let it run at half-load for five minutes. Measure AC output at the outlets with a multimeter—it must read within 5% of rated voltage (e.g., 114-126V for 120V generators). For automotive systems, check battery voltage at idle: proper charging shows 13.8-14.4V. Any reading below 13.2V indicates brush seating issues or regulator problems.
Listen for Troubling Mechanical Noises
Place a screwdriver against the generator housing and your ear—this amplifies internal sounds. Healthy units produce steady humming; grinding or scraping noises mean brushes aren’t seated correctly. Stop immediately if you hear metallic scraping—this indicates brush fragments contacting the commutator, requiring disassembly to clear debris before permanent damage occurs.
Troubleshoot Common Brush Replacement Mistakes
Fix Poor Electrical Contact After Installation
If voltage remains unstable, recheck brush seating first—lightly tap the holder assembly with a plastic mallet to ensure full contact. Verify no debris obstructs the brush path by shining a flashlight into the holder. For carbon brushes, confirm the “+” terminal faces outward; reversed polarity causes immediate regulator failure. Clean commutator surfaces again if output fluctuates under load.
Stop Accelerated Brush Wear Immediately
Unusually rapid wear after replacement signals contamination—inspect for oil leaks near the generator or excessive dust ingress. Confirm you used the correct brush type: automotive metal brushes in portable generators wear 3x faster due to higher RPMs. If brushes show uneven wear patterns, the holder alignment is off; realign mounting screws before reinstalling.
Schedule Generator Brush Maintenance for Longevity
Implement Inspection Timing Based on Usage
Check brushes every 500 operating hours or six months—whichever comes first. High-dust environments like construction sites require inspections every 250 hours. During visual checks, measure brush length against manufacturer specs; replace when worn to 1/4 original size. Record inspection dates on your generator’s maintenance tag—a quick reference preventing unexpected failures.
Master Contact Cleaning for Extended Brush Life
Clean commutator surfaces during every brush replacement using fine sandpaper on a wood block. Rotate the generator pulley by hand while sanding to reach all contact points. Finish with electrical contact cleaner spray—never use lubricants that attract conductive dust. Properly maintained contacts double brush lifespan and prevent voltage spikes that damage connected electronics.
Fresh generator brushes restore peak electrical performance and prevent cascading failures that cost hundreds in repairs. By mastering how to change brushes in a generator for both portable and automotive units, you ensure reliable power during emergencies and extend your equipment’s lifespan significantly. Remember to document each replacement with dates and brush types, and always prioritize safety by disconnecting power sources before starting work. For persistent electrical issues after brush replacement, consult your operator’s manual for voltage regulator testing procedures—this often resolves remaining charging problems. Keep this guide accessible in your workshop, and you’ll never face unexpected generator failures again.


