Your Duromax generator sits silent when you need it most, and chances are it’s a dead battery causing the problem. Most owners discover this frustrating reality during power outages, exactly when backup power becomes critical. Learning how to charge Duromax generator battery properly isn’t just convenient—it’s essential for reliable emergency power when the grid fails.
Whether you’re dealing with a brand-new generator that won’t start or an older unit that’s been sitting in storage, this guide walks you through every charging method, troubleshooting step, and maintenance tip to keep your Duromax ready when you need it. Follow these specific procedures to ensure your generator starts reliably every time, avoiding the panic of a failed power backup during an emergency.
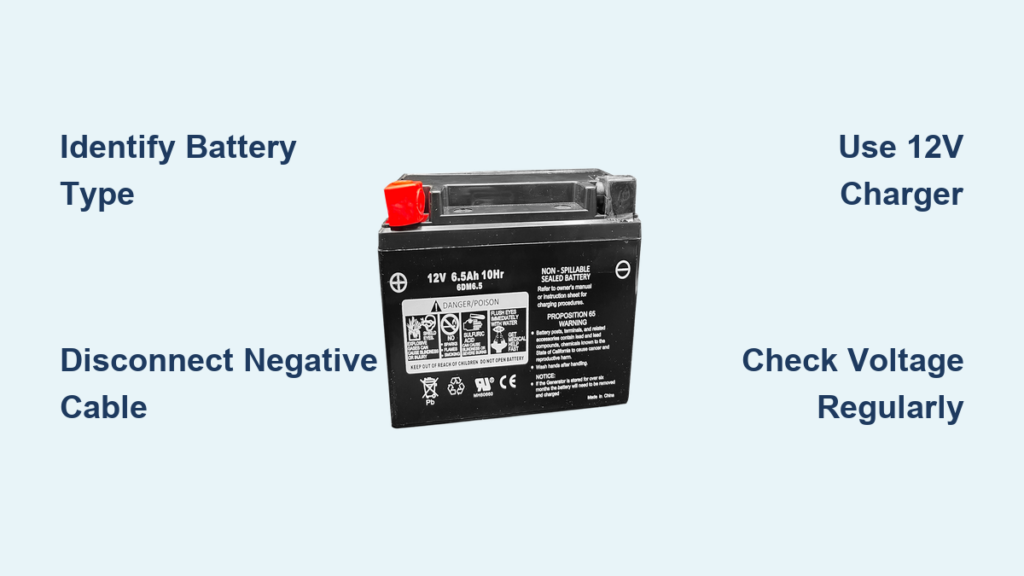
Identify Your Duromax Battery Type Before Charging
Before connecting any charger to your Duromax generator battery, you must determine which battery type powers your specific model. Duromax uses two main battery types across their product line, each requiring slightly different charging approaches that directly impact how to charge Duromax generator battery effectively.
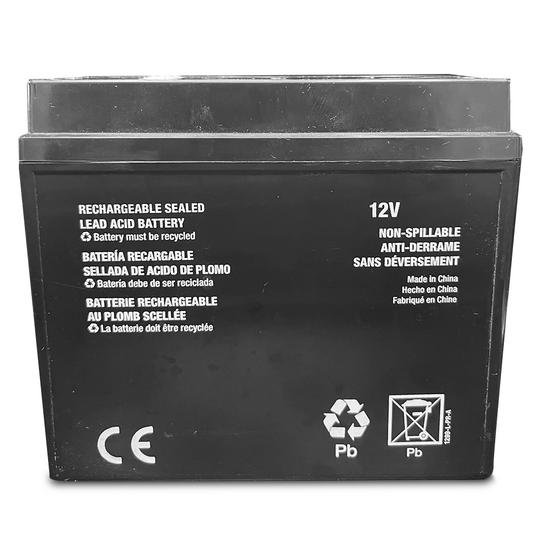
Lead-acid batteries dominate older Duromax models and remain common in current portable units. These traditional batteries need periodic water level checks and specific voltage requirements. Look for removable caps on top—if you see them, you’ve got a lead-acid battery that needs special attention during charging. These batteries require careful monitoring to prevent overcharging, which can cause electrolyte loss and permanent damage.
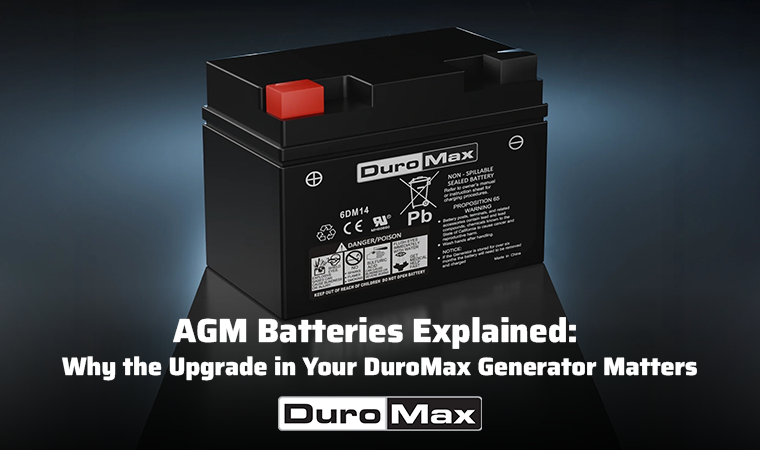
Sealed AGM batteries appear in newer Duromax models and dual-fuel generators. These maintenance-free batteries handle deeper discharges better and charge more efficiently. You’ll recognize them by their sealed construction with no removable caps and typically have “AGM” or “sealed” printed on the label. AGM batteries can accept faster charging rates than lead-acid equivalents, making them more convenient for emergency situations when you need to charge Duromax generator battery quickly.
Check your generator’s manual or the battery label itself. The voltage rating (12V) stays consistent across all Duromax models, but the amp-hour (Ah) rating varies—common sizes include 12Ah, 18Ah, and 35Ah configurations. This rating directly affects charging time; larger capacity batteries require longer to reach full charge when learning how to charge Duromax generator battery properly.
How to Verify Battery Specifications Safely
Use a multimeter to check your battery’s current voltage before charging. A reading below 10.5 volts indicates a deeply discharged battery that may require special recovery procedures. For lead-acid batteries, also check electrolyte levels through the removable caps—add distilled water if plates are exposed, but never before charging as this can cause overflow during the charging process.
Locate Your Duromax Battery Compartment Correctly
Finding your generator’s battery compartment depends on your specific Duromax model, but they follow predictable patterns across the lineup. Knowing exactly where to access your battery is the first practical step in how to charge Duromax generator battery without damaging your equipment.
Open-frame generators (like the popular XP series) house batteries in a side compartment secured by thumb screws or quarter-turn fasteners. The charging port sits right next to the battery, clearly marked with a rubber dust cap labeled “12V” or “Battery Charge.” This design allows for quick access without major disassembly when you need to charge Duromax generator battery.
Inverter generators (IH series) tuck batteries underneath the control panel. Remove the front maintenance panel—usually two thumb screws—and you’ll spot the battery secured in a plastic tray. The charging port remains accessible without removing the battery, often hidden behind a small rubber flap. This compact design maximizes space efficiency but requires careful handling during charging procedures.
Dual-fuel models position batteries differently based on fuel tank configuration. Look for a black plastic box on the same side as the fuel shut-off valve. The charging port faces outward for easy access, even with the generator running on propane. This strategic placement accommodates the additional plumbing required for dual-fuel operation.
Critical Safety Step Before Charging
Always disconnect the negative (-) battery cable before charging. This prevents electrical feedback and protects your generator’s charging system from potential damage. Use a 10mm wrench for most Duromax models, and remember to reconnect negative last when finished charging your Duromax generator battery.
Manual Charging Procedure for Deep Discharge Recovery
When your generator sits unused for months, manual charging restores full battery capacity using an external charger. This method works for all Duromax battery types and gives you complete control over the charging process when you need to charge Duromax generator battery after extended storage.
Required equipment: 12V battery charger (manual or automatic), safety glasses, wire brush for terminal cleaning
Start by removing the battery if it’s not easily accessible. Lead-acid batteries weigh 20-35 pounds, so use proper lifting techniques. Clean corroded terminals with a wire brush until shiny metal appears—corrosion appears as white, crusty buildup that prevents good electrical contact and makes it difficult to charge Duromax generator battery effectively.
Connect the charger: red clamp to positive (+) terminal, black clamp to negative (-). Set your charger to 12V and use the lowest amp setting (2-6 amps) for deep, thorough charging. Higher amp settings charge faster but generate excess heat that shortens battery life. Modern smart chargers automatically adjust amperage, making them ideal for how to charge Duromax generator battery without risk of overcharging.
Charging Time Guidelines by Battery Size
Charging times vary by battery size and depletion level:
– 12Ah battery: 6-8 hours at 2 amps
– 18Ah battery: 9-12 hours at 2 amps
– 35Ah battery: 12-18 hours at 2 amps
AGM batteries charge 20-30% faster than lead-acid equivalents. Monitor battery temperature—if it feels hot to touch, stop charging and let it cool. Never leave a charging battery unattended for extended periods, especially with manual chargers that lack automatic shutoff features.
Troubleshooting Failed Charging Attempts

When charging attempts fail, systematic diagnosis prevents wasted time and unnecessary parts replacement. Most charging problems stem from four common issues that can frustrate your efforts to charge Duromax generator battery properly.
No voltage at battery: Test with a multimeter set to DC volts. A healthy 12V battery reads 12.6-12.8 volts when fully charged. Readings below 12.0 volts indicate deep discharge requiring immediate attention. Below 10.5 volts usually means permanent battery failure that cannot be resolved by how to charge Duromax generator battery procedures.
Poor connections: Clean terminals until shiny metal appears. Tighten loose cable connections—hand-tight plus quarter turn with pliers prevents over-tightening. Replace cables with green corrosion inside the insulation, indicating internal wire degradation that interferes with proper charging.
Charger compatibility issues: Verify your charger matches your battery type. Lead-acid and AGM batteries have different voltage requirements during charging. Using the wrong charger setting prevents proper charging and can damage your battery, making it impossible to charge Duromax generator battery effectively.
When to Replace Rather Than Charge
Sulfated battery: Lead-acid batteries develop sulfate crystals when left discharged for extended periods. These crystals prevent proper charging and appear as white, hard deposits on lead plates. Severe sulfation requires battery replacement—no amount of charging will restore capacity. If your battery won’t hold a charge after following proper how to charge Duromax generator battery procedures, replacement may be necessary.
Maintain Your Duromax Battery to Prevent Future Charging Issues
Proper battery maintenance dramatically extends lifespan and ensures reliable starting. Duromax batteries last 3-5 years with consistent care, but neglect cuts life to 12-18 months, forcing you to repeatedly learn how to charge Duromax generator battery.
Monthly routine: Run generator under load for 30 minutes, then check battery voltage. Readings above 12.4 volts indicate healthy charge levels. Below 12.2 volts requires immediate attention—either extended generator run time or manual charging. This simple procedure prevents the need for deep recovery charging.
Seasonal storage protocol: Before storing for winter, fully charge the battery and disconnect negative cable. Store batteries in cool, dry locations—extreme cold slows chemical reactions but doesn’t damage charged batteries. Check voltage monthly during storage and recharge if below 12.4 volts to maintain battery health.
Deep discharge prevention: Never let batteries sit below 50% charge for more than a few days. This causes permanent capacity loss in lead-acid batteries and reduces AGM battery lifespan. Install a battery maintainer if your generator sits unused for months—this small investment eliminates the need to constantly charge Duromax generator battery.
Safety Precautions While Charging Your Duromax Battery
Battery charging involves electricity and corrosive chemicals—proper safety measures prevent injuries and equipment damage. Lead-acid batteries pose greater risks due to explosive gas production during charging, making safety critical when you charge Duromax generator battery.
Ventilation requirements: Charge batteries in well-ventilated areas only. Lead-acid batteries release hydrogen gas—a highly explosive substance that accumulates in enclosed spaces. Never charge in basements, sheds, or garages without open windows or ventilation fans. This simple precaution prevents potentially dangerous situations.
Personal protective equipment: Wear safety glasses to protect against acid splashes. Use nitrile gloves when handling batteries—automotive latex gloves deteriorate quickly from battery acid. Remove metal jewelry that could create electrical shorts across battery terminals, which can cause severe burns when attempting to charge Duromax generator battery.
Fire prevention: Keep sparks, flames, and smoking materials away from charging batteries. Disconnect charger before removing clamps to prevent sparking. Keep a Class C fire extinguisher nearby—water conducts electricity and worsens electrical fires, making proper fire safety equipment essential.
Knowing how to charge Duromax generator battery correctly ensures your backup power remains reliable when emergencies strike. By identifying your specific battery type, following proper charging procedures, and maintaining your battery through regular checks, you’ll avoid the frustration of a generator that won’t start when you need it most. Remember that consistent maintenance prevents 90% of battery-related generator failures, so establish a simple monthly routine to check your battery’s condition. When storing your generator for extended periods, take the extra step to fully charge and disconnect the battery—this small effort pays off when the lights go out and you need power immediately. Keep this guide handy for quick reference, and your Duromax generator will provide dependable service for years to come.


