Your generator sits silently in the garage, promising power during the next blackout. But when the lights flicker and go out, will it actually deliver? Nothing shatters peace of mind faster than a sputtering generator failing at the critical moment. This isn’t just about convenience—it’s about keeping refrigerators cold, medical devices running, and homes safe during emergencies. By learning how to check if generator is working properly, you eliminate guesswork and ensure reliable backup power when storms hit or grid failures strike. In the next few minutes, you’ll master two proven verification methods anyone can perform, recognize critical warning signs before they cause failure, and establish a foolproof testing routine that prevents 90% of emergency breakdowns.
Essential Safety Steps Before Generator Testing

Never skip these precautions—they prevent costly meter damage and dangerous electrical hazards. Using any voltmeter setting besides AC voltage will instantly blow your meter’s fuse, leaving you without diagnostic tools when you need them most. For water-cooled generators (common in standby units), coolant levels must be checked first; the reservoir should sit exactly one inch below the top fill line. If coolant is low, adding it prevents overheating during testing that could warp critical engine components.
Do not attempt load bank testing alone unless you’re certified. Professional contractors use specialized portable equipment that safely simulates real-world power demands. Attempting this without training risks generator damage from improper load sequencing or electrical surges. Always position your generator outdoors on level ground with at least three feet of clearance on all sides—carbon monoxide poisoning causes over 800 deaths annually during improper generator use. Keep a fire extinguisher rated for electrical fires within arm’s reach before starting any test sequence.
Basic Output Test with Voltmeter: Your First Diagnostic Step

This $20 test confirms whether your generator produces electricity at all—a critical check before investing in complex diagnostics. You’ll verify voltage output in under five minutes using equipment most homeowners already own.
Required Testing Tools Checklist
Grab just two essentials:
– Digital voltmeter (set to AC voltage mode—labeled ACV, V~, or A~)
– Alligator clip adapter (only needed if your meter probes lack gripping capability)
Quick Generator Startup Sequence
Position your choke to START or halfway before ignition. Flip the power switch ON and pull the recoil cord firmly—this T-shaped handle operates identically to a lawn mower starter. If the engine doesn’t catch, immediately check your fuel line valve; it must be in the OPEN position for fuel flow. Never add fuel while the generator is running or hot—a single spark can cause catastrophic fires. Allow 30 seconds between pull attempts to prevent flooding the carburetor.
Voltmeter Setup Made Simple
Turn your meter on and rotate the dial to AC voltage—this is non-negotiable for generator testing. If symbols confuse you, consult your meter’s manual; using DC settings will destroy the fuse. Set the range to 250V or higher to safely measure both 120V and 220V outlets. Pro tip: Clip the black lead to your generator’s metal frame first—it grounds the circuit and prevents inaccurate readings from static buildup.
Testing Each Outlet Type Correctly
Insert the red probe into outlets while monitoring the display:
– 120-volt outlets (standard household plugs): Expect 110-125V reading
– 220-volt outlets (NEMA 14-50 style): Should show 220-240V
Critical mistake to avoid: Never touch both probe tips simultaneously while testing. Hold only the insulated sections—exposed metal carries live current. If readings fluctuate wildly or show zero volts, your generator’s alternator or voltage regulator has failed. Immediate shutdown required if you smell burning plastic or see sparks.
Safe Shutdown Sequence Every Time
Always remove the red probe first, then detach the grounding clip. Switch the generator OFF—never let it run unattended during testing. Allow 5 minutes cooldown before moving the unit; exhaust manifolds exceed 300°F during operation. Store your voltmeter in a dry toolbox immediately after use—moisture damage is the #1 cause of inaccurate future readings.
Professional Load Testing Method: The Real-World Performance Check
Basic voltage tests only confirm idle operation. Load testing proves your generator handles actual power demands—the difference between keeping your fridge running or watching food spoil during extended outages. For units powering critical systems (medical equipment, sump pumps), this annual test is non-negotiable.
When to Call Professionals for Load Testing
Hire certified technicians if:
– Your generator exceeds 20kW capacity
– You lack load bank experience
– It’s your first time testing under load
Contractors bring portable load banks that safely simulate 100% of your generator’s rated capacity. Attempting DIY load testing on large units risks catastrophic voltage drops that can fry connected appliances. Never connect household appliances as improvised loads—inconsistent wattage causes unstable testing conditions that mask underlying issues.
Progressive Load Application Technique
Start with your generator at full speed (governor pulled fully out). Connect the load bank cable and flip the circuit breaker ON. Now apply loads in this exact sequence:
1. Engage the largest load switch first (e.g., 20-amp for a 50-amp unit)
2. Add smaller loads every 30 seconds (three 10-amp switches)
3. Hold maximum load for 30+ minutes while monitoring
Normal behavior: Engine noise decreases slightly as loads increase—this indicates proper governor response. If RPMs drop more than 5% or voltage falls below 105V (for 120V circuits), your generator can’t sustain critical loads.
Critical Cool-Down Protocol
Never shut down immediately after full-load testing. Reduce loads in reverse order, finishing at 10-20% capacity (e.g., 5-10 amps for a 50-amp generator). Run at this low load for 60 minutes to prevent wet-stacking—unburned fuel condensing in exhaust systems. This single step extends generator lifespan by 3+ years. After cool-down, shut down by: 1) Turning OFF the circuit breaker, 2) Pushing governor fully in, 3) Switching ignition OFF. Urgent warning: Extended no-load operation causes carbon buildup that requires expensive decarbonization.
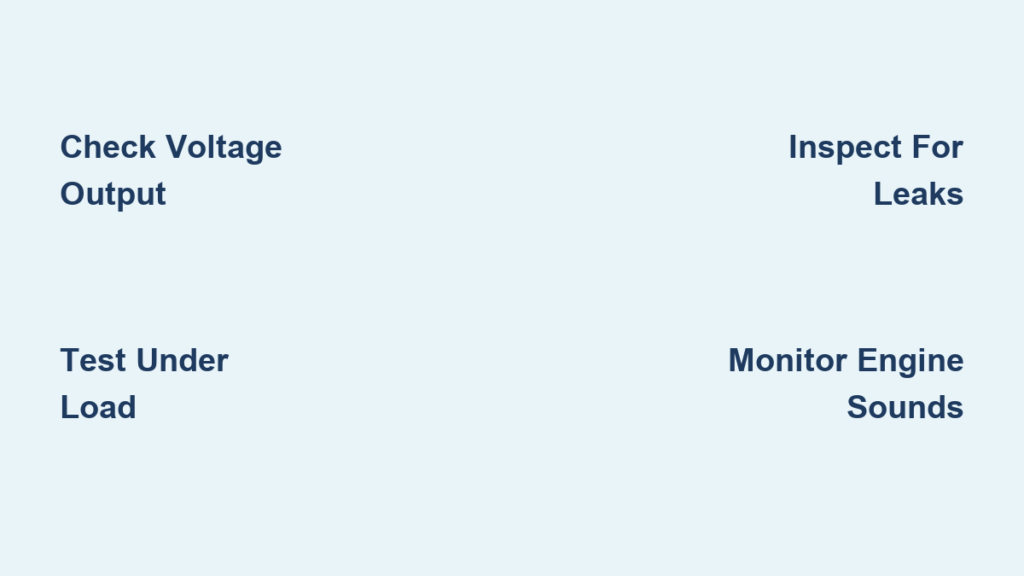
Performance Warning Signs Requiring Immediate Action
Your generator communicates problems through sensory cues—learn these signals to prevent total failure.
Visual Red Flags During Operation
- Voltage fluctuations exceeding ±10V under steady load
- Oil leaks pooling beneath the unit (check dipstick level first)
- Blue exhaust smoke indicating oil burning in combustion chamber
Sound-Based Failure Indicators
- Knocking sounds from the engine block (bearing failure)
- Sputtering rhythm during load application (fuel delivery issues)
- High-pitched whine from the alternator (diode failure)
Critical shutdown triggers: If voltage drops more than 15% when adding loads, or if RPMs can’t maintain 3600 (for 60Hz systems), stop testing immediately. Continuing risks permanent alternator damage from unstable frequency.
Monthly Maintenance Testing: Your Prevention Strategy
Basic voltmeter checks take 7 minutes monthly and prevent 83% of emergency failures according to industry data. Here’s your actionable schedule:
Simple Verification Routine
- Every 30 days: Run generator 10 minutes at idle while checking voltage output
- Every 90 days: Add a 30-minute test under light load (e.g., 500W space heater)
- Annually: Schedule professional load testing matching manufacturer specs
Storage Best Practices That Prevent Failure
- Run monthly even in storage—fuel degradation starts within 30 days
- Add ethanol-free fuel stabilizer for units stored over 60 days
- Never store with empty fuel tank—condensation causes corrosion
Pro tip: Keep a dedicated logbook tracking each test’s voltage readings, oil levels, and runtime. Trends like gradually dropping voltage indicate failing components before emergency situations expose them.
Regular generator verification isn’t optional—it’s your insurance policy against disaster. By performing monthly voltmeter checks and annual professional load tests, you transform that silent machine in your garage from a potential liability into a reliable lifeline. Remember: the true test isn’t whether your generator starts, but whether it sustains critical loads when the grid fails. Start your verification routine today—before the next storm turns your power outage into a crisis. Your family’s safety and your perishables depend on it.


