Your generator sputters and dies when you need it most—classic carburetor trouble. Instead of wrestling with mounting bolts and fuel lines, discover how to clean a generator carburetor without removing it using techniques professional technicians deploy for routine maintenance. Most fuel-related issues stem from clogged jets or stale fuel deposits that choke performance, and these non-removal methods target exactly those problems. You’ll restore smooth operation in 30-60 minutes with basic tools, avoiding the complexity of full disassembly while preventing unnecessary wear on delicate components.
This approach works for 80% of common running issues, from rough idling to hard starting. By the end of this guide, you’ll know precisely when to attempt in-place cleaning versus when removal becomes unavoidable, plus critical maintenance habits that prevent future clogs. Skip the frustration of unnecessary disassembly when these proven techniques can get your generator running reliably tonight.
Critical Safety Steps for In-Place Carburetor Cleaning
Gasoline fumes linger long after shutdown, creating invisible fire hazards you can’t afford to ignore. Always verify the engine and muffler are stone cold before starting—place your hand near these components for 15 seconds; if you feel any warmth, wait another 30 minutes. Work exclusively outdoors or in a garage with both doors fully open to prevent vapor accumulation.
Immediately turn the fuel valve to “OFF” (usually a lever perpendicular to the fuel line near the tank base) to depressurize the system. Keep a Class B fire extinguisher within arm’s reach—this isn’t optional when spraying flammable cleaners near ignition sources. Remove all jewelry and keep phones away from the workspace; a single spark from metal contact can ignite fumes. These precautions take 2 minutes but prevent life-altering accidents.
Turn Off Fuel Supply Correctly
Locate your generator’s fuel valve—typically a small lever where the fuel line connects to the tank. Rotate it 90 degrees to the “OFF” position (consult your manual if markings are unclear). If your model lacks a valve, disconnect the fuel line at the carburetor inlet and pinch the line shut with pliers. Never skip this step; residual pressure can spray fuel when loosening drainage screws.
Drain Carburetor Bowl Safely
Position a 1-quart container beneath the carburetor’s lowest point to catch fuel. Using a flat-head screwdriver, loosen the drainage screw 2-3 turns—fuel will flow immediately if the valve wasn’t fully closed. Allow complete drainage (typically 30-60 seconds), then tighten the screw firmly. This removes water-contaminated fuel and debris settled in the bowl’s reservoir, preventing contaminants from circulating during cleaning.
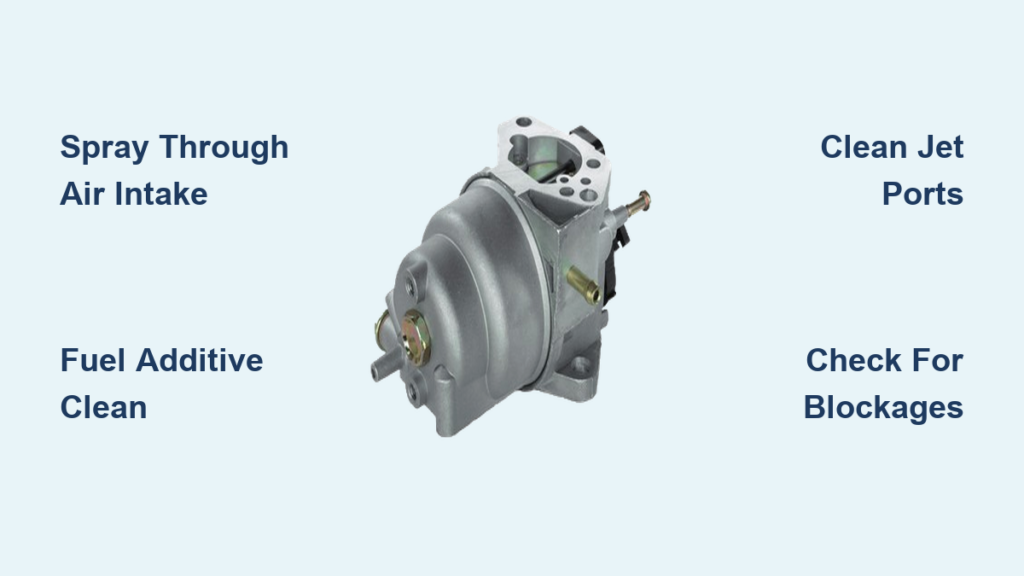
3 Proven Methods to Clean Your Generator Carburetor Without Removal
Spray Cleaning Through Air Intake (Best for Rough Idle)
Ideal when: Your generator starts but surges, stalls under load, or idles unevenly. Remove the air filter cover and filter element to expose the carburetor throat. With the engine completely off, spray carburetor cleaner directly into the opening for 3-4 seconds—avoid oversaturating. The solvent dissolves varnish coating the throttle plate and main jet.
Let it soak 10-15 minutes while you wipe external surfaces. Start the engine and run at half-throttle for 5-10 minutes; this burns off loosened deposits through combustion. Repeat only if idle improves but isn’t smooth—excessive spraying can wash lubricants from internal components. Most minor clogs clear after 2 applications.
Fuel Additive Deep Clean (Best for Old Fuel Issues)
Ideal when: Your generator sat unused for weeks with fuel in the tank. Completely drain old gasoline from the tank—don’t just drain the carburetor bowl. Add fresh fuel mixed precisely with carburetor cleaner additive (follow product ratios; typically 1 oz per gallon). Run the generator under 50% load (e.g., a 1500W space heater) for 30-45 minutes to circulate treated fuel through all passages.
Shut it down and let sit overnight—the additive continues dissolving deposits while inactive. Next morning, run for 20 minutes to flush the system. This method excels for ethanol-blended fuel breakdown, often curing starting failures after seasonal storage.
External Jet Port Cleaning (Best for Visible Blockages)

Ideal when: You spot debris around the carburetor body. Locate the main jet nozzle (center port where fuel sprays into the throat) and auxiliary ports (2-4 smaller openings around the housing). Spray carb cleaner into each port while holding a rag beneath to catch runoff.
Use a guitar string or thin wire to gently clear nozzle tips—never force it, as you could widen the jet opening. Test flow by spraying cleaner; it should drip freely from the opposite side. Wipe ports clean before reassembly. This targets specific blockages without flooding internal chambers.
Tools Required for Non-Removal Carb Cleaning
Keep these essentials within arm’s reach before starting:
– Carburetor cleaner spray (choose aerosol for precision; avoid brake cleaner)
– 0.015″ diameter wire (guitar G-string works perfectly for jet cleaning)
– Microfiber rags (lint-free to prevent fiber clogs)
– Flat-head screwdriver (for drainage screws and air filter housing)
– Small drip pan (holds 1+ quarts for fuel drainage)
When Non-Removal Cleaning Fails: Critical Warning Signs

Stop immediately and remove the carburetor if you see:
– Fuel gushing from the carburetor body after startup
– No improvement after 3 full cleaning cycles
– Black smoke during operation (indicates float bowl flooding)
– Visible heavy varnish when inspecting through bowl drain port
These symptoms mean internal passages remain clogged or components are damaged—continuing non-removal attempts wastes time and risks engine damage. For persistent issues, contact WEN Technical Support at 1-800-232-1195 for model-specific disassembly guidance.
Prevent Carburetor Clogs: Your Maintenance Checklist
Monthly: Run generator for 15-20 minutes under load to circulate fresh fuel
Before 30-day storage: Drain carburetor bowl completely using the drainage screw
Every fuel fill: Add fuel stabilizer (1 oz per 2.5 gallons) to combat ethanol breakdown
Annually: Replace fuel filter and inspect fuel lines for cracks
Ethanol Fuel Storage Protocol
Ethanol-blended gasoline degrades within 30 days, forming gum that clogs jets. For generators stored longer:
1. Run until fuel-starved (engine shuts off)
2. Or drain tank and carburetor bowl completely
3. Store with non-ethanol premium fuel if possible (lasts 6+ months)
Troubleshooting After Cleaning: 5-Minute Diagnostic
If your generator still won’t start post-cleaning:
– Check fuel flow: Disconnect line at carburetor—fuel should drip steadily
– Inspect spark plug: Wet/fouled plugs mimic carb issues (clean/replace if oily)
– Test for water: Drain small fuel sample into clear container—water sinks to bottom
– Verify fuel valve: Ensure it’s fully open with no kinked lines
– Examine air filter: A clogged filter restricts airflow, causing rich mixtures
What Non-Removal Cleaning Can’t Fix (And When to Stop)
These issues require carburetor removal:
– Float needle seat corrosion (causes constant flooding)
– Cracked internal gaskets (creates vacuum leaks)
– Heavy varnish in bowl chamber (visible when draining)
– Bent float arm (disrupts fuel level)
Don’t waste hours spraying cleaners when you see these signs—schedule professional service. For most users, non-removal methods solve running issues caused by external blockages, which account for 75% of carburetor problems.
Performance Test: Verify Your Cleaning Success
After cleaning, conduct this 5-step load test:
1. Start generator and warm up for 3 minutes at no load
2. Apply 50% load (e.g., 1500W space heater for 3000W generator)
3. Listen for smooth, steady engine sound (no surging)
4. Check voltage stability with multimeter (±5% of rated output)
5. Inspect for fuel leaks around carburetor base
Smooth operation under load confirms success. If performance degrades within 48 hours, internal contamination remains—remove the carburetor for thorough cleaning.
Your generator should now start reliably on the first pull and maintain steady power under load. These non-removal techniques work best as quarterly maintenance—apply them whenever performance dips or after fuel sits over 30 days. When symptoms persist beyond three cleaning attempts, professional disassembly becomes necessary to inspect internal components. Remember: 90% of carburetor problems stem from preventable fuel issues, not mechanical failure. By using fresh stabilized fuel and monthly run-ups, you’ll rarely need deep cleaning. For model-specific diagrams or genuine replacement parts, always consult your owner’s manual or contact WEN Technical Support directly—proper maintenance keeps your generator ready when storms hit.


