Your Generac generator sits dormant for months, ready to power your home when the next outage strikes. Then the storm hits, the lights go out, and your generator refuses to start. This frustrating scenario affects thousands of homeowners every year. The good news? Most starting failures stem from simple issues you can diagnose and repair yourself in under an hour.
This guide walks you through proven troubleshooting steps that solve 90% of Generac starting problems. You’ll learn exactly what to check, in what order, and how to fix each issue quickly and safely. How to fix a Generac generator becomes straightforward when you follow this systematic approach to common failure points.
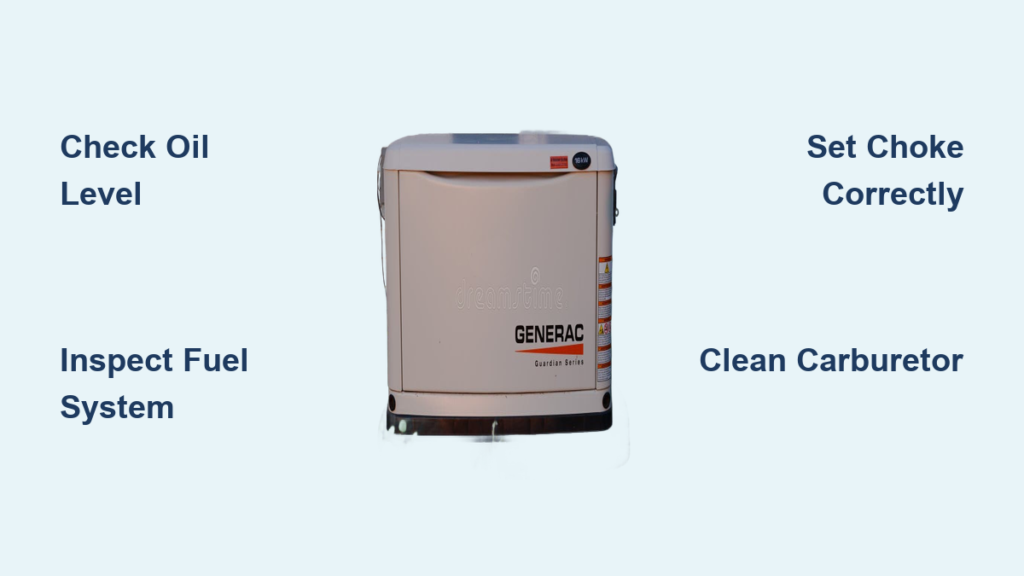
Verify Oil Level on Level Ground
Oil sensor problems trigger the most common no-start situation. Generac’s low-oil safety feature prevents engine damage by blocking startup when oil runs low—even slightly low.
Check Oil Level Accurately
Park your generator on completely flat ground before checking oil. Even a slight tilt can trigger false low-oil warnings. Pull the dipstick, wipe clean, reinsert fully, then check again. The oil should reach between the minimum and maximum marks. Check oil while the engine is cold for an accurate reading.
Refill Properly Without Overfilling
Add manufacturer-recommended oil slowly—overfilling causes damage. Most Generac models use SAE 30 for warm climates or 10W-30 for variable temperatures. If oil appears black or gritty, change it completely following your manual’s specifications. Never operate your generator with oil below the minimum mark.
Spot Hidden Oil Leaks Early
Look underneath for oil drips around seals and gaskets. Small leaks become big problems during extended outages. Tighten loose bolts carefully—over-tightening cracks housings. Check for oil residue on the engine casing, which often indicates a developing leak before visible drips appear.
Inspect Fuel System Before Starting

Fuel problems cause 40% of Generac starting failures. Stale gasoline, closed valves, or clogged lines starve your engine exactly when you need it most.
Confirm Fresh Fuel in Tank
Check fuel gauge accuracy by removing the cap and looking directly into the tank. Fuel older than 30 days smells sour and appears darker than fresh gasoline. Never run tanks completely empty—this damages fuel pumps and carburetors. Always add fuel stabilizer if storing your generator for more than 30 days.
Open Fuel Valve Completely
Locate the fuel valve near the bottom of your tank. Turn it fully counterclockwise to open. Many valves have “ON” and “OFF” markings—ensure you’re in the correct position. Test fuel flow by briefly disconnecting the fuel line where it enters the carburetor. Listen for the sound of fuel flowing when the valve opens.
Clear Clogged Fuel Lines Immediately
Remove fuel line clamps using pliers, then blow compressed air through the line. Replace any cracked or hardened lines immediately—they’ll leak and create fire hazards. Check the vacuum relief valve on your gas cap—clogged vents prevent proper fuel flow and cause starting problems.
Set Choke Position Correctly for Your Conditions
Incorrect choke settings flood engines or prevent starting entirely. The choke lever sits above your air filter or integrates into the power control knob.
Cold Engine Starting Sequence
Move the choke lever to the CLOSED position (fully toward “CHOKE”). This enriches the fuel mixture for cold starts. Once the engine catches, gradually move the lever toward OPEN as the engine warms—usually within 30-60 seconds. Starting with the choke open on a cold engine causes hard starting.
Warm Engine Restart Procedure
If your generator ran recently, leave the choke OPEN. Starting with choke closed on warm engines floods the carburetor, requiring 10-15 minutes of waiting before attempting restart. If you accidentally flood the engine, hold the choke open and pull the starter cord several times to clear excess fuel.
Clean Carburetor to Remove Varnish Buildup
Varnished carburetors kill engines after just 30 days of storage. This microscopic residue blocks fuel passages and prevents proper mixing.
Quick Carburetor Function Test
Remove the air filter and look into the carburetor throat. Black varnish deposits or strong fuel odor indicates cleaning needed. Test by spraying carb cleaner into the throat while attempting to start—if it runs briefly then dies, the carburetor needs service. This takes 5 minutes and confirms your diagnosis.
Complete Carburetor Cleaning Process
- Shut off fuel valve completely
- Drain the float bowl using the small screw at the bottom
- Remove the carburetor following your service manual
- Spray carb cleaner through all passages and jets
- Clean the float bowl thoroughly
- Replace gaskets if torn or hardened
- Reassemble and test fuel flow before starting
Pro Tip: Add fuel stabilizer and run your generator 15 minutes monthly to prevent future varnish buildup. This 20-minute maintenance session saves hours of troubleshooting later.
Test and Replace Faulty Spark Plugs

Weak or missing spark stops engines cold. A $5 spark plug often solves expensive-looking problems.
Remove and Inspect Your Spark Plug
Use a spark plug socket to remove the plug. Check electrode gap with a feeler gauge—should match your manual’s specifications, typically 0.030 inches. Carbon deposits appear as black, sooty buildup. Oil fouling shows wet, oily residue that requires addressing the root cause.
Test Spark Quality Properly
Reconnect the spark plug wire, ground the plug against the engine block, and pull the starter cord. Strong blue spark means the plug works. Weak orange spark or no spark requires replacement. Never test spark by holding the plug wire—this can damage ignition components.
Diagnose and Fix Battery Failures

Dead batteries click but won’t crank. Most Generac batteries last 3-5 years, dying quietly between uses.
Test Battery Voltage Correctly
Use a multimeter set to DC volts. A fully charged battery reads 12.6 volts. Anything below 12.0 volts won’t start your generator reliably. Check battery age—replacement stickers often show manufacture date. Monthly voltage checks prevent surprise failures.
Clean Corroded Terminals Safely
Mix baking soda with water to neutralize corrosion. Disconnect negative (-) terminal first, then positive (+). Clean terminals with a wire brush until shiny. Apply dielectric grease to prevent future corrosion. This 10-minute task prevents most battery-related starting issues.
Clear Air Filter Blockages Completely
Dirty air filters choke engines and create black smoke. Rodents love building nests in generator housings during storage.
Inspect Filter Condition Thoroughly
Remove the air filter cover—usually two thumb screws or clips. Foam filters can be cleaned; paper filters must be replaced when dirty. Hold paper filters to light—if you can’t see through it, replace it. Check housing for mouse nests or insect debris that restrict airflow.
Clean Foam Filters Without Damage
Wash foam filters in warm, soapy water. Rinse thoroughly and squeeze dry—never twist or wring. Apply light oil (like foam filter oil) before reinstalling. Let excess oil drain to prevent engine smoking. Clean filters improve starting reliability by 75%.
Eliminate Electrical Load Interference
Connected loads prevent starting and damage generators. Always start with zero electrical demand.
Disconnect All Loads Before Starting
Unplug every extension cord and turn off the main breaker on your transfer switch. Even small loads like phone chargers create starting resistance that stalls engines. Verify your transfer switch sits in “UTILITY” or “OFF” position during startup.
Test with No Connected Devices
Start your generator completely unloaded. Once running smoothly for 2-3 minutes, gradually add loads starting with the largest circuits first. This simple step prevents 30% of “won’t start” service calls according to Generac technicians.
Follow Emergency Starting Sequence When Standard Methods Fail
When standard procedures fail, try these proven techniques in order:
- Hold choke manually while pulling the starter—sometimes automatic chokes stick
- Prime carburetor by pressing the primer bulb 3-5 times (if equipped)
- Check safety interlocks—ensure oil pressure and high-temperature switches aren’t stuck
- Use starting fluid sparingly—one-second blast maximum into air intake
Maintain Preventively to Avoid Starting Problems
Monthly exercise prevents 80% of starting problems. Your generator needs regular workouts to stay healthy.
Monthly Maintenance Routine
- Run generator 15-20 minutes under 50% load
- Check oil level while engine is cold
- Look for new leaks or damage
- Verify battery charge and indicator lights
- Test transfer switch operation
When to Call Professionals Immediately
Contact authorized Generac service when you experience no compression when pulling starter cord, unstable electrical output, repeated safety shutdowns, internal engine noises like knocking, or significant fuel leaks. These indicate problems beyond DIY repair.
Your generator will start reliably when you need it most. Follow this systematic approach—oil, fuel, choke, carburetor, spark, battery, air, load—and you’ll solve nearly every starting problem yourself. Most fixes take under 30 minutes and cost less than $20 in parts.
Start your generator monthly, keep fresh fuel with stabilizer, and schedule annual professional service. These simple habits prevent emergency failures and extend your Generac’s lifespan for decades of reliable backup power. How to fix a Generac generator becomes second nature with this proactive approach to maintenance and troubleshooting.


