That growing puddle beneath your generator isn’t just messy—it’s a ticking time bomb. Whether it’s fuel creating explosive vapors, oil destroying your engine, or coolant causing overheating damage, every minute counts when your power source is leaking. This guide delivers the exact steps to diagnose and fix generator leaks safely and permanently, saving you $200+ in service calls while restoring reliable backup power. You’ll learn emergency response protocols, pinpoint leak sources with professional accuracy, and implement lasting repairs that prevent future failures.
Emergency Shutdown Steps for Generator Leaks
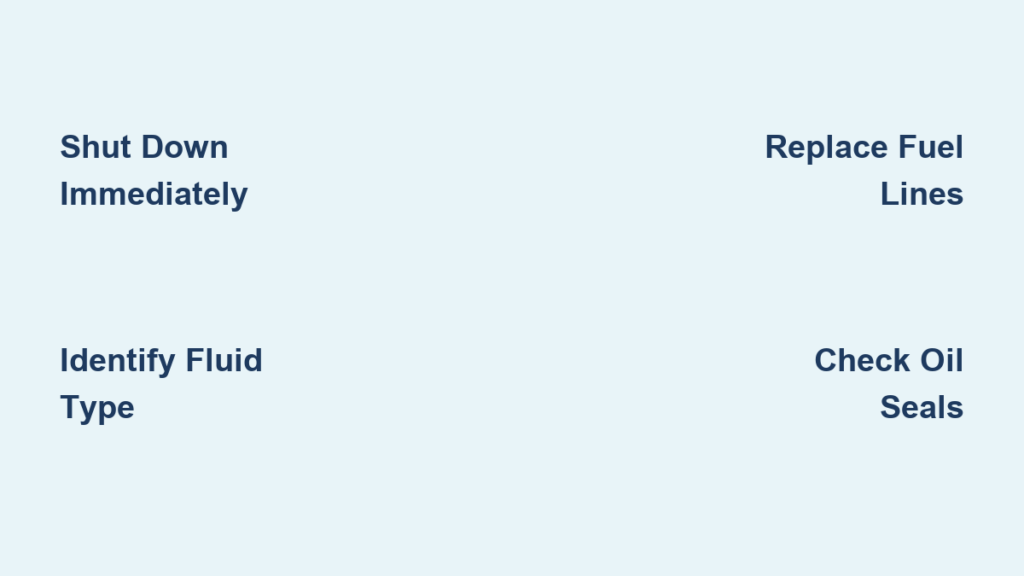
Stop your generator immediately the moment you spot any fluid leak. Fuel vapors can ignite from electrical sparks, oil creates dangerous slip hazards, and coolant leaks lead to catastrophic overheating. Don’t waste time trying to identify the fluid—kill the power first by switching off the generator and unplugging all connected devices.
Spread absorbent materials like kitty litter, old towels, or commercial absorbents around the leak zone to contain the spill. If operating indoors, open all doors and windows immediately—fuel vapors sink and collect in low areas where they become explosive. Maintain a safe distance until you’ve positively identified the fluid type.
Identify the leaking fluid within 60 seconds using these critical markers:
– Fuel leaks: Strong gasoline odor, rainbow sheen on puddles, rapid evaporation leaving residue
– Oil leaks: Thick, dark brown/black fluid, oily residue that doesn’t evaporate quickly
– Coolant leaks: Bright green/yellow/pink fluid, sweet smell, often near hoses or radiator
Carburetor Fuel Leak Repairs
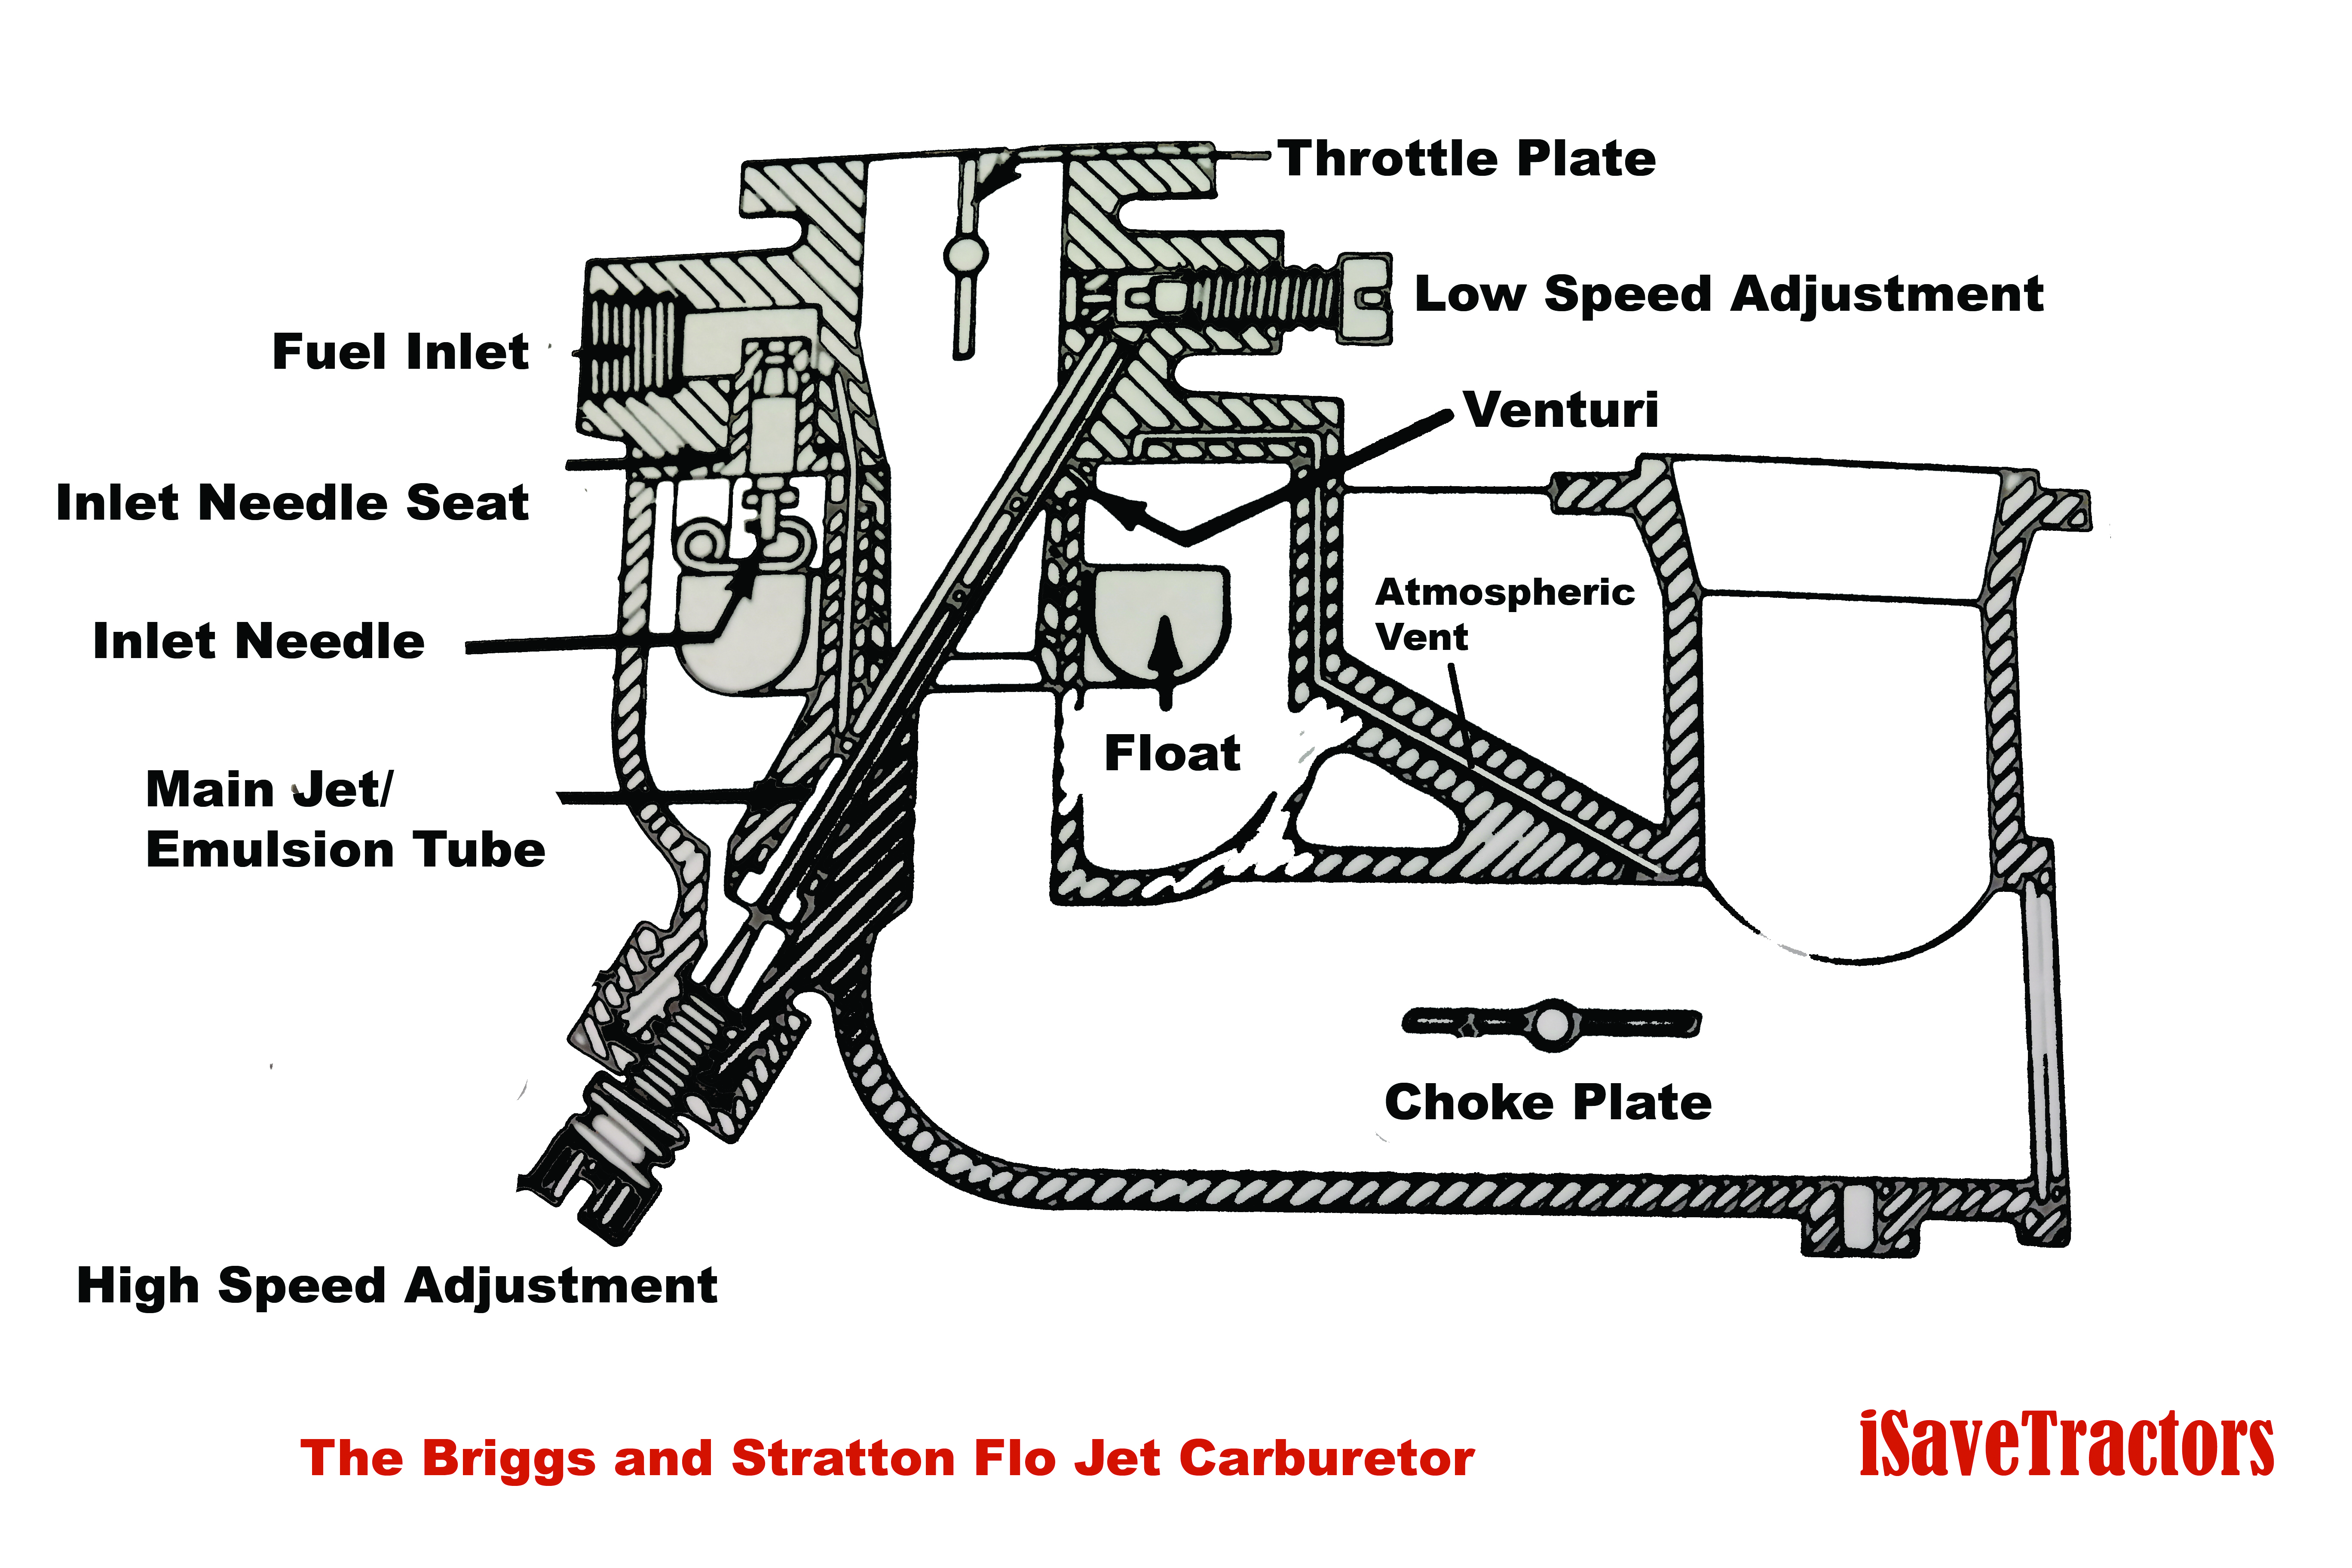
Diagnose Float Bowl Gasket Failure
Carburetor leaks cause 70% of all generator fuel leaks, typically appearing as wetness around the carburetor base or fuel dripping from the air filter housing. These leaks most often occur during storage or right after shutdown when fuel pressure equalizes.
Perform this 3-step carburetor inspection:
1. Remove the air filter housing to expose the carburetor
2. Check for fuel seepage around the carburetor mounting surface
3. Remove the float bowl (bottom cover) using a 10mm wrench to inspect the gasket
Replace carburetor gaskets correctly:
– Order exact replacement gaskets using your generator model number
– Clean mounting surfaces thoroughly with carburetor cleaner
– Install new gaskets dry—never use sealants that can clog passages
– Torque carburetor bolts to 8-10 ft-lbs in a crisscross pattern
Fix Stuck Float Mechanism Issues
A stuck float valve causes continuous fuel overflow into the carburetor, often flooding the air filter housing. This happens when sediment builds up in the fuel system or the float needle becomes gummed with old fuel.
Float mechanism repair process:
1. Remove the float bowl and inspect the float for damage
2. Verify the float moves freely without binding in its housing
3. Clean the needle valve seat with carburetor cleaner and a soft brush
4. Test float operation by gently blowing into the fuel inlet
Warning: Never adjust float height unless you have specific manufacturer specifications—incorrect settings cause lean or rich running conditions.
Fuel Line and Tank Leak Fixes
Replace Cracked Fuel Lines Immediately
Never attempt to patch cracked fuel lines—complete replacement is mandatory for safety. Fuel-resistant hose costs $3-8 and prevents catastrophic failures that could destroy your generator or property.
Follow these fuel line replacement steps:
1. Drain the fuel tank completely into an approved container
2. Cut new hose to exact length of old line using sharp scissors
3. Install fuel injection clamps—not worm gear clamps that cut into hose
4. Route the new hose away from hot surfaces and moving parts
5. Start the generator and check for leaks before reconnecting loads
Replace fuel lines immediately if you notice:
– Visible cracks or splits in the hose surface
– Brittle texture when gently squeezed
– Fuel stains around connection points
– Hoses older than 5 years (even if they appear intact)
Seal Small Fuel Tank Leaks
For minor tank leaks, apply fuel-resistant epoxy after thorough preparation. Clean the leak area completely, sand lightly to create a rough surface, and apply epoxy generously according to manufacturer instructions.
Replace your fuel tank if you see:
– Multiple leak points indicating widespread corrosion
– Failed seam welds along tank edges
– Large cracks or punctures from impact
– Rust spots that penetrate through the metal
Stop Oil Leaks at the Source

Fix Drain Plug Leaks Properly
The drain plug causes 60% of all oil leaks. Over-tightening crushes the sealing washer, while under-tightening allows seepage. Always replace the copper or aluminum sealing washer during every oil change.
Correct drain plug procedure:
– Hand-tighten the plug first until snug
– Apply final torque to 15 ft-lbs maximum using a torque wrench
– Never use Teflon tape or sealants that can contaminate the oil
– Inspect threads for damage—repair with a thread insert if needed
Repair Valve Cover Gasket Failures
Valve cover gasket leaks appear as oil seepage along the top of the engine, often dripping down the sides. These leaks worsen as temperature changes cause the gasket to lose its seal.
Valve cover gasket replacement tips:
– Clean the mating surface to bare metal using a plastic scraper
– Apply a thin bead of RTV silicone only at the corners
– Torque bolts in a crisscross pattern to manufacturer specifications
– Wait 30 minutes before starting the engine to allow RTV to set
Coolant Leak Emergency Repairs
Pressure Test Cooling System Accurately
Coolant leaks often only appear under operating pressure. A $30 pressure tester identifies leaks invisible during visual inspection. Always perform this test when coolant levels drop without visible leaks.
Pressure testing protocol:
1. Ensure the engine is completely cool before testing
2. Remove the radiator cap and attach the pressure tester
3. Pump to 13-16 PSI (check your generator’s specification)
4. Hold pressure for 15 minutes while inspecting all connections
5. Mark any leak points with chalk for easy repair identification
Replace Radiator Hoses Before Failure
Radiator hoses fail from age, heat cycling, or abrasion against other components. Replace any hose showing cracks, bulges, or soft spots immediately—don’t wait for complete failure.
Radiator hose replacement checklist:
– Drain coolant into a clean container for potential reuse
– Remove old clamps using proper pliers to avoid damage
– Install new hose of exact length and diameter
– Use new spring clamps or quality worm-drive clamps
– Refill with 50/50 coolant/water mixture unless specified otherwise
Inspect hoses weekly by:
– Checking for cracks at connection points
– Squeezing hoses—they should feel firm, not mushy
– Looking for abrasion damage from contact with other parts
– Replacing all hoses if any show signs of deterioration
New Generator Leak Protocol
Brand new generators shouldn’t leak—period. Document everything with photos and contact the manufacturer immediately. DIY repairs on new units void warranties, so let the dealer handle it professionally.
Create an airtight warranty claim with:
– High-resolution photos of the leak from multiple angles
– Exact operating hours when the leak appeared
– Environmental conditions (temperature, humidity)
– All original packaging and purchase documentation
Prevent Future Generator Leaks
Daily Leak Prevention Routine
Spend just 60 seconds before each use preventing costly repairs. Visual inspection catches 90% of potential leaks before they escalate into emergencies.
Daily pre-start checklist:
– Check all fluid levels for proper amounts
– Look for fresh drips or stains beneath the generator
– Verify fuel cap is tight and undamaged
– Ensure proper ventilation around the unit
100-Hour Maintenance Schedule
Every 100 operating hours, perform comprehensive leak prevention service:
Critical maintenance tasks:
– Change oil and filter using manufacturer-specified grade
– Replace air filter and inspect for debris
– Inspect all gaskets and seals for early failure signs
– Pressure test cooling system if equipped
– Clean fuel system components
– Lubricate all pivot points and moving parts
Proper Storage Techniques
Storage mistakes cause 40% of generator leaks. Prepare your unit properly for trouble-free restart after storage periods.
Storage preparation protocol:
– Drain fuel system completely for storage over 30 days
– Change oil before storage to remove contaminants
– Run engine dry to prevent carburetor gumming
– Store in dry, temperature-controlled environment
– Use fuel stabilizer for storage periods under 3 months
The fastest path to a leak-free generator starts with immediate action. Address fuel leaks within 24 hours to prevent fire hazards, oil leaks before they destroy your engine bearings, and coolant leaks before overheating causes permanent damage. Most generator leaks stem from simple maintenance oversights—replacing worn gaskets, changing aging hoses, and following proper storage procedures. When you invest 10 minutes in daily inspections and stick to the 100-hour maintenance schedule, you’ll eliminate 95% of potential leaks before they start. For persistent leaks or internal issues, professional service protects your investment and ensures safe operation during critical power outages—never risk DIY repairs on complex cooling system or internal engine problems.


