Your coffee maker dies mid-brew. The laptop shuts down during critical edits. The AC compressor cuts out at 2 a.m. because your inverter can’t handle the load. These aren’t just annoyances—they’re deal-breakers for van life. Installing a generator solves this, but how to install a generator in a van safely and efficiently separates functional builds from costly mistakes. Forget generic advice: this guide cuts straight to under-floor mounting, fuel tapping, and electrical integration that meets RVIA codes. You’ll learn exactly where to weld the cradle, how to avoid fuel contamination, and why your transfer switch must auto-switch to prevent back-feeding. By the end, you’ll know whether to DIY or hire a pro—and what that $500 wiring mistake actually costs.
Pick Your Van Generator: Onan 2800 vs Honda Portables

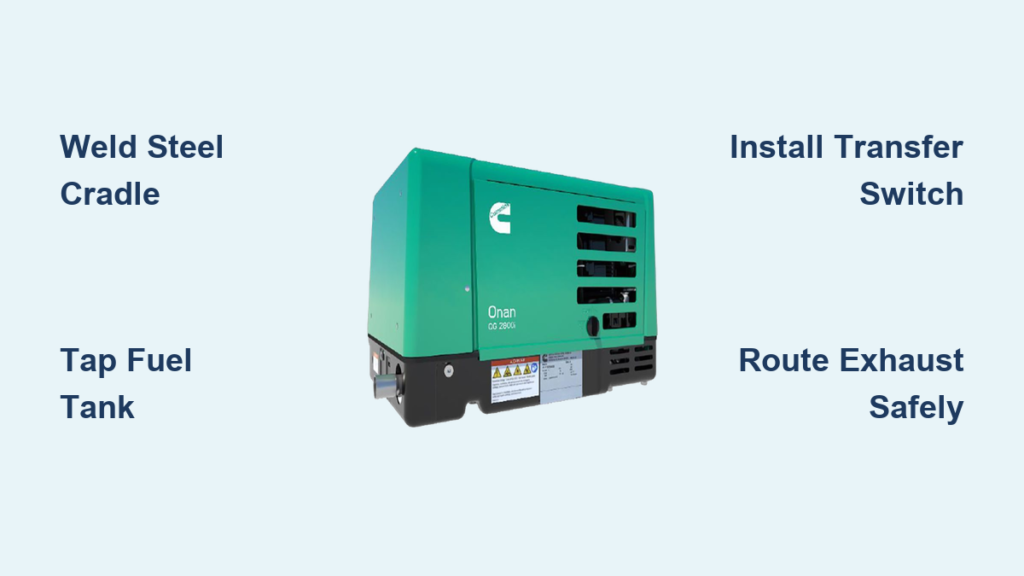
Why the Onan 2800i Dominates Van Builds
Choose the Onan 2800i for silent, integrated power. At 58–62 dB(A) under load (quieter than campsite chatter), its fuel injection and inverter tech deliver clean 120V power for sensitive electronics. It runs 35–40 hours on a 19.7-gallon propane tank or taps your van’s gasoline tank directly. Expect $2,800–$3,000 for the unit, with total installed costs hitting $4,000–$5,000. Skip this only if you need simultaneous microwave and 15,000 BTU AC operation—that demands the $500 pricier Onan 4000-watt model with a dedicated 30-amp transfer switch.
When Portable Generators Make Sense
For weekend trips under 4 hours of daily AC use, a Honda EU2200i ($750–$2,000) on a rear hitch tray avoids permanent installation. But you’ll lug it outside for every use, endure higher noise (60 dB), and lose auto-start for inverter charging. Critical mistake: Never run portables inside your van—CO poisoning kills. Hitch mounts add 2–3 feet of rear overhang, risking low clearance on steep driveways.
Mount Your Generator Under the Van Frame (No Interior Space Loss)
Welding the Steel Cradle Between Frame Rails
Your spare tire well is the sweet spot for under-floor mounting. Cut 2×2-inch steel angle to fit between frame rails, welding it securely 8+ inches above ground. Use four Cummins 149-2453 rubber isolators (180 lb capacity each) on 1/4-inch neoprene pads between the cradle and generator feet. Pro tip: Add a 1/8-inch aluminum skid plate beneath the generator—off-road bumps won’t damage the exhaust muffler. Measure frame width first; Sportsmobile’s bolt-in kits fit most Ford Transits but require spare tire relocation.
Why Rear Hitch Mounts Fail for Full-Time Vanlife
Hitch trays seem convenient until you hit a steep campsite ramp. That 200-lb Honda generator on your receiver hitch reduces tongue weight capacity by 50%, risking trailer sway. Theft is another headache—secure it with lockable pins, but campers know thieves target visible gear. Reserve this for portables used under 10 nights yearly.
Tap Your Van’s Fuel Tank Without Draining It
Using Ford’s Factory Auxiliary Port (2015+ Models)
2015+ Ford Transits and E-Series vans have a hidden 3/8-inch quick-connect port on the fuel tank—designed for generators. Attach the Onan’s fuel line here in 20 minutes with zero tank dropping. Critical check: Verify your in-tank pump supports dual outlets. Aftermarket pumps without this port require a $200 replacement. Always wire the generator’s 12V fuel shut-off solenoid to ignition-on to prevent leaks during refueling.
Bypassing Pre-2015 Tank Limitations
Pre-2015 vans demand dropping the tank to install a third pick-up tube. Cut a 3/8-inch tube 1 inch above the tank bottom to avoid sediment, then seal with Teflon tape. Budget $100 for parts and 4 hours of labor. Warning: Never tap the main fuel feed line—this starves your engine during steep climbs.
Install a 30-Amp Transfer Switch for Seamless Power Switching
Wiring the Progressive Dynamics PD52 Automatic Switch
Your transfer switch is the brain of the system. Connect the Progressive Dynamics PD52 like this:
– Input 1: Shore power inlet (30-amp)
– Input 2: Generator output (L14-30 twist-lock)
– Output: Main AC distribution panel
Run 10 AWG wires from the generator to the switch, keeping runs under 15 feet to prevent voltage drop. Key step: Add a 30-amp breaker at the generator end—this meets NEC code and prevents fire during short circuits.
Remote Start Setup That Actually Works
Use Onan’s A058R903 harness: Run 12 AWG fused wires from your house battery to the generator control box. Mount the momentary start/stop switch near your bed. Pro tip: Add an hour meter to track maintenance—Onan’s 150-hour oil change interval sneaks up fast.
Route Generator Exhaust Under the Van Frame (No Roof Holes)

Extending the Muffler to Avoid Heat Damage
Extend the factory muffler outlet with 1-inch stainless flex hose along the driver-side frame rail. Add a 45-degree elbow pointing downward behind the rear tire—never toward fuel lines. Critical fix: Wrap the hose with DEI exhaust wrap and install a 6-inch aluminum heat shield where it passes within 6 inches of fuel lines. This prevents vapor lock and fire.
Ventilation Rules for Interior-Mounted Generators
If mounting under a bed (not recommended), you need 2 square feet of intake AND exhaust airflow. Install a 120mm 12V fan pulling air from outside through the top grille, with passive louvers below for exhaust. Non-negotiable: Two CO detectors—one near the generator box, one in the sleeping area. Seal all box joints with Sikaflex-221 to prevent fumes leaking into your cabin.
Stop Generator Vibration with Rubber Isolators and Steel Cradles
Why Bolts Alone Destroy Van Interiors
Mounting directly to steel transmits 100% of vibration into your van’s chassis—causing loose cabinets and cracked walls. The fix: Sandwich the generator between Cummins 149-2453 rubber isolators and neoprene pads. Test it by running the unit while pressing down on the isolators; if vibration decreases, your mounts work. Red flag: If you feel buzzing in your steering wheel, reposition the cradle away from chassis resonance points.
Design for Oil Changes: Under-Van Access Panels That Work
Creating Service Openings Without Cutting Frame Rails
Weld a 6×8-inch hinged panel under the van using Dzus fasteners—this gives direct oil drain access. For spark plug swaps, drill a 4-inch hole through the floor above the plug, sealed with a rubber grommet. Maintenance hack: Keep a spare fuel filter and spark plug (NGK BPR4ES) in your glovebox. Onan 2800i service requires oil changes every 150 hours and fuel filter swaps every 300 hours—neglecting this causes $800 pump failures.
DIY vs Pro Installation: Real Cost Breakdown for Onan 2800

Where DIY Saves (and Wastes) Money
You’ll save $800–$1,200 on labor by DIYing, but only if you:
– Own a welder for the cradle ($350 kit)
– Already have electrical tools ($250 for transfer switch wiring)
– Can safely tap fuel lines without leaks
Reality check: Mistakes cost more. A single fuel line leak voids insurance. A miswired transfer switch fries your inverter ($1,500). Hire an electrician for the ATS wiring ($350) but weld the cradle yourself.
Avoid CO Poisoning: Mandatory Safety Steps for Van Generators
The CO Detector Rule Campgrounds Don’t Enforce
Install two 5-year lithium CO detectors—one within 5 feet of the generator compartment, one near sleeping areas. Test them monthly. Critical fact: Generators produce CO for 2 minutes after shutdown—never enter your van during cooldown. RVIA requires vapor-tight generator compartments; seal all floor penetrations with silicone-impregnated fiberglass gaskets.
When to Skip a Generator: Scenarios Where Shore Power Wins
The 4-Hour AC Rule That Saves $3,600
If you use AC less than 4 hours daily and camp at sites with hookups, skip the generator. A 2,000W inverter-charger ($1,200) paired with 400Ah lithium batteries handles short bursts. Only install a generator if you need:
– Full-time AC in 100°F+ climates
– Stealth camping (no generator noise)
– Remote work requiring constant 120V power
Final note: A properly installed under-floor generator delivers silent, reliable power without sacrificing van space. Focus on fuel safety, vibration isolation, and transfer switch wiring—these make or break your system. Before your first trip, run a full load test with AC and microwave while checking for exhaust leaks with soapy water. For propane setups, verify DOT tank certification; for gasoline, always carry a fire extinguisher rated for fuel fires. If this feels overwhelming, spend the $500 on a pro for the electrical and fuel work—your safety isn’t worth a DIY gamble. Ready to scale up? Next, learn how to integrate solar with your generator for true off-grid freedom.


