That deafening roar from your generator isn’t just annoying—it’s potentially harmful. Standard generators blast 60-90+ decibels, reaching levels that can cause hearing damage with prolonged exposure. Learning how to make a generator box transforms your noisy power source into a quiet companion while protecting it from weather, theft, and curious kids. A well-constructed enclosure cuts noise by 50% or more without compromising safety or performance.
Whether you’re preparing for emergencies or powering outdoor events, this guide delivers exactly what you need to build a custom generator box that works. You’ll discover the right materials for soundproofing, ventilation requirements that prevent dangerous overheating, and construction techniques that withstand harsh weather. Let’s dive into building a generator enclosure that delivers quiet power when you need it most.
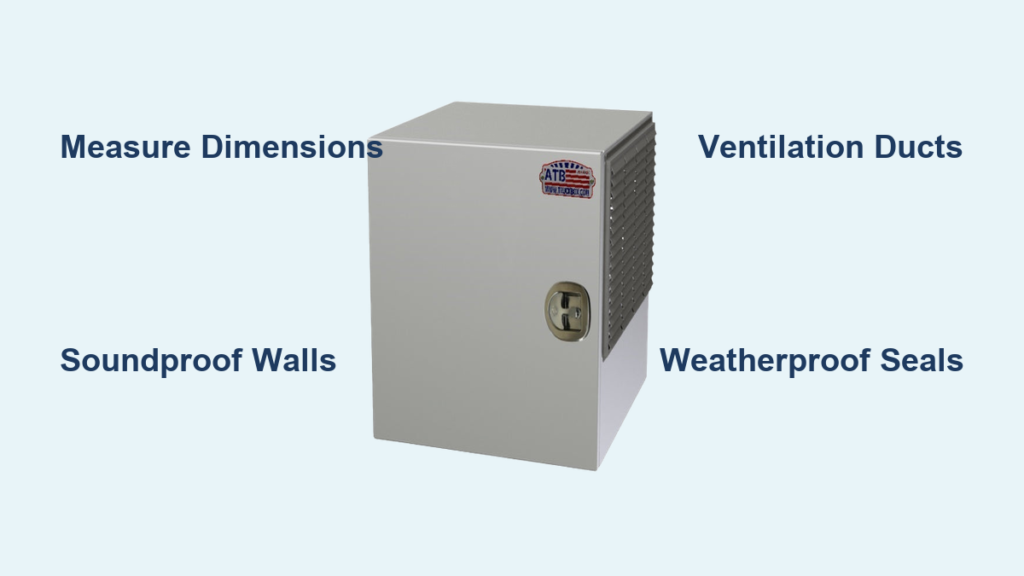
Measure Your Generator and Plan Clearance Space
Calculate Exact Dimensions with Safety Margins
Start by measuring your generator’s length, width, and height with a tape measure. For a typical 3000-4500 watt model, add 2-3 inches on every side for airflow and soundproofing materials. This clearance prevents heat buildup while accommodating mass-loaded vinyl (MLV) and acoustic foam layers. Forget generic box sizes—your measurements must match your specific generator model to avoid dangerous overheating or sound leaks.
Select the Right Location Before Building
Place your future generator box at least 20 feet from doors and windows as recommended by the CDC. Choose level ground that won’t collect water during rainstorms—standing water can damage your generator and create electrical hazards. A steel-reinforced concrete pad offers the most stable foundation, while a rubber anti-vibration mat works well over existing surfaces. Never place your enclosure near bedroom windows or living spaces where noise will disrupt sleep.
Determine Your Construction Method Based on Needs
Choose between four proven designs based on your specific requirements. An MDF soundproof box works best for portable generators where noise reduction is the priority. A wooden shed-style enclosure provides superior weather protection for permanent installations. Steel enclosures offer maximum security against theft but require careful ventilation planning. Concrete block shelters deliver the best noise control for stationary generators but demand significant construction effort. Your generator’s intended use determines which approach saves you time and money.
Gather Critical Soundproofing and Structural Materials
Purchase Essential Soundproofing Components
Buy mass-loaded vinyl (MLV) at $2-3 per square foot as your primary sound barrier—it blocks noise transmission through walls. Pair this with 1-2 inch thick acoustic foam panels to absorb impact noise from the generator’s vibrations. Don’t skip Green Glue adhesive for bonding MLV to surfaces—it creates a viscoelastic layer that dramatically improves sound isolation. Complete your soundproofing kit with acoustical sealant to eliminate noise leaks through gaps and cracks.
Collect Structural Building Supplies
For an MDF soundproof box, you’ll need medium-density fiberboard sheets cut to your measured dimensions—two pieces each for floor/ceiling, long sides, and short sides. Wooden enclosures require 2×4 lumber for framing and 0.5″ plywood for sheathing. Galvanized steel panels work best for weather-resistant designs, while concrete blocks create permanent shelters. Always include rubber anti-vibration mats to decouple your generator from the enclosure floor—this simple step prevents noise transmission through solid surfaces.
Cut MDF Panels and Install Soundproofing Layers
Precision-Cut Panels Before Assembly
Use a circular saw to cut MDF to your calculated dimensions, marking each piece clearly as floor, ceiling, long sides, and short sides. Precision matters here—gaps as small as 1/8 inch compromise both soundproofing and safety. Before assembling the box, cut two ventilation holes: one in the lid offset from center for exhaust ducting, and one in a side panel positioned away from the lid hole for intake air. Both holes must fit ventilation ducting snugly to prevent sound leaks.
Apply Soundproofing Materials in Correct Order
Start by applying MLV to all interior MDF surfaces using Green Glue adhesive—this creates your primary noise barrier. Cut matching ventilation holes in the MLV layer to maintain airflow paths. Next, install acoustic foam panels over the MLV, being careful to maintain clear ventilation routes. Complete coverage without gaps prevents sound escape—pay special attention to corners and edges where noise typically leaks out. The foam absorbs impact noise while the MLV blocks airborne sound transmission.
Install Critical Ventilation Components

Design Separate Airflow Pathways
Create three distinct ventilation systems that won’t compromise safety: fresh air intake for engine combustion, cooling air circulation to prevent overheating, and direct exhaust gas routing from the muffler to exterior. Position intake vents low on one side and exhaust vents high on the opposite side—this natural convection moves hot air out efficiently. Never block the generator’s own air intake ports when placing it inside your enclosure.
Build Effective Sound-Reducing Ducts
Use 4-6 inch diameter ventilation ducting with multiple bends—each bend reduces sound transmission while maintaining necessary airflow. Extend the exhaust pipe 4-6 inches beyond the enclosure wall to prevent dangerous exhaust gas recirculation. Install a battery-operated circulation fan to actively move hot air out through side vents, positioning it away from the generator’s air intake to avoid recycling exhaust. Always protect fans with wire-cage guards to prevent accidental contact with moving parts.
Weatherproof and Secure Your Generator Enclosure
Seal All Potential Entry Points
Apply acoustical sealant along every seam and joint in your enclosure—water infiltration damages both your generator and soundproofing materials. Pay special attention to where ventilation ducts connect to the enclosure walls. Install heat shields made of 2-3 layers of sheet metal or heavy-duty tinfoil near the generator’s exhaust to prevent MLV and foam from heat damage. This dual-purpose layer maintains sound absorption while protecting against fire hazards.
Create Practical Maintenance Access
Design removable panels or hinged doors that allow full access for routine maintenance without disassembling your entire enclosure. Your access points must accommodate oil changes, fuel refilling, filter replacement, and electrical connection checks. Install sturdy locks on all access points to prevent children from reaching dangerous equipment and deter theft of your valuable generator. Remember that convenience encourages regular maintenance, which extends your generator’s lifespan.
Test Performance and Conduct Safety Checks
Verify Noise Reduction Effectiveness
Measure sound levels at 20 feet with a decibel meter while your generator runs outside the box (baseline), then repeat with it inside your enclosure. A successful generator box delivers at least 50% noise reduction from your baseline measurement. If noise levels remain too high, check for gaps in your soundproofing layers and ensure all joints are properly sealed. Don’t compromise on sound testing—your neighbors will thank you for getting this right.
Confirm Proper Temperature Control
Monitor internal temperature during a 30-minute operation test. The enclosure temperature should stay within 20°F of ambient temperature—excessive heat buildup indicates ventilation problems. Conduct a smoke test by placing incense near intake vents; smoke should flow smoothly through the system without pooling inside. If temperatures rise too quickly or smoke lingers, add additional ventilation before regular use to prevent dangerous overheating.
Budget Smartly for Your DIY Generator Box
Calculate Realistic Material Costs
A basic MDF soundproof box costs $200-300 in materials, while adding premium soundproofing materials increases the budget by $100-150. Steel enclosures run $350-500, and concrete block shelters cost $150-250 for materials alone. Remember that professional transfer switch installation adds $500-1500 but is required for permanent electrical connections. Your total project typically stays under $1000 for most DIY builds—a fraction of commercial enclosure costs.
Prioritize Essential Safety Components
Never skip critical safety items to save money—carbon monoxide detectors, proper ventilation, and electrical grounding prevent life-threatening situations. Invest in quality MLV and acoustic foam rather than cheap alternatives that degrade quickly in heat. Purchase rubber anti-vibration mats even if they seem unnecessary—they dramatically reduce noise transmission through solid surfaces. Your safety budget should always take priority over cosmetic enhancements.
Maintain Your Generator Box for Long-Term Reliability
Conduct Monthly Safety Inspections
Check ventilation ducts for debris or animal nests that could restrict airflow. Test carbon monoxide detector batteries monthly and replace them quarterly regardless of status. Inspect weather seals and gaskets for cracks or wear that could allow water infiltration. Verify all door locks and latches function properly to prevent unauthorized access to dangerous equipment.
Schedule Seasonal Upgrades and Repairs
In spring, clean ventilation screens thoroughly and check for winter damage to soundproofing materials. During summer heat waves, verify your cooling system handles peak temperatures without overheating. Fall requires clearing leaves from ventilation openings before they cause blockages. Winter preparation means ensuring snow won’t block exhaust vents during heavy storms. Replace acoustic foam every 3-5 years as heat and moisture degrade its effectiveness.
Your properly built generator box delivers quiet, reliable power exactly when you need it. Start with the basic MDF soundproof design for immediate noise relief, then upgrade materials as your needs evolve. Never sacrifice ventilation for better soundproofing—safety must always come first. With regular maintenance, your DIY generator enclosure will protect your investment for years while keeping peace with your neighbors.


