Your Generac generator powered countless adventures, but now it’s failing to start or you’re upgrading your RV’s power system. Removing it demands precision—improper fuel disconnection risks explosive leaks, while careless electrical work can fry your RV’s entire system. This isn’t a simple bolt-removal job; Generac units weigh 94–245 pounds and integrate with three critical systems. Skip one safety step, and you could face $2,000 in repair bills or worse. Follow this exact sequence to extract your generator safely, whether you’re replacing a GP3250 or servicing a QuietPact 75G.
Pre-Removal Safety Setup: Stop Fuel Leaks Before They Start
Shut off ALL fuel sources immediately—this prevents catastrophic spills. Locate your main fuel shutoff valve (usually near the RV’s fuel tank or along the line) and turn it clockwise until fully closed. For gasoline models, run the generator until it stalls—this depressurizes the system in 2–3 minutes. Never skip this; pressurized fuel lines can spray 5+ gallons of gasoline during disconnection.
Isolate electrical systems completely before touching wires. Disconnect shore power, switch off your inverter, and remove the negative battery terminal first—then the positive. Why this order? Removing positive first risks accidental grounding through your tools, causing sparks near fuel vapors. Test connections with a multimeter to confirm zero voltage.
Your non-negotiable safety kit must include:
– Class B/C fire extinguisher within arm’s reach
– Nitrile gloves and safety goggles (fuel burns skin)
– Absorbent pads and drip pans for residual fuel
– Cross-ventilated workspace—open all compartment doors
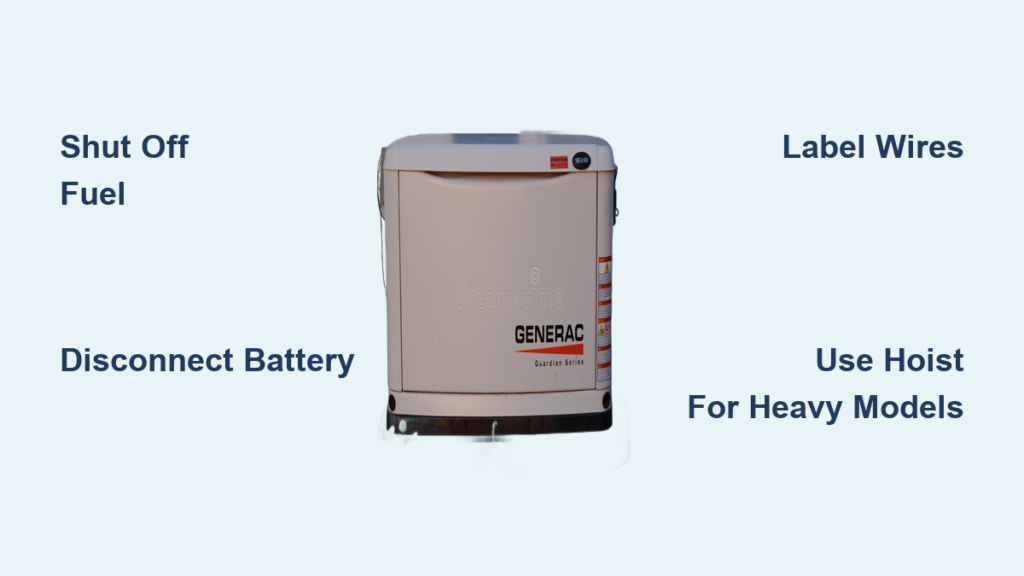
Identify Your Generac Model: Weight Determines Your Lifting Strategy
QuietPact models (40G/55G/75G) require mechanical help—they weigh 185–245 lbs. These front-compartment units bolt directly to reinforced RV frames. Attempting manual removal risks back injuries or generator drops that crack the housing. Note the rubber isolation mounts—these often seize to bolts after years of vibration.
GP series units (GP3250/GP5500/GP7500E) vary drastically in weight. The GP3250 (94 lbs) can be lifted by two people using the designated lifting eyes. But the GP7500E (192 lbs) demands a 1-ton engine hoist—its cargo bay location leaves zero clearance for manual handling. Check your model tag; guessing wrong here causes dangerous mid-lift failures.
LP propane models need extra precautions—never skip line purging. After closing the main tank valve, run the generator until it stops. This vents residual gas that could accumulate in enclosed compartments. Propane is heavier than air—it sinks to floor levels where sparks ignite explosions. Always use two wrenches when disconnecting lines: one to hold the fitting, one to turn the connector.
Disconnect Fuel Lines: Avoid Deadly Mistakes in 4 Critical Steps
Gasoline Models: Cap Every Opening Immediately
Step 1: Starve the system by running the generator dry. This takes 2–3 minutes and eliminates pressurized fuel. Listen for the engine sputter—that’s your signal pressure dropped.
Step 2: Locate quick-connect fittings near the generator inlet. Use a fuel line disconnect tool (not pliers!) to depress the collar and slide the line off. Forcing connections strips fittings—replacing those costs $150+.
Step 3: Cap BOTH ends within 10 seconds. Install rubber fuel line caps on the generator inlet AND the RV’s fuel line. Uncapped lines leak fuel onto hot exhaust parts during removal.
Step 4: Remove the inline fuel filter. Old filters trap degraded fuel that gums up new generators. Dispose of it properly—never leave it loose in the compartment.
Propane Models: Double-Check for Gas Traps
Close the main valve clockwise until snug—but don’t overtighten. Rounded valves cause expensive tank replacements. Then run the generator until it stops; residual gas in lines must be purged.
Disconnect lines using the two-wrench method. One wrench holds the generator’s inlet fitting stationary while the other turns the connector nut. Skipping this twists and cracks the fuel line.
Check for hidden gas pockets. Propane collects in low spots of the line. Tilt the generator slightly after removal to drain trapped gas into a drip pan.
Electrical Disconnection: Prevent Shorts That Fry Your RV System

AC Power: Label Wires Like Your RV Depends on It (It Does)
Switch the generator’s main circuit breaker to OFF first. Then remove the weatherproof junction box cover to access wires. You’ll see three critical connections:
– Black (hot) wire: Carries live current—disconnect LAST
– White (neutral) wire: Disconnect second
– Green (ground) wire: Disconnect FIRST to prevent grounding
Label every wire with colored tape before removal. Example: “BK-OUT” for black output wire. Take phone photos—this saves 3+ hours of troubleshooting during reinstallation. Cap all exposed ends with wire nuts immediately.
DC Control Wiring: The Silent Killer Is Backfeed
Always disconnect the negative battery terminal first. Why? Removing positive first creates a path to ground through your wrench if it touches metal. Insulate both terminals with electrical tape after removal.
Trace hour meter and remote start wires carefully. These thin-gauge wires often route behind panels. Cut cable ties gently—yanking them out damages wire insulation. Secure loose wires with new ties to prevent pinching during removal.
Remove Mounting Hardware: Avoid Generator Drops with Sequence Matters
Front Compartment Models: Front-to-Back Bolt Removal
Remove access panels before touching bolts. QuietPact units hide behind sound-deadening mats—cutting these requires replacement. Keep all screws organized; RV panels use oddball sizes like T20 Torx.
Remove bolts in this EXACT order:
1. Front mounts (4 bolts through rubber isolators)
2. Rear mounts (2–4 bolts)
3. Side support brackets (if present)
Alternating side-to-side prevents binding. If bolts seize, apply PB Blaster and wait 24 hours—never hammer rounded bolts. Stuck bolts here cause the generator to shift unexpectedly during lifting.
Slide-Tray Systems: Lock the Tray Before Lifting
Release the slide lock mechanism and extend the tray fully. Support sagging trays with jack stands rated for 500+ lbs. GP5500 units often droop when trays wear out.
Remove hold-down straps BEFORE unbolting the generator. These straps (often hidden under covers) prevent slides during transit. Missing one causes the generator to roll off the tray mid-removal.
Safe Lifting: Match Method to Your Generator’s Weight
Manual Lifting for GP3250 (94 lbs): Teamwork Saves Spines
Position one person at each lifting eye on the generator housing. Grip the metal eyes—not the plastic housing. Lift on “3” with knees bent, keeping the unit level. Residual fuel in the carburetor can spill if tilted.
Clear your path completely. Measure the removal route: front compartments often have wheel wells blocking direct exits. Practice the path empty-handed first.
Mechanical Lifting for QuietPact 75G (245 lbs): Hoist Setup Is Non-Negotiable
Use a 1-ton engine hoist with 4:1 safety-rated straps. Attach straps ONLY to designated lifting eyes—wrapping around the housing cracks the frame. Position the hoist directly over the generator’s center (usually near the muffler).
Lower SLOWLY onto a dolly. Generac units have low ground clearance—dropping them 6 inches cracks the oil pan. Keep a spotter guiding the unit away from wiring harnesses.
Post-Removal Cleanup: Fix Mistakes Before They Cause Fires
Soak fuel drips immediately with absorbent pads—never rags. Gasoline-soaked rags self-ignite in hot compartments. Work from the spill’s edge inward to contain it. Ventilate for 30+ minutes before closing panels.
Cap ALL exposed electrical connections. Use weatherproof wire nuts on AC lines and heat-shrink caps on DC wires. Unprotected ends short when rain hits your RV.
Inspect fuel lines for hidden leaks. Run your gloved hand along lines—you’ll feel or smell seepage. Persistent odors mean professional pressure testing is needed; DIY fixes often fail.
When to Call a Pro: Save $1,500+ in Costly Errors
Stop immediately if you see welded mounts. Cutting chassis welds requires certified RV technicians—improper repairs compromise structural safety. Mobile services like RV Generator Pros charge $200–$400 for removal but prevent $3,000 frame repairs.
Seek help for fuel system modifications. Relocating tanks or rerouting lines violates RVIA safety codes. Generac-authorized dealers ensure compliance—critical for insurance claims if fires occur.
Use pros for propane system issues. Leaks invisible to amateurs cause explosions. Certified techs have gas detectors that find 0.1% concentration leaks—your nose detects 1% (already dangerous).
Removing your Generac generator demands respect for three unforgiving systems: fuel, electrical, and physical mounting. Rush the fuel disconnect, and gasoline floods your RV bay. Skip wire labeling, and your inverter fails permanently. Lift incorrectly, and 245 pounds of metal crushes your foot. Follow this sequence exactly—especially the 24-hour wait for penetrating oil on seized bolts—and you’ll avoid 95% of DIY disasters. When the generator finally clears the compartment, cap every line, label every wire, and document the process. Your future self (or the next owner) will thank you when reinstalling or troubleshooting. If uncertainty hits at any step, pause and call a Generac-certified RV technician—$300 in labor beats $5,000 in compounded mistakes. Your RV’s next power solution starts with this removal done right.


