Your Generac generator sits silently in the backyard, ready to spring into action when the next storm knocks out power—but what happens when it won’t start? The culprit is often the forgotten battery, which loses its ability to deliver reliable starting power after just three years. Like the one that failed during last month’s ice storm, leaving thousands of homeowners stranded without backup power until temperatures rose. Replacing your Generac battery takes less than half an hour with basic tools and costs about $70 at any auto parts store or Walmart.
This guide delivers the exact steps to replace your Generac battery successfully, including the critical safety step most tutorials overlook and proven techniques for extracting batteries from tight compartments. You’ll discover why Group 26 is the only battery size that fits properly, how to avoid dangerous electrical shorts during replacement, and the simple trick for managing stubborn cables in confined spaces. Whether you own a 22kW home standby unit or a smaller portable model, these methods work across Generac’s entire generator lineup.
Why Your Generac Battery Fails Every 3 Years (And How to Prevent It)
Generac batteries typically fail after three years due to constant connection to the built-in battery maintainer, which keeps them charged between outages but gradually degrades their capacity. Unlike car batteries that get regular recharging from engine operation, generator batteries sit idle for months at a time, slowly losing their ability to deliver the strong current needed for reliable starting.
Signs Your Generac Battery Needs Replacement Now
- Clicking sound without engine turnover during startup attempts
- Voltage below 12.4V when measured with a multimeter
- Corrosion buildup around terminals despite regular maintenance
- Swollen case indicating internal damage from overcharging
Preventative Measures That Extend Battery Life
Schedule annual terminal cleaning using a wire brush to remove corrosion, then apply dielectric grease to prevent future buildup. Test your generator monthly using the built-in exercise cycle to ensure the charging system functions properly. Most importantly, mark your calendar for battery replacement every three years—don’t wait for failure when power outages strike.
Critical Safety Step 90% of DIYers Skip When Replacing Generac Batteries

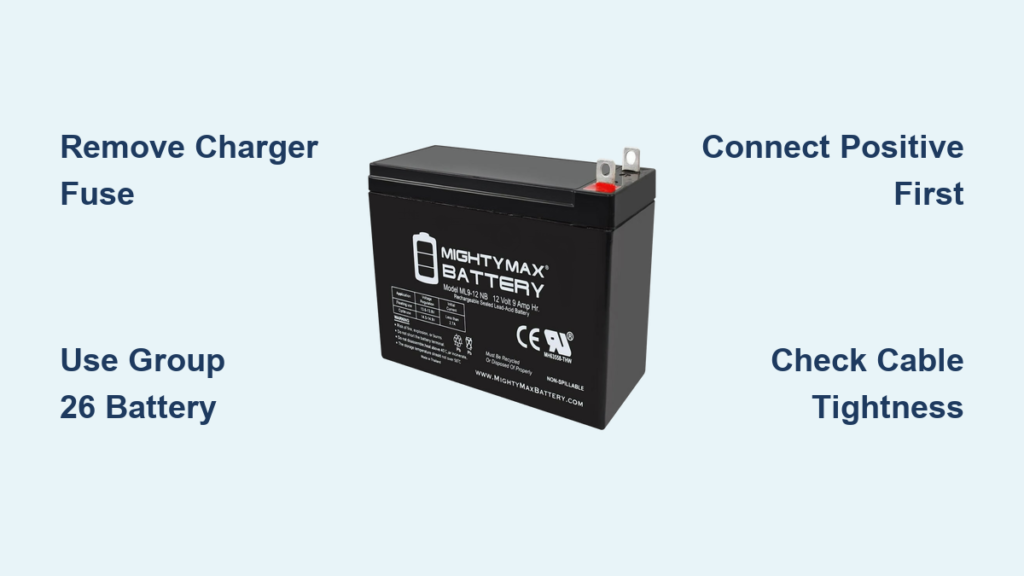
Remove the battery charger fuse first—this single step prevents electrical shock and protects your generator’s sensitive electronics from damage. The fuse powers the built-in battery maintainer that keeps your battery topped off between outages. Skipping this step risks dangerous short circuits when disconnecting cables, potentially frying your generator’s control board.
Locating and Removing the Battery Charger Fuse
Find your generator’s fuse panel inside the control box, typically on the left side when facing the unit. Look for a fuse labeled “battery charger” or “12V charger”—it’s usually a standard automotive-style blade fuse. Use fuse pullers or needle-nose pliers to remove it safely, then place it somewhere secure where it won’t get lost. This step is non-negotiable for safe battery replacement on any Generac model.
Group 26 Battery: The Exact $70 Replacement You Need for Your Generac
When shopping for a replacement, insist on a standard Group 26 automotive battery—the exact size specified by Generac for all their generators. Most Walmart, AutoZone, and O’Reilly locations carry these for around $70. Avoid deep-cycle marine batteries or other variants, as their different dimensions cause installation problems.
Verifying Your Battery Specifications Before Purchase
Check your old battery’s label for confirmation—it should clearly state “Group 26″ along with the cold cranking amps (CCA) rating. Most Generac units require between 300-400 CCA. While some aftermarket batteries might claim compatibility, stick with standard Group 26 dimensions (6 15/16″ L x 5 3/16″ W x 8 11/16” H) to ensure proper fitment in the tight compartment.
Removing the Brace Bar: Your First 10mm Bolt Challenge
The metal brace spanning your battery compartment comes off with two 10mm bolts—one on each side. This structural bar prevents battery movement during operation but blocks removal access. Position your socket wrench vertically to reach these bolts—they’re often tucked under the generator housing edge, requiring careful wrist positioning.
Common Brace Bar Removal Mistakes to Avoid
Don’t attempt to remove the brace bar while the plastic cover is still in place—this creates unnecessary resistance. Remove the cover first to give yourself better access. Also, avoid using excessive force; these bolts often have thread locker applied at the factory. Apply steady pressure while turning rather than sudden jerks that might strip the heads.
Battery Extraction Secrets for Tight Generator Compartments
Standard removal works when space allows: grasp the battery firmly with both hands, slide straight toward the opening, then lift and tilt simultaneously to clear the lip. But most Generac models require the tight space technique due to restricted clearance.
Proven Methods for Stubborn Battery Extraction
Bottom corner bolt removal provides crucial extra space—remove the 10mm bolt at the bottom right corner of the housing for an additional 1/2 inch of clearance. Cable management is equally important: use a wooden dowel to push cables toward the back wall before attempting removal. Angled extraction works best for most models—rotate the battery 45 degrees while applying gentle rocking motion to overcome friction points.
Proper Terminal Connection Sequence to Avoid Electrical Damage

Always connect positive terminal first using your 1/2 inch wrench, ensuring the cable clamp seats fully on the post. Tighten securely but avoid over-torquing, which can crack battery posts—a common mistake that leads to future connection problems. The negative terminal follows, completing the circuit.
Critical Connection Checks Before Reassembly
Before reinstalling components, gently tug on both cables to verify they’re secure with no wiggle room. Look for any signs of corrosion on the new battery posts—clean with a wire brush if needed. Apply a thin coat of dielectric grease to both terminals to prevent future corrosion buildup that could cause starting issues.
Why Your New Generac Battery Won’t Start the Generator (And Fixes)
If your generator won’t start after battery replacement, check these three items in order: cable tightness, fuse installation, and battery charge. Loose connections are the most common culprit—recheck both terminals for proper seating. Ensure the battery charger fuse you removed earlier is fully seated in its slot. New batteries sometimes need 24 hours of charging before delivering full starting power.
Troubleshooting Weak Cranking Sounds
When the engine cranks slowly but won’t start, first verify cable connections are tight. If connections are secure but cranking remains weak, your new battery might be defective—return it for testing. In rare cases, the battery charger system itself has failed, requiring professional service. But 90% of weak cranking issues after replacement stem from improper cable connection sequence or loose terminals.
Monthly Maintenance Routine to Double Your Battery’s Lifespan
Extend your new battery’s life beyond the standard three years with this simple monthly routine. First, initiate your generator’s built-in exercise cycle through the control panel—this verifies proper charging system operation. Then, visually inspect terminals for early signs of corrosion before they become problematic.
The 5-Minute Terminal Care Protocol
Disconnect the negative terminal first, then clean both posts and cable clamps with a wire brush. Apply dielectric grease to prevent future corrosion, then reconnect positive first followed by negative. This quick maintenance session prevents the terminal resistance that gradually drains battery capacity over time. Mark your calendar for this simple task—it takes less time than brewing coffee but significantly extends battery life.
Your Generac generator now has fresh starting power for the next storm season. This 30-minute investment protects your home’s backup power system and prevents the frustration of discovering a dead battery during an actual outage. Remember to replace your battery every three years without exception—don’t wait for failure when reliable power matters most. With proper maintenance and timely replacement, your Generac will deliver dependable backup power for years to come, starting strong when you need it most.


